
Sash Decorating Instructions and Top Tips
You kit will have the following included: sash, fabric glue & paintbrush/ glue spreader, hen party themed stencils, alphabet/ number stencils, fabric pens, felt, pieces of fabric, scissors, crafty trims like ribbon, pom poms & buttons as well as your hen party badges. Once you have finished decorating your sashes, these badges will be used to attach the sash together. There will also be bondaweb paper included if you have chosen the ‘iron’ option.
Firstly, start by having a look through all the materials and stencils and cut out some of the stencils that you know you would like to use.
Use your fabric pens or pencils to draw around the stencils onto the fabric or felt provided and then cut out and use the fabric glue and paintbrush/spreader to stick them onto the sash. Press down so that it holds.
There is also a spare piece of your sash fabric included so that you can practice how the fabric pens will look on it. You may want to use some of the lighter fabrics with the pens to show the true colours and black looks good directly on the sash as well!
Alternatively, if you have gone for the ‘iron’ option- please see details below on how to transfer your designs to the sash using the bondaweb instead of fabric glue (a little less messy and neater!)
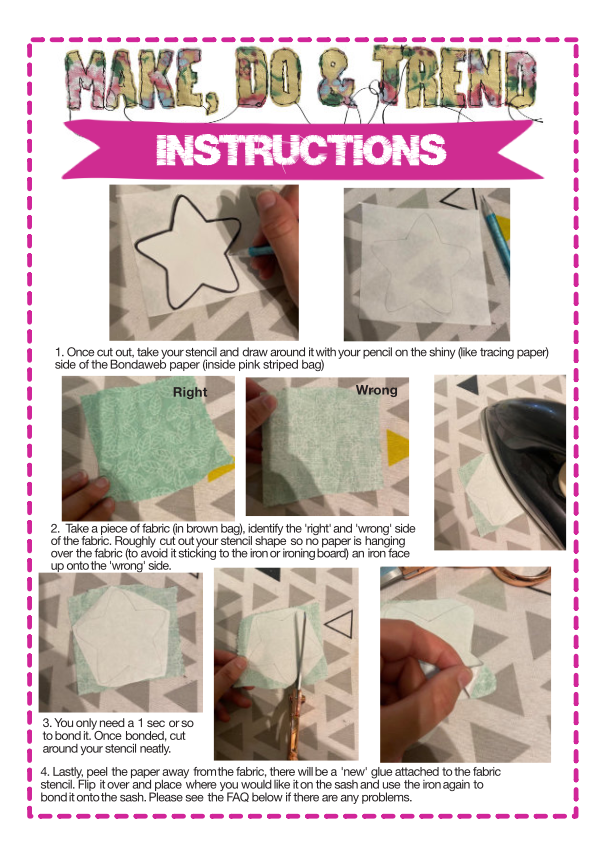
FAQ- Bondaweb
THE IMAGE ISN'T STICKING ONTO THE SASH- have you ironed it on so the shiny side (glue) attaches to the sash? Or have you made sure you have taken the backing paper off?
THE PAPER WON'T COME OFF/ FEELS LIKE IT'S TAKING THE GLUE OFF- try starting in a corner to remove the backing paper, sometimes it feels like you're peeling it all off but if you are left with a shiny side this is the new glue to attach it to the sash. If not, start the process again or use a new piece of bonding paper.
THE IMAGE HAS TURNED OUT BACK TO FRONT- this is probably because you didn't trace your stencil back to front at the beginning. Gently peel off the fabric and start again or do a new image over the top.
Keep building up your sash with a combination of the different stencils on fabric and felt until you are pleased with your finished piece, you can even add some of the crafty trims to add extra details!
Please see below photos for some more ideas and tips.
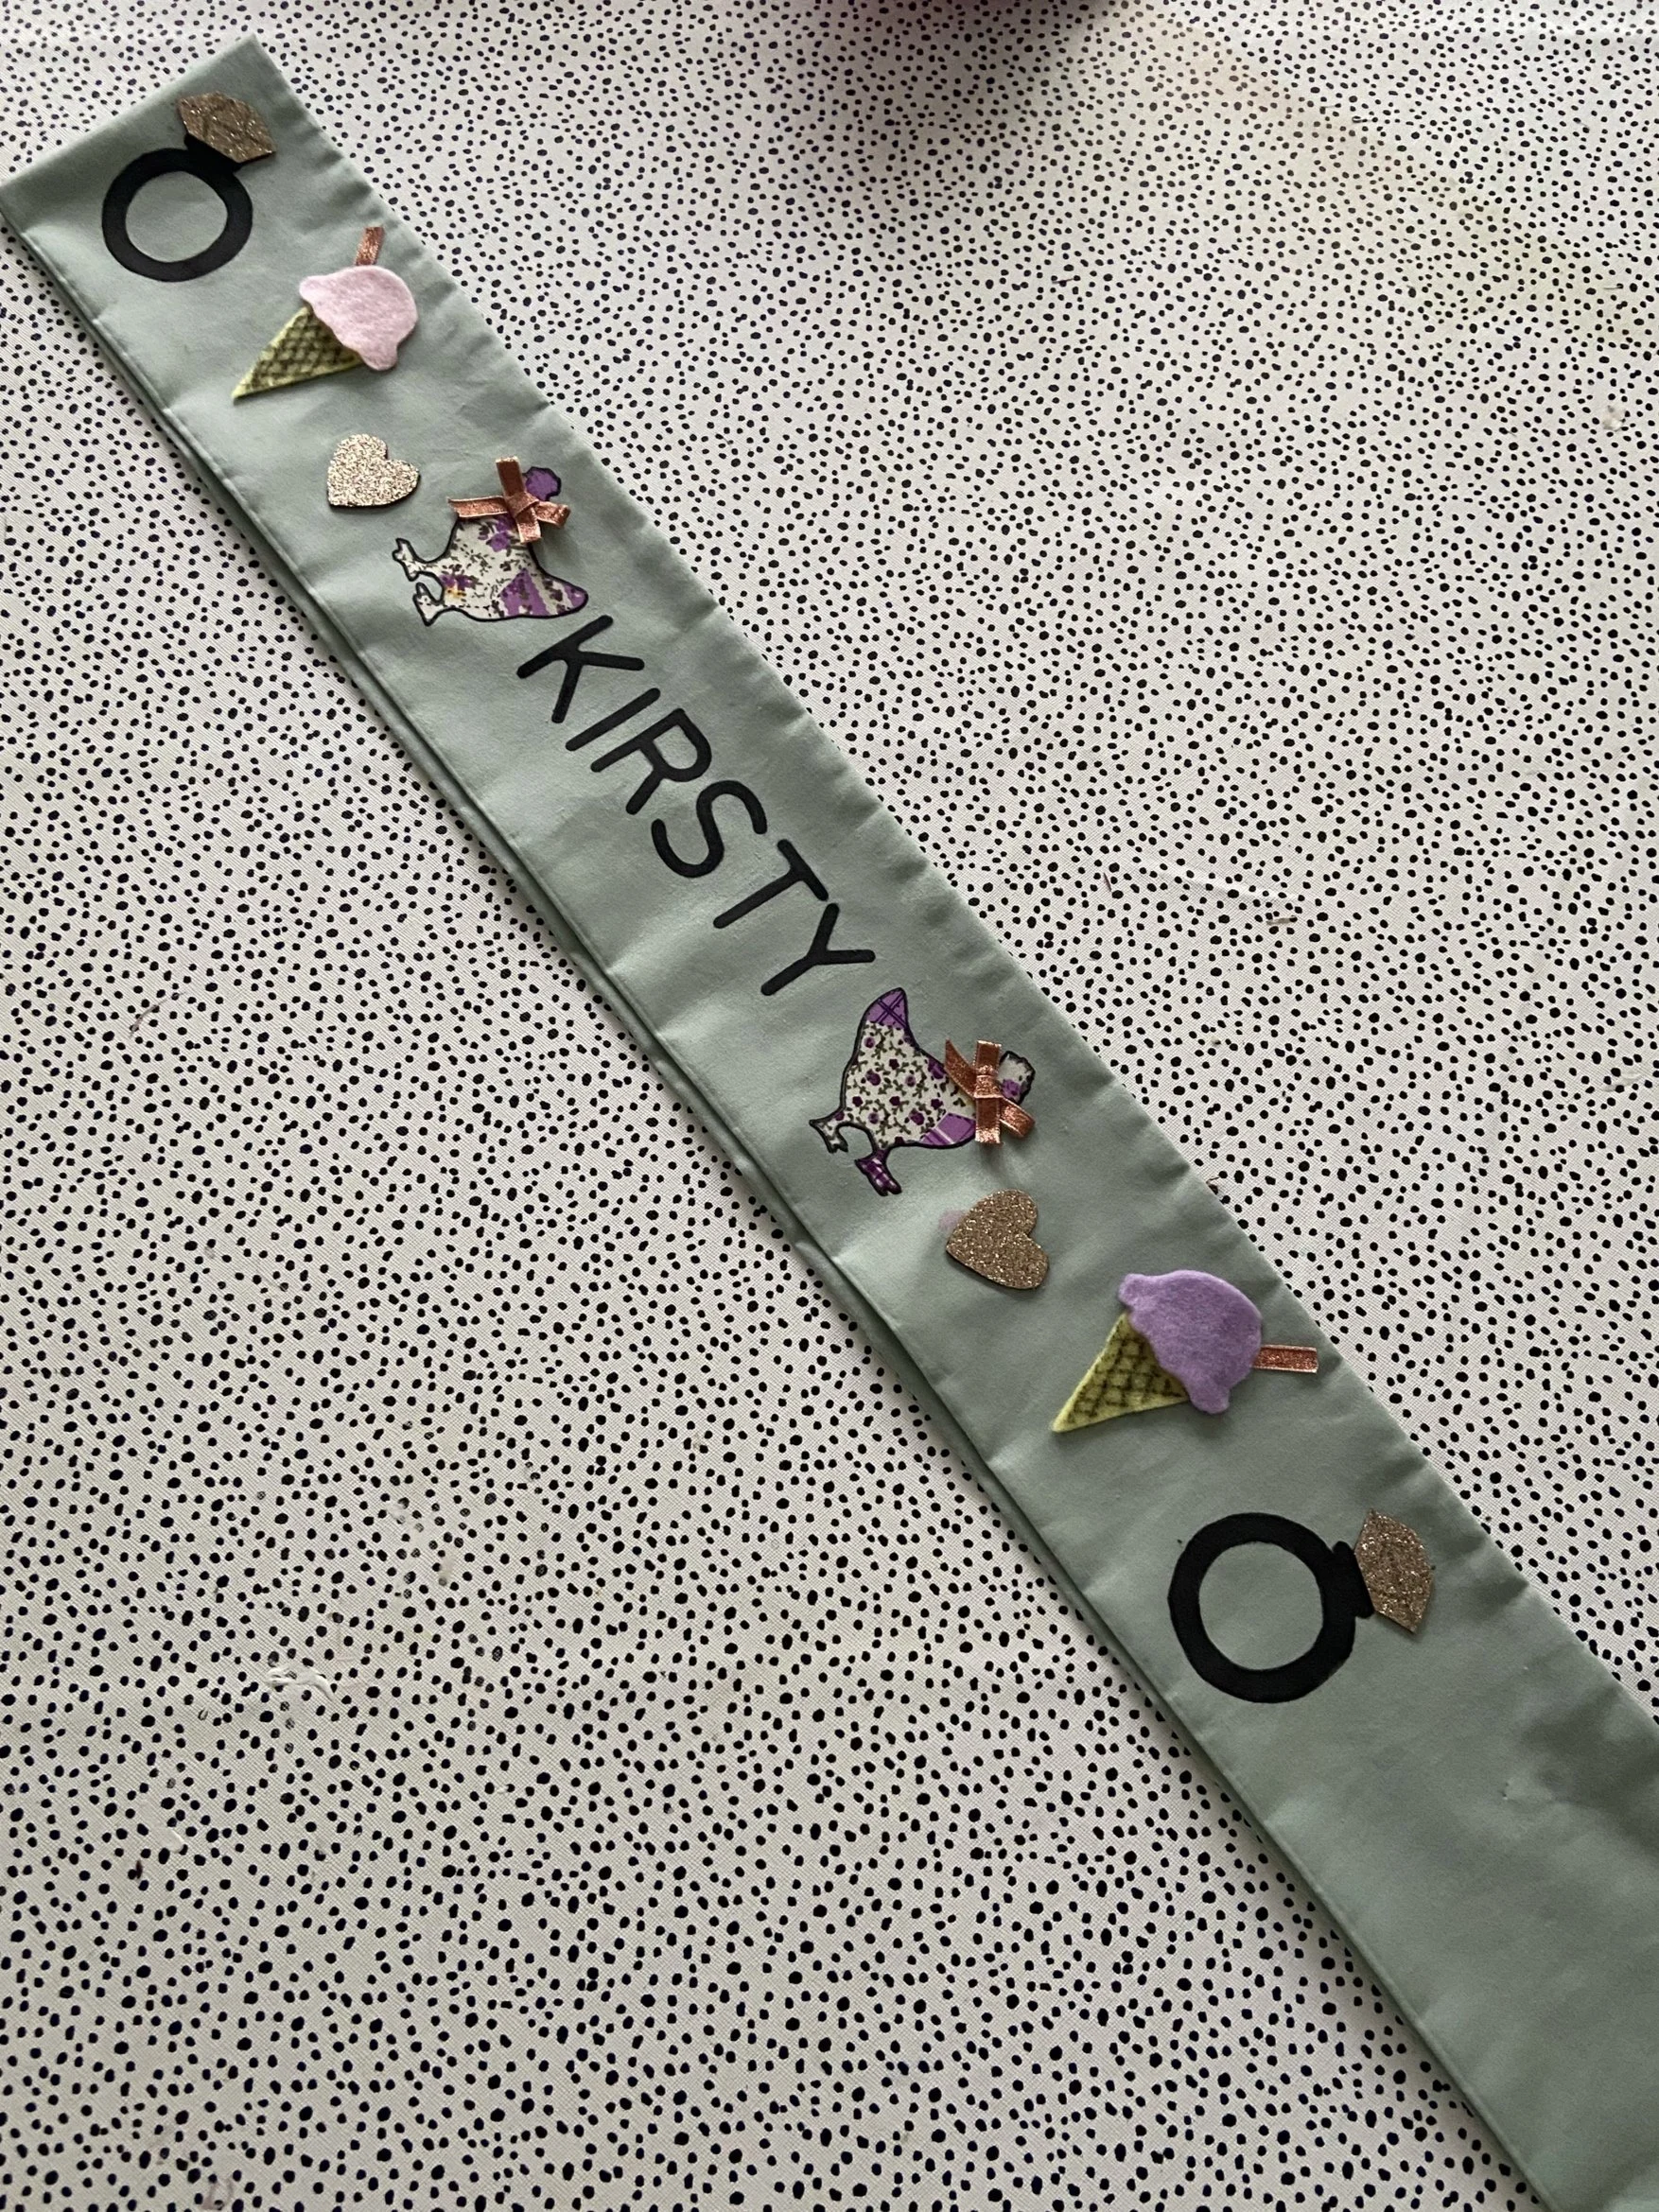
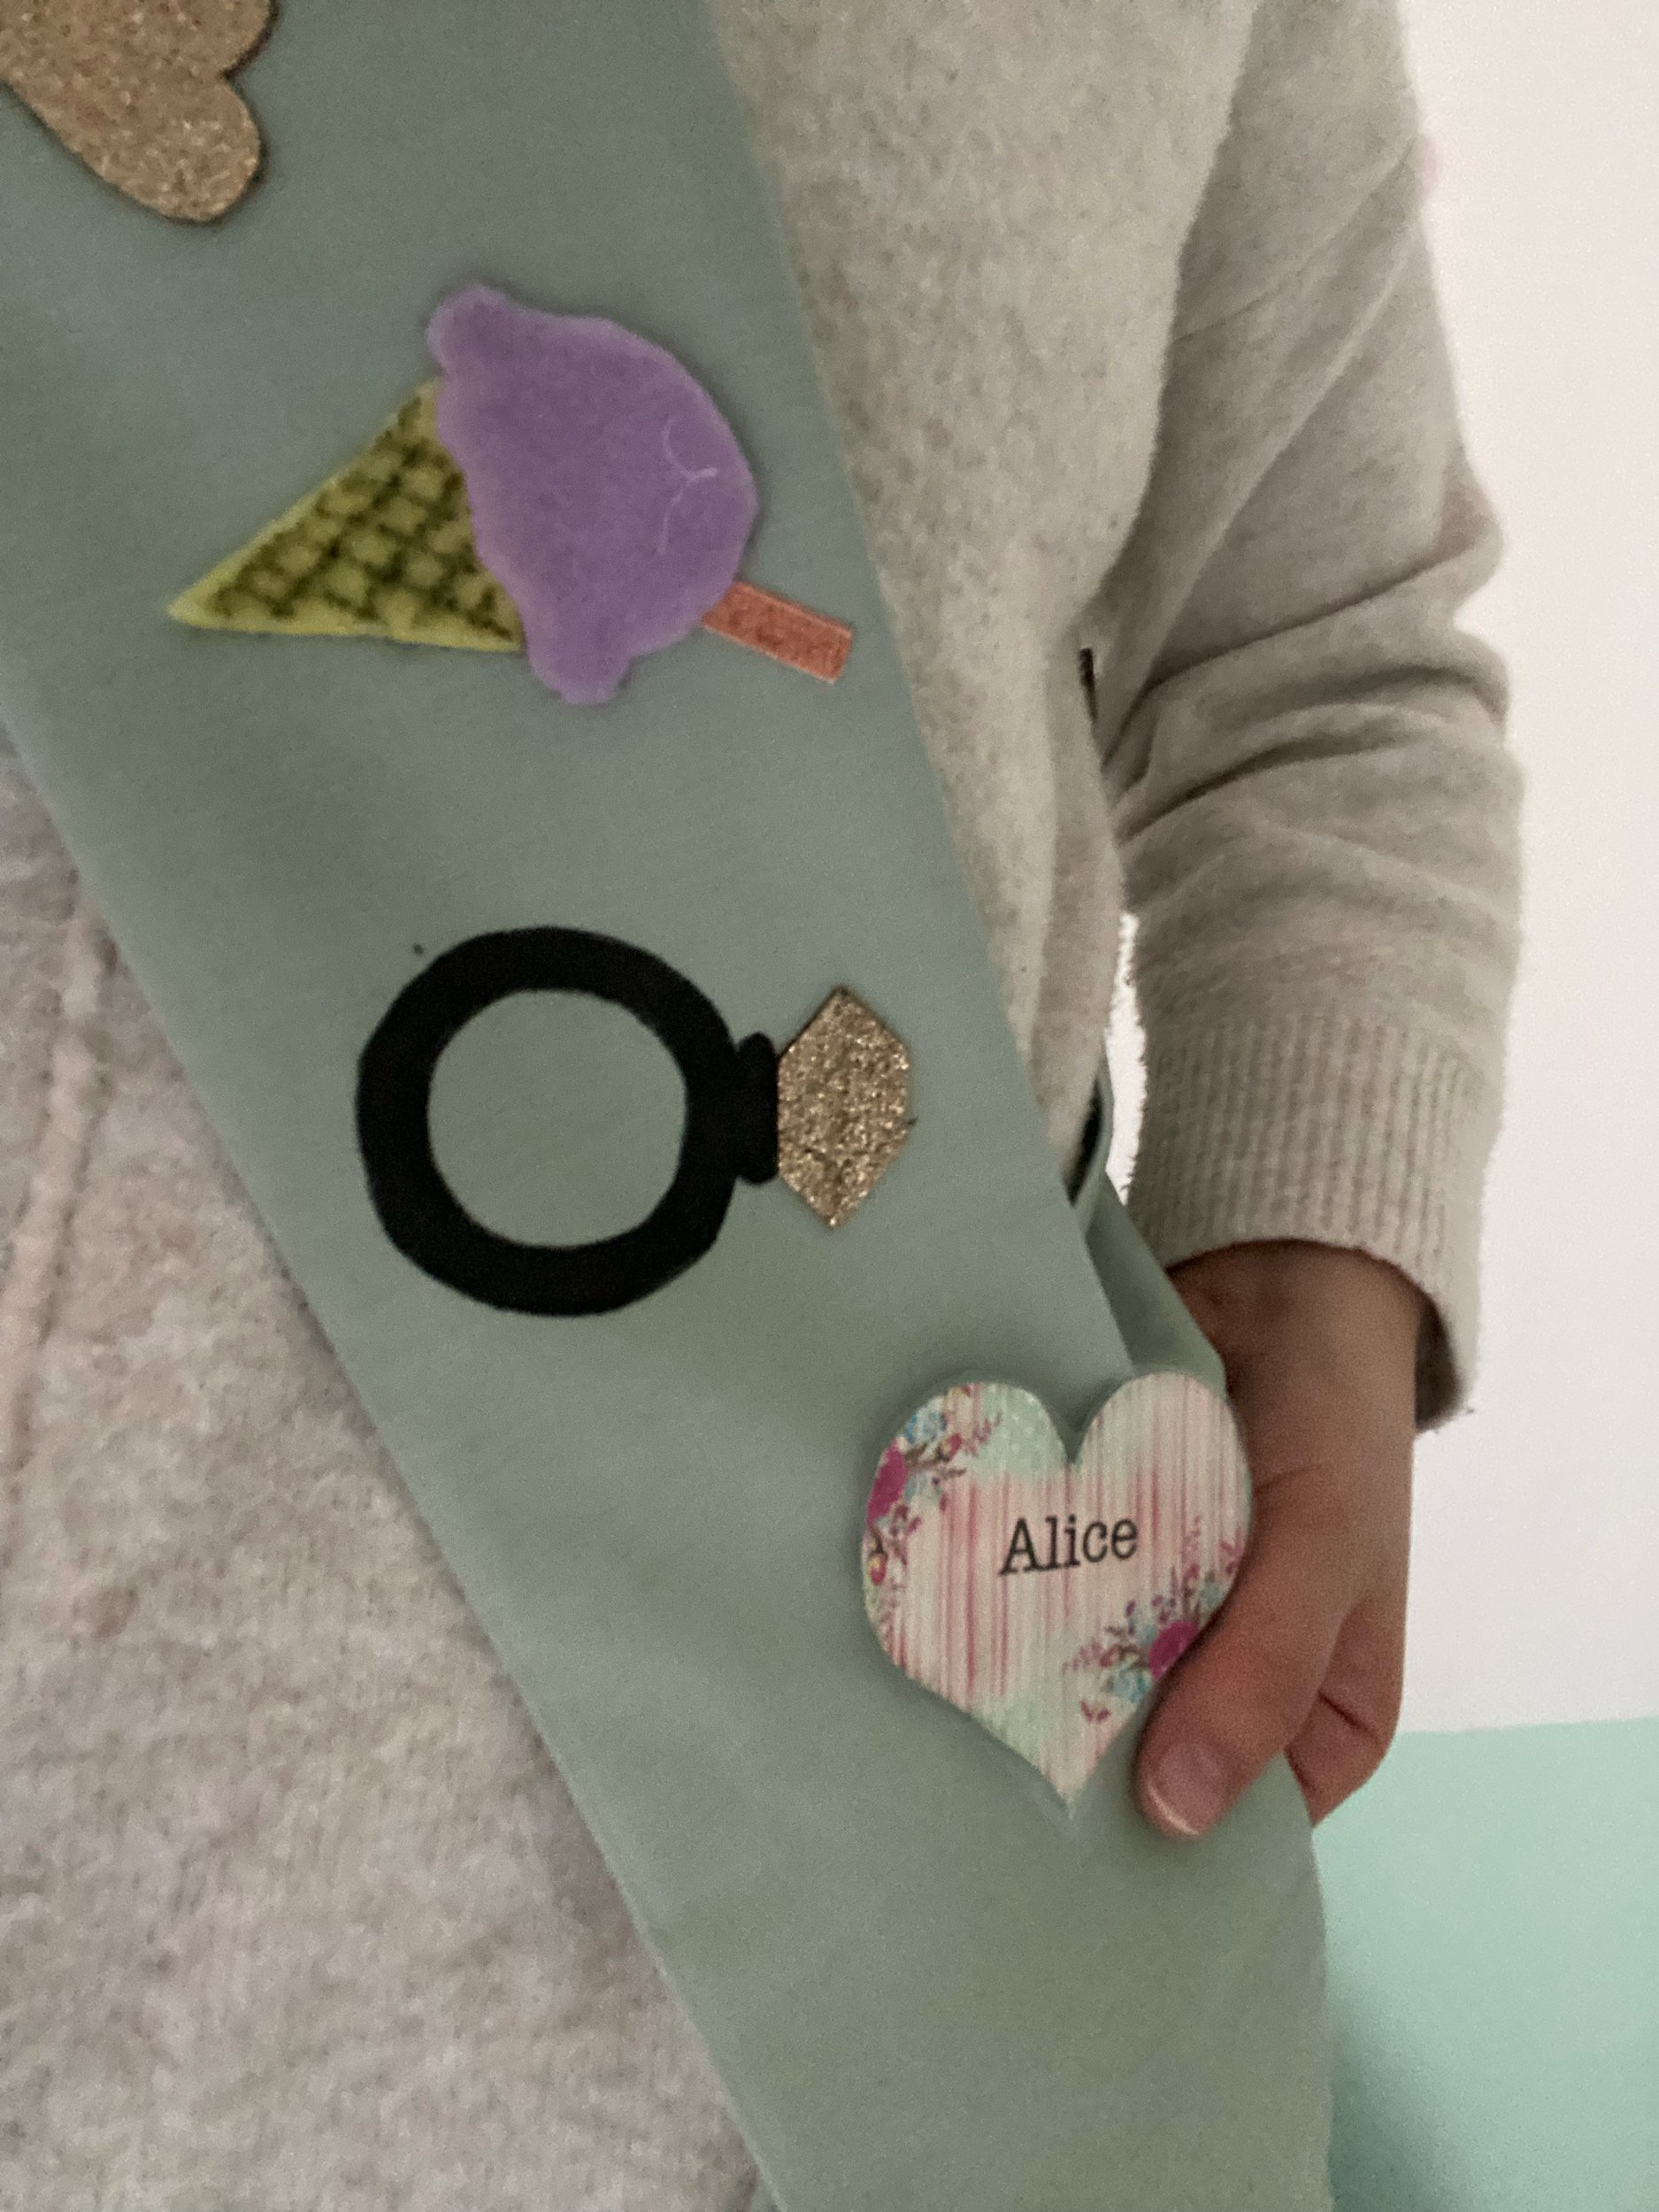
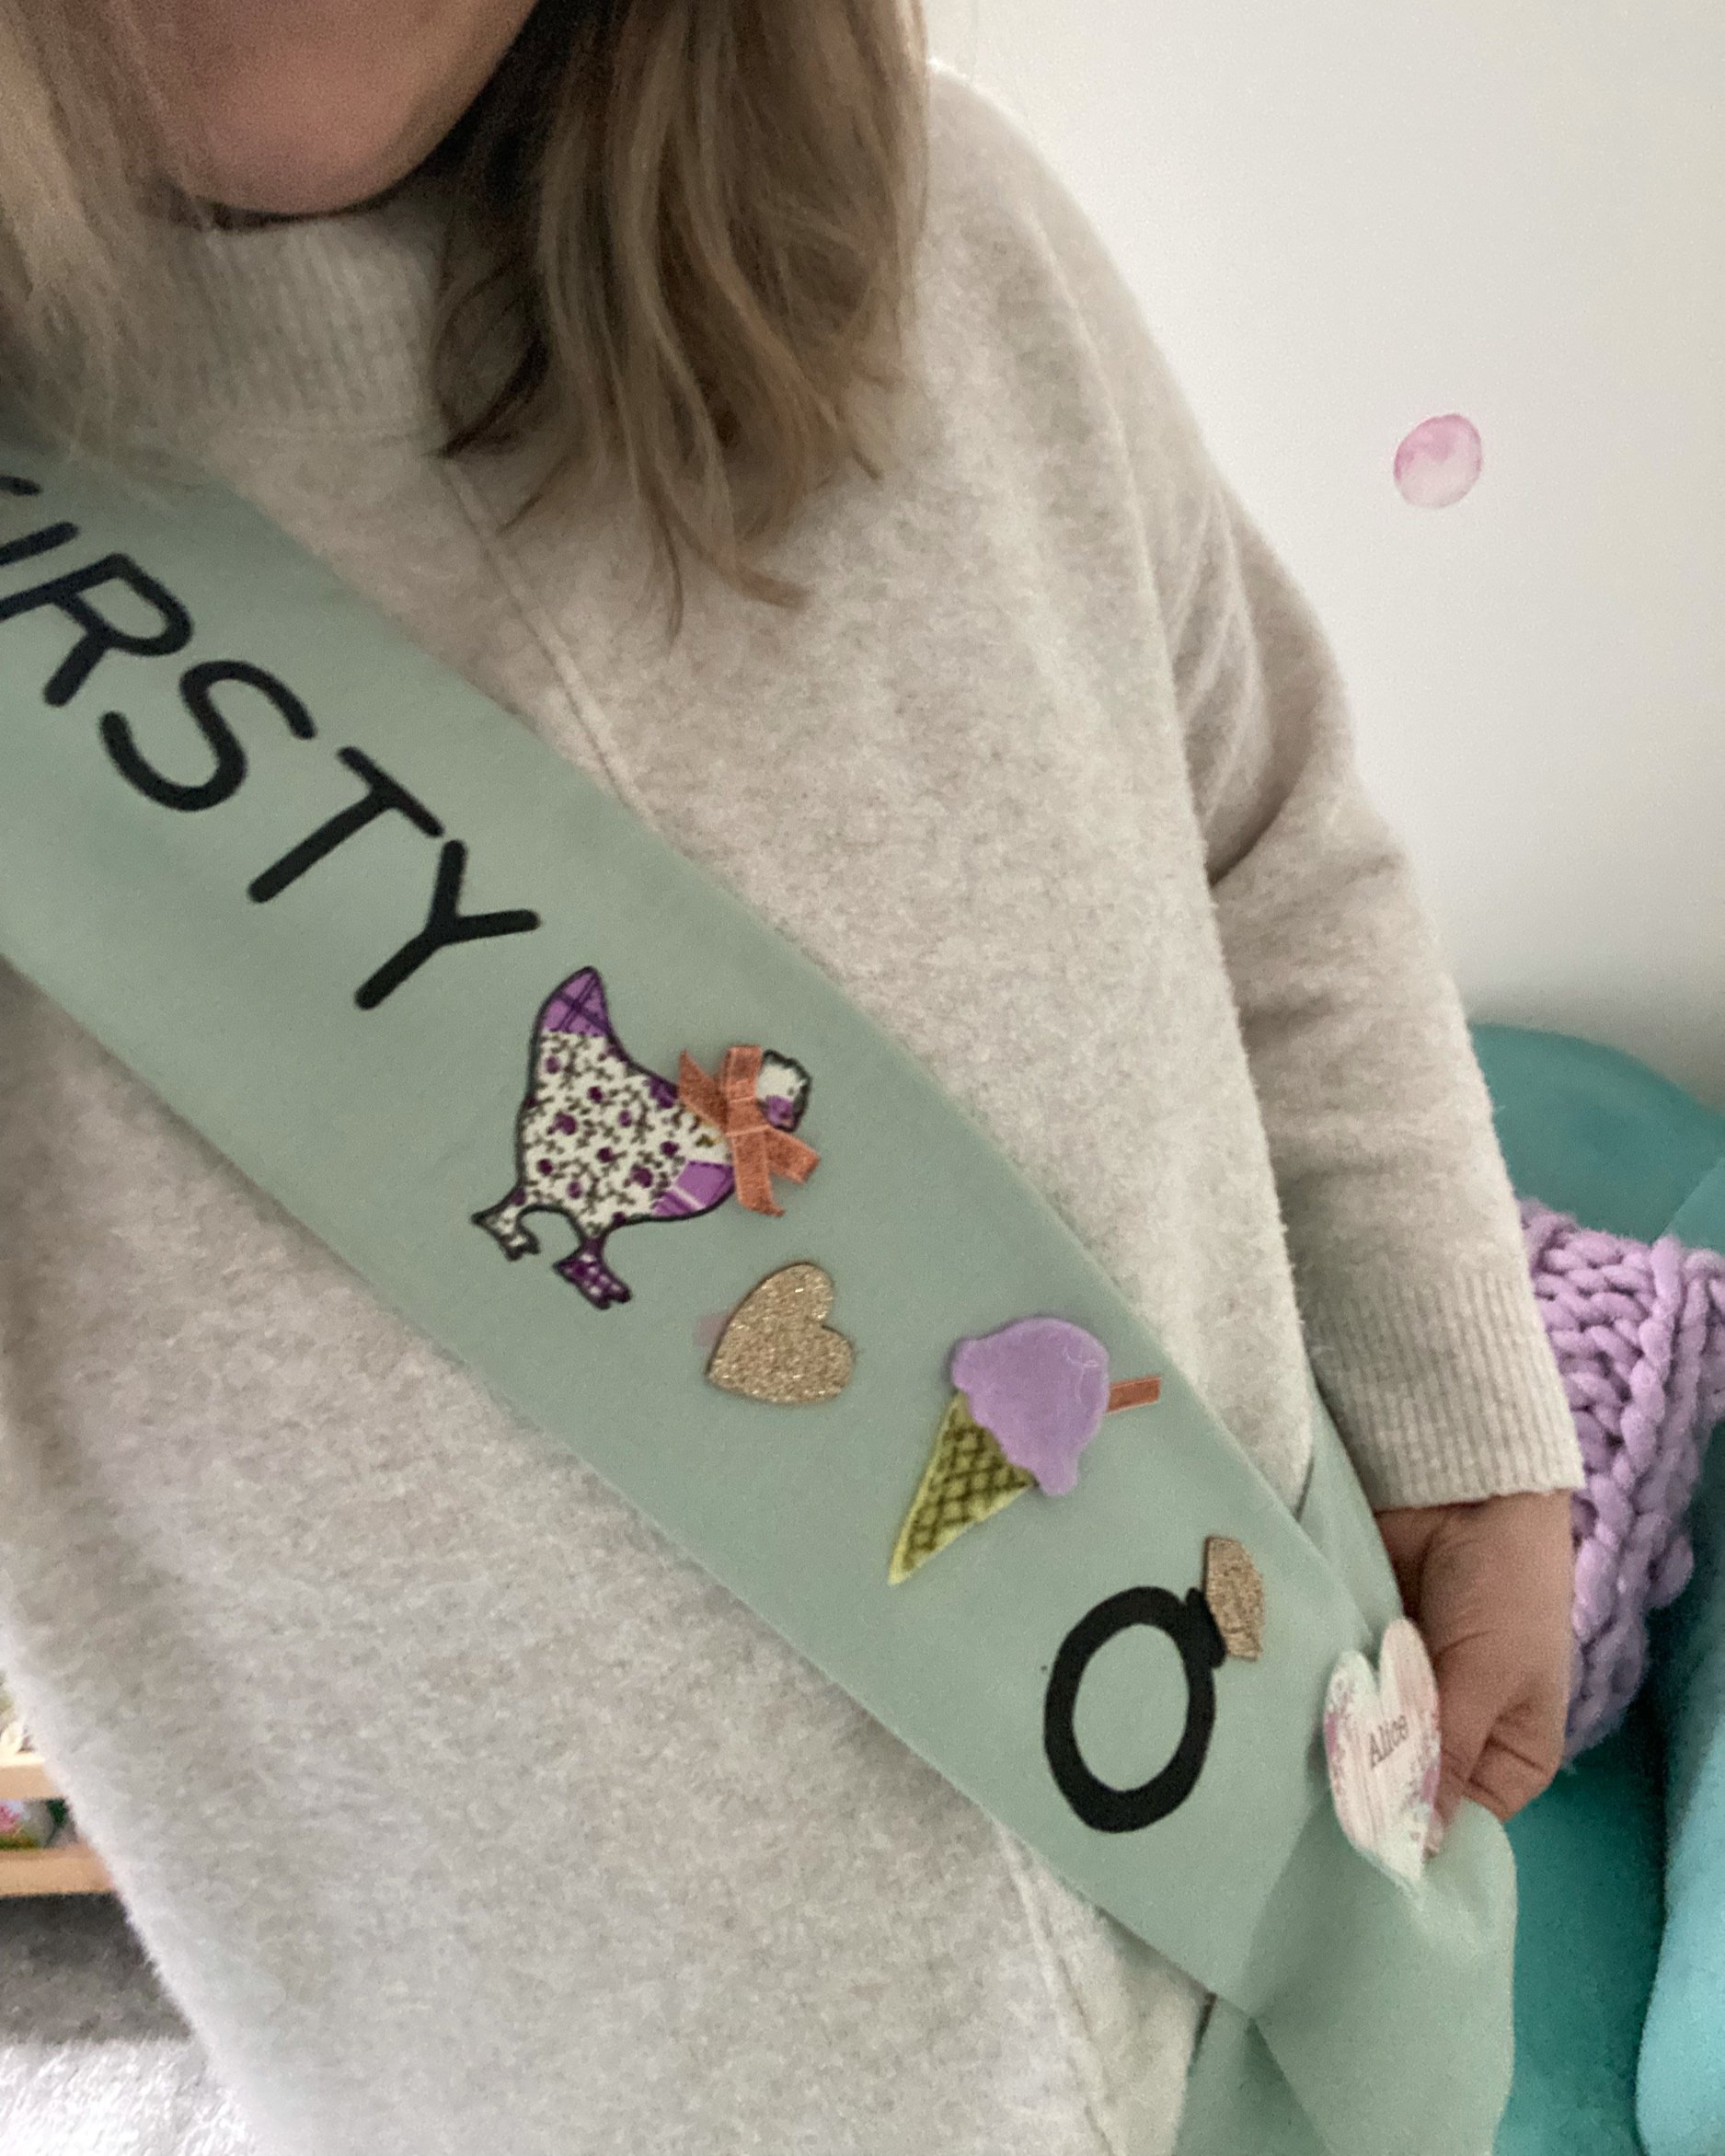
Here is an example of one of the sashes using the hen stencils in your kit, fabrics, felt and name writing with fabric pens and the alphabet stencils!
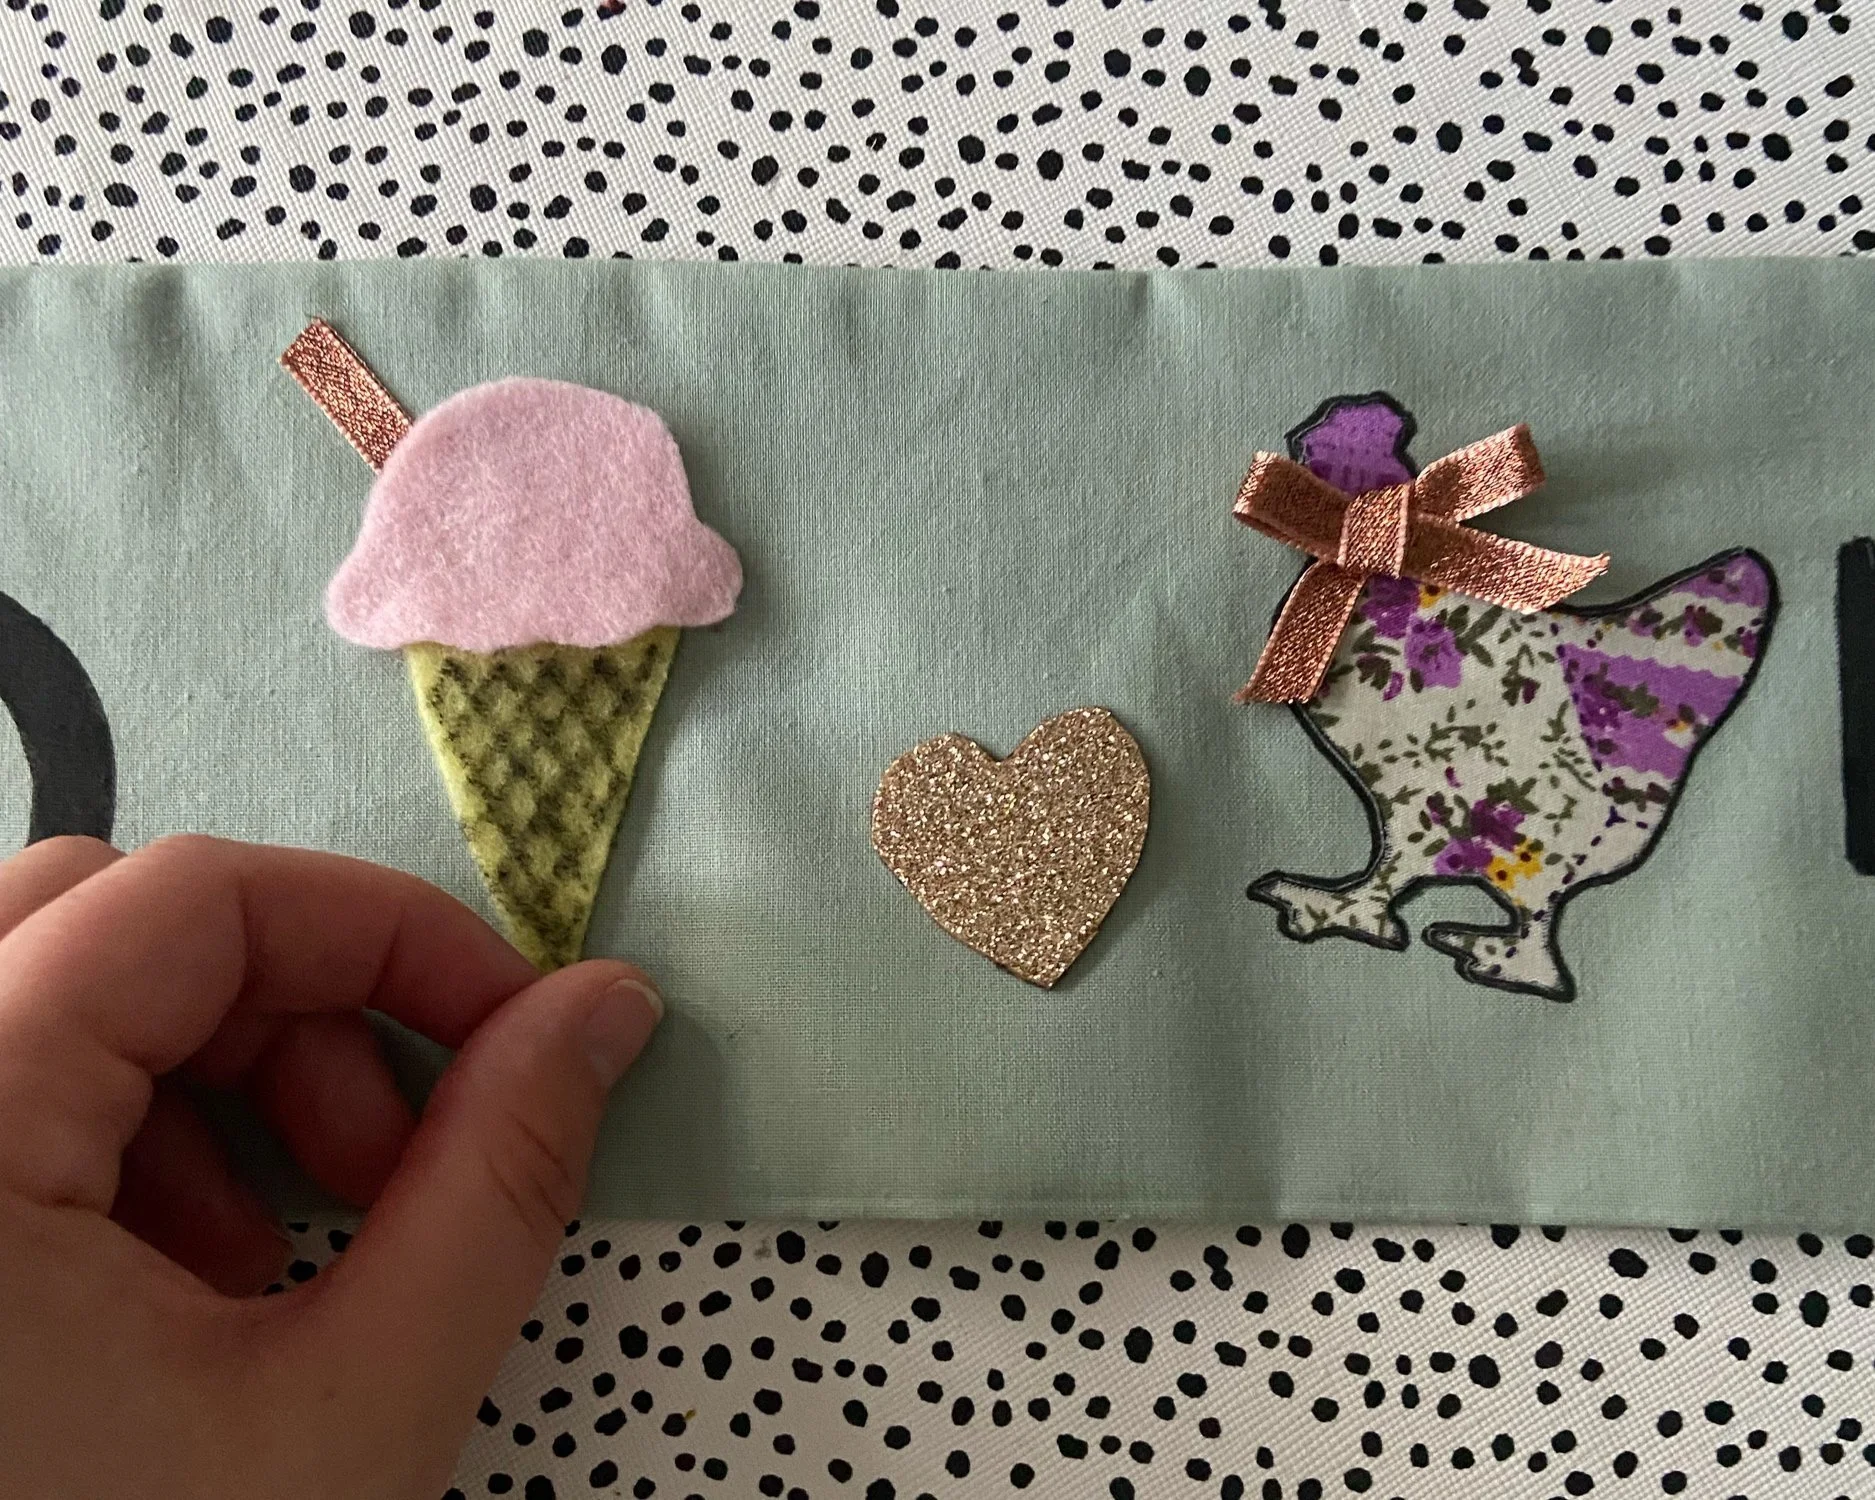
Here I have used a mixture of felt, fabric, the black fabric pen and some of the ribbon to create the little bow for the hen and flake for the ice cream!
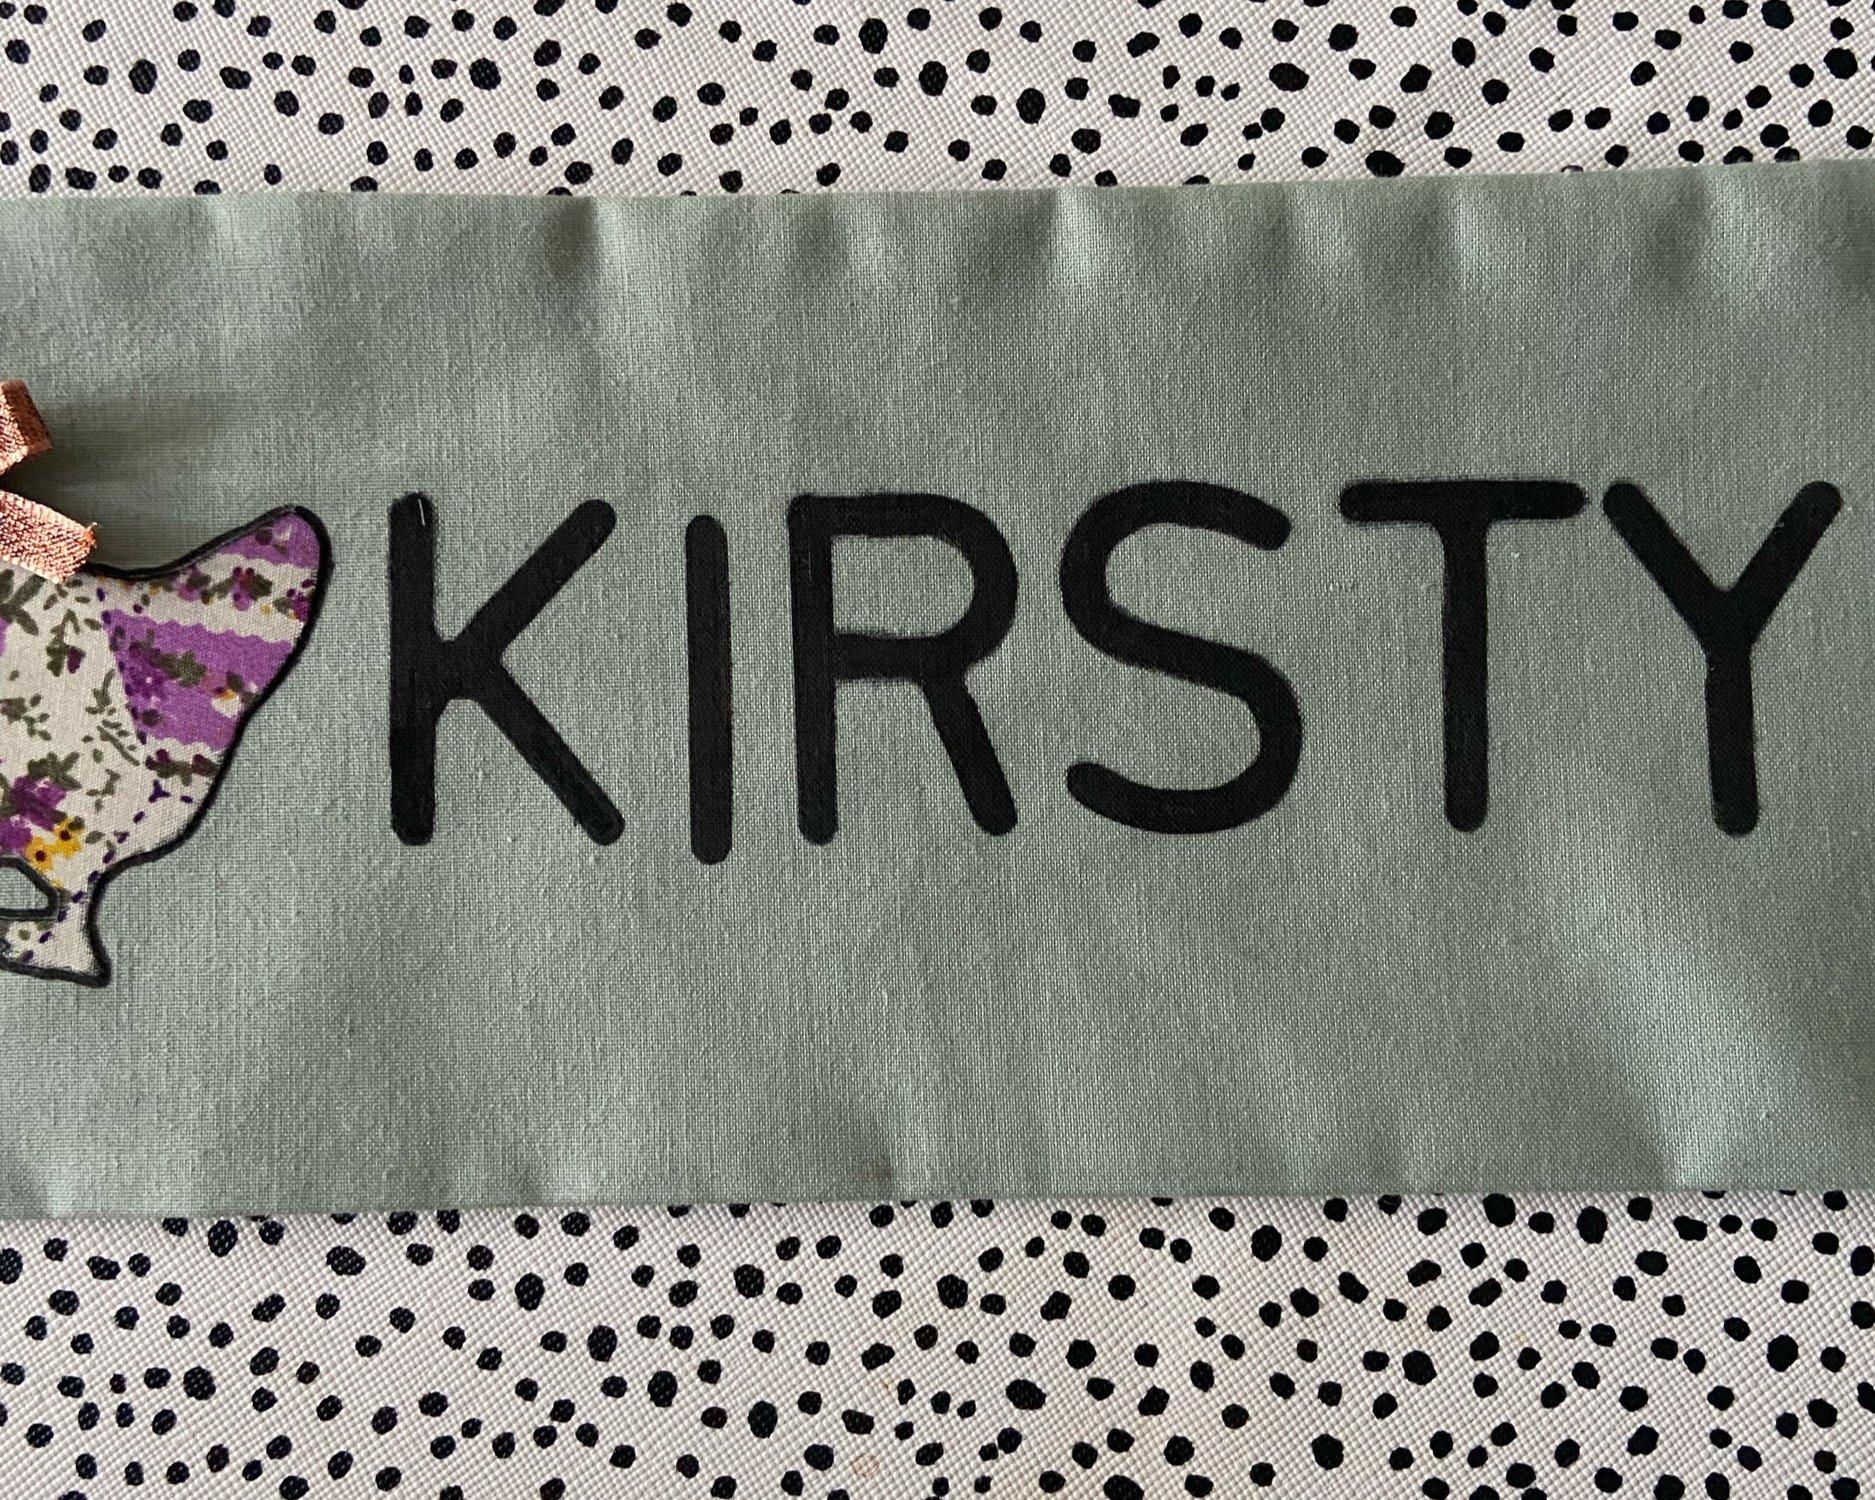
I have used the black fabric pen and alphabet stencils to write the name directly onto the sash here. If you have a dark-coloured sash, please look at the next tips!

Use your alphabet stencils and fabric pens to create writing directly onto the sash or on lighter coloured cotton.
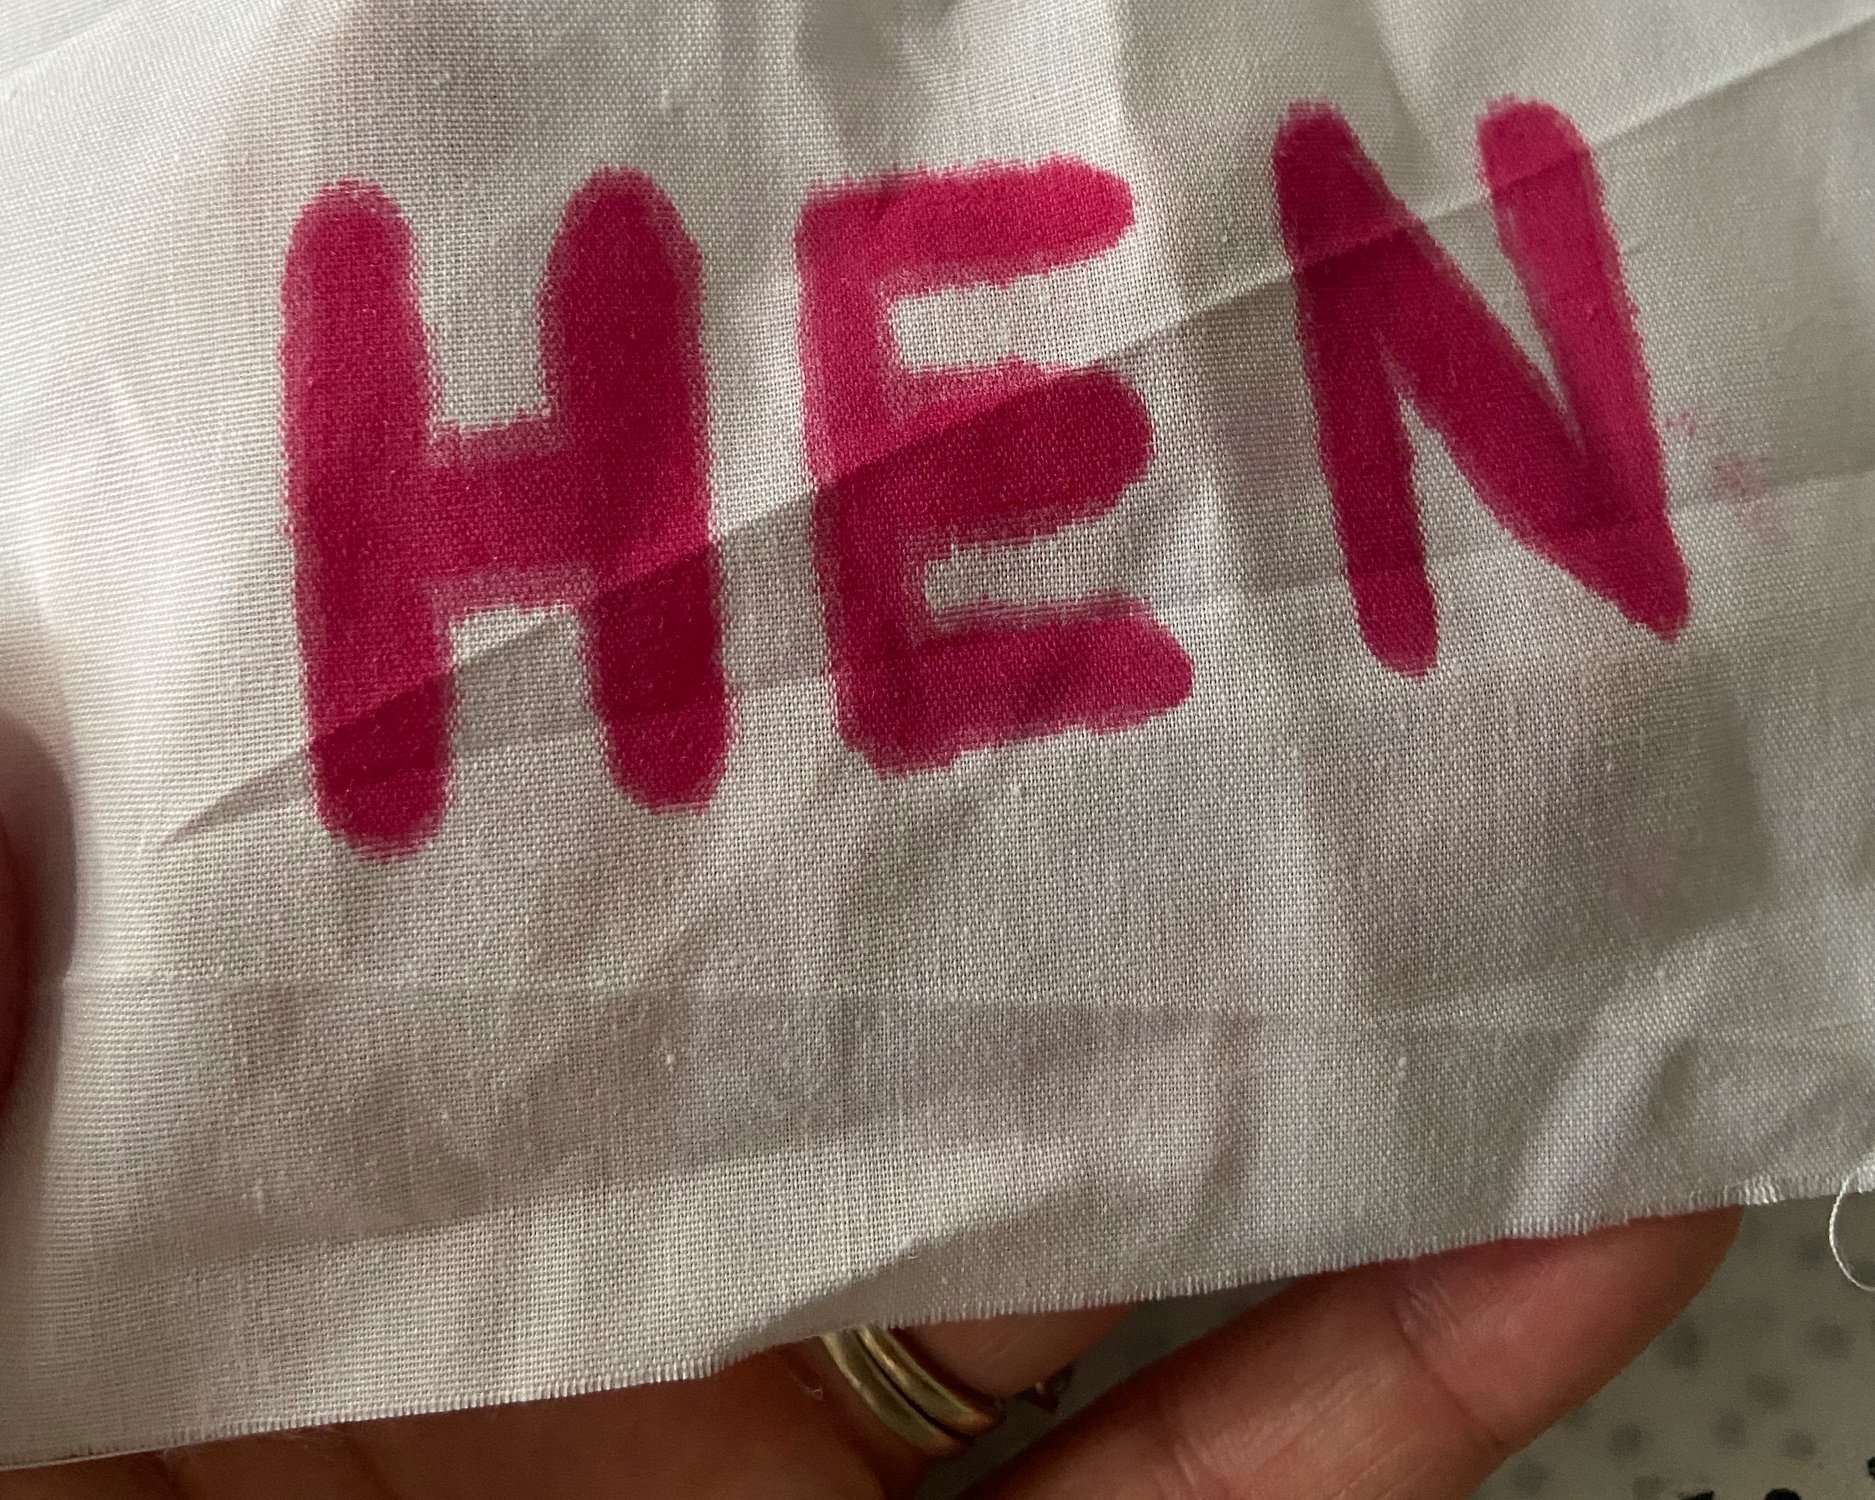
If you have a dark-coloured sash, I will have included some light cotton, you can use this cotton to write text or anything you want to do in fabric pens on.
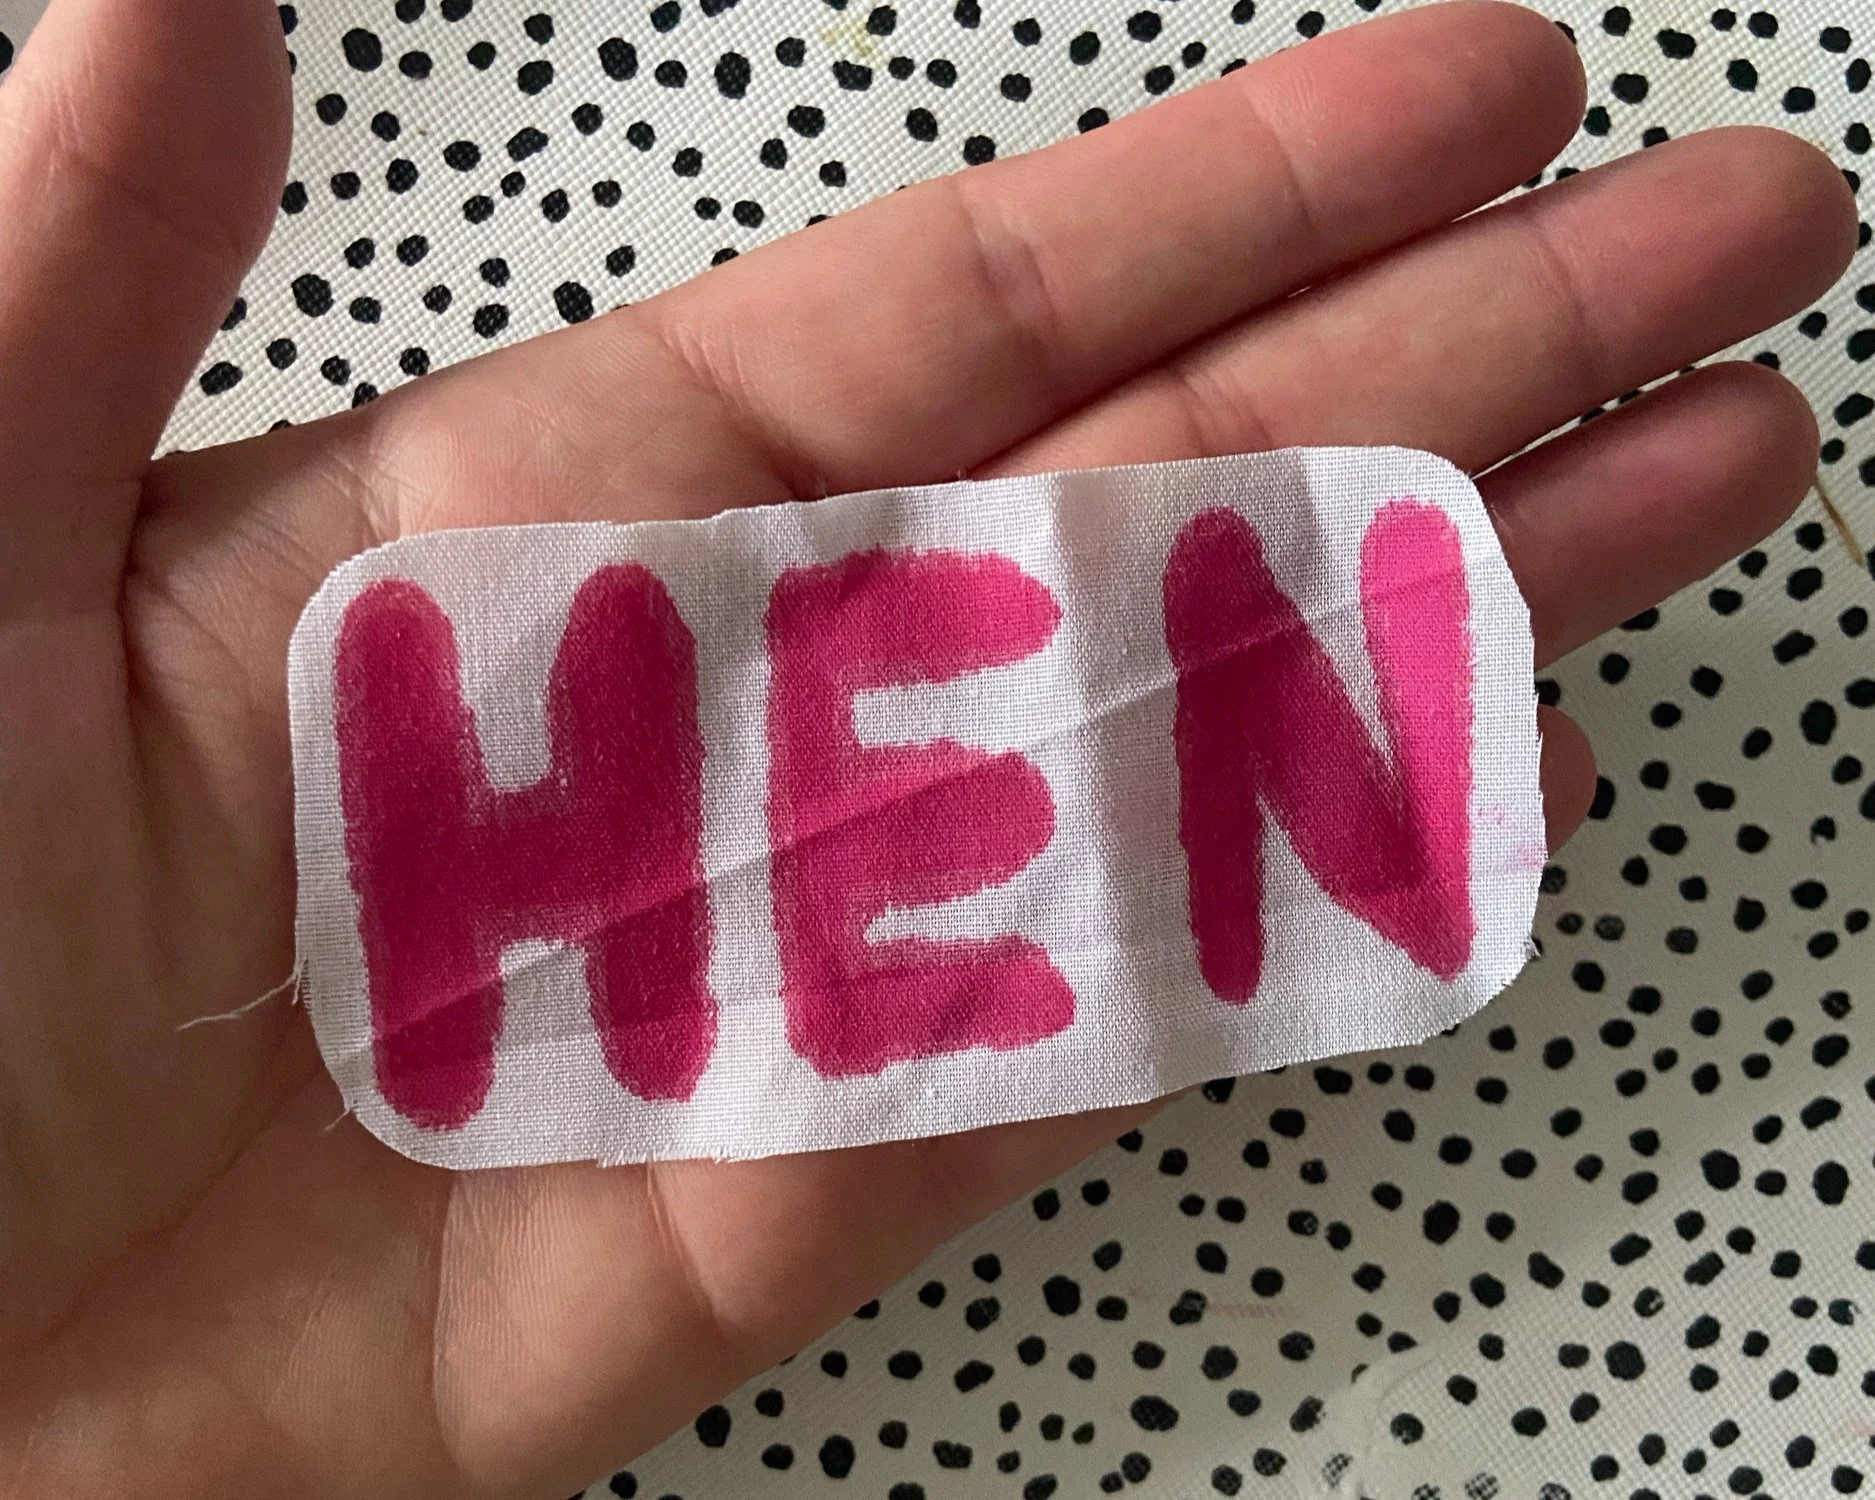
If writing onto the light-coloured cotton, once you have used the fabric pens, you can cut around it and then attached this piece of fabric directly to the sash using the fabric glue.
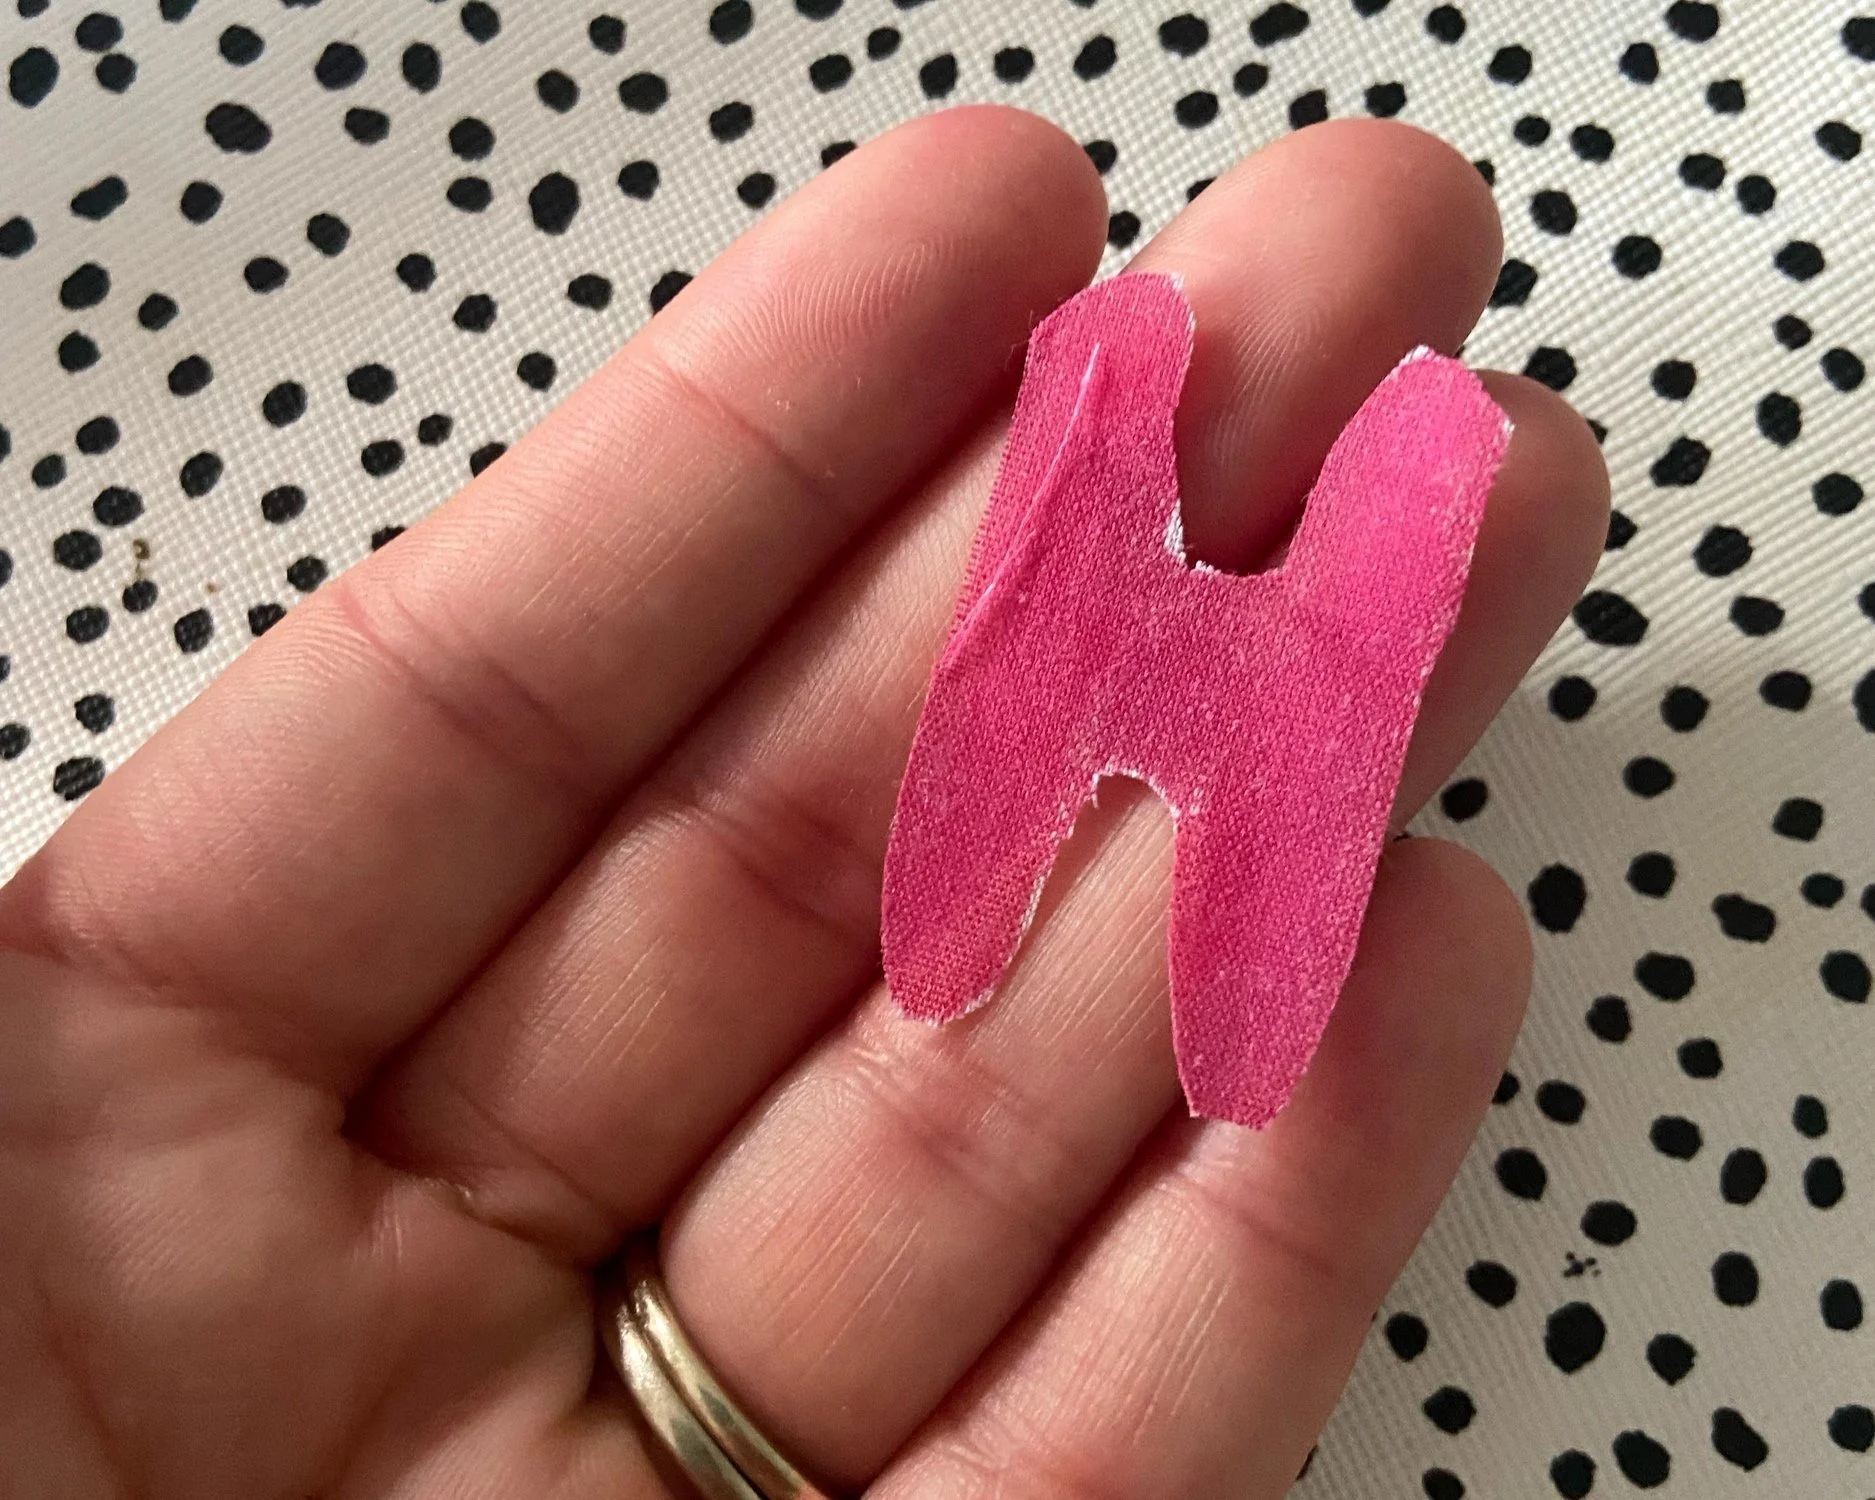
Alternatively, you can cut the letters or shapes out individually and then attach them to the sash using the fabric glue.
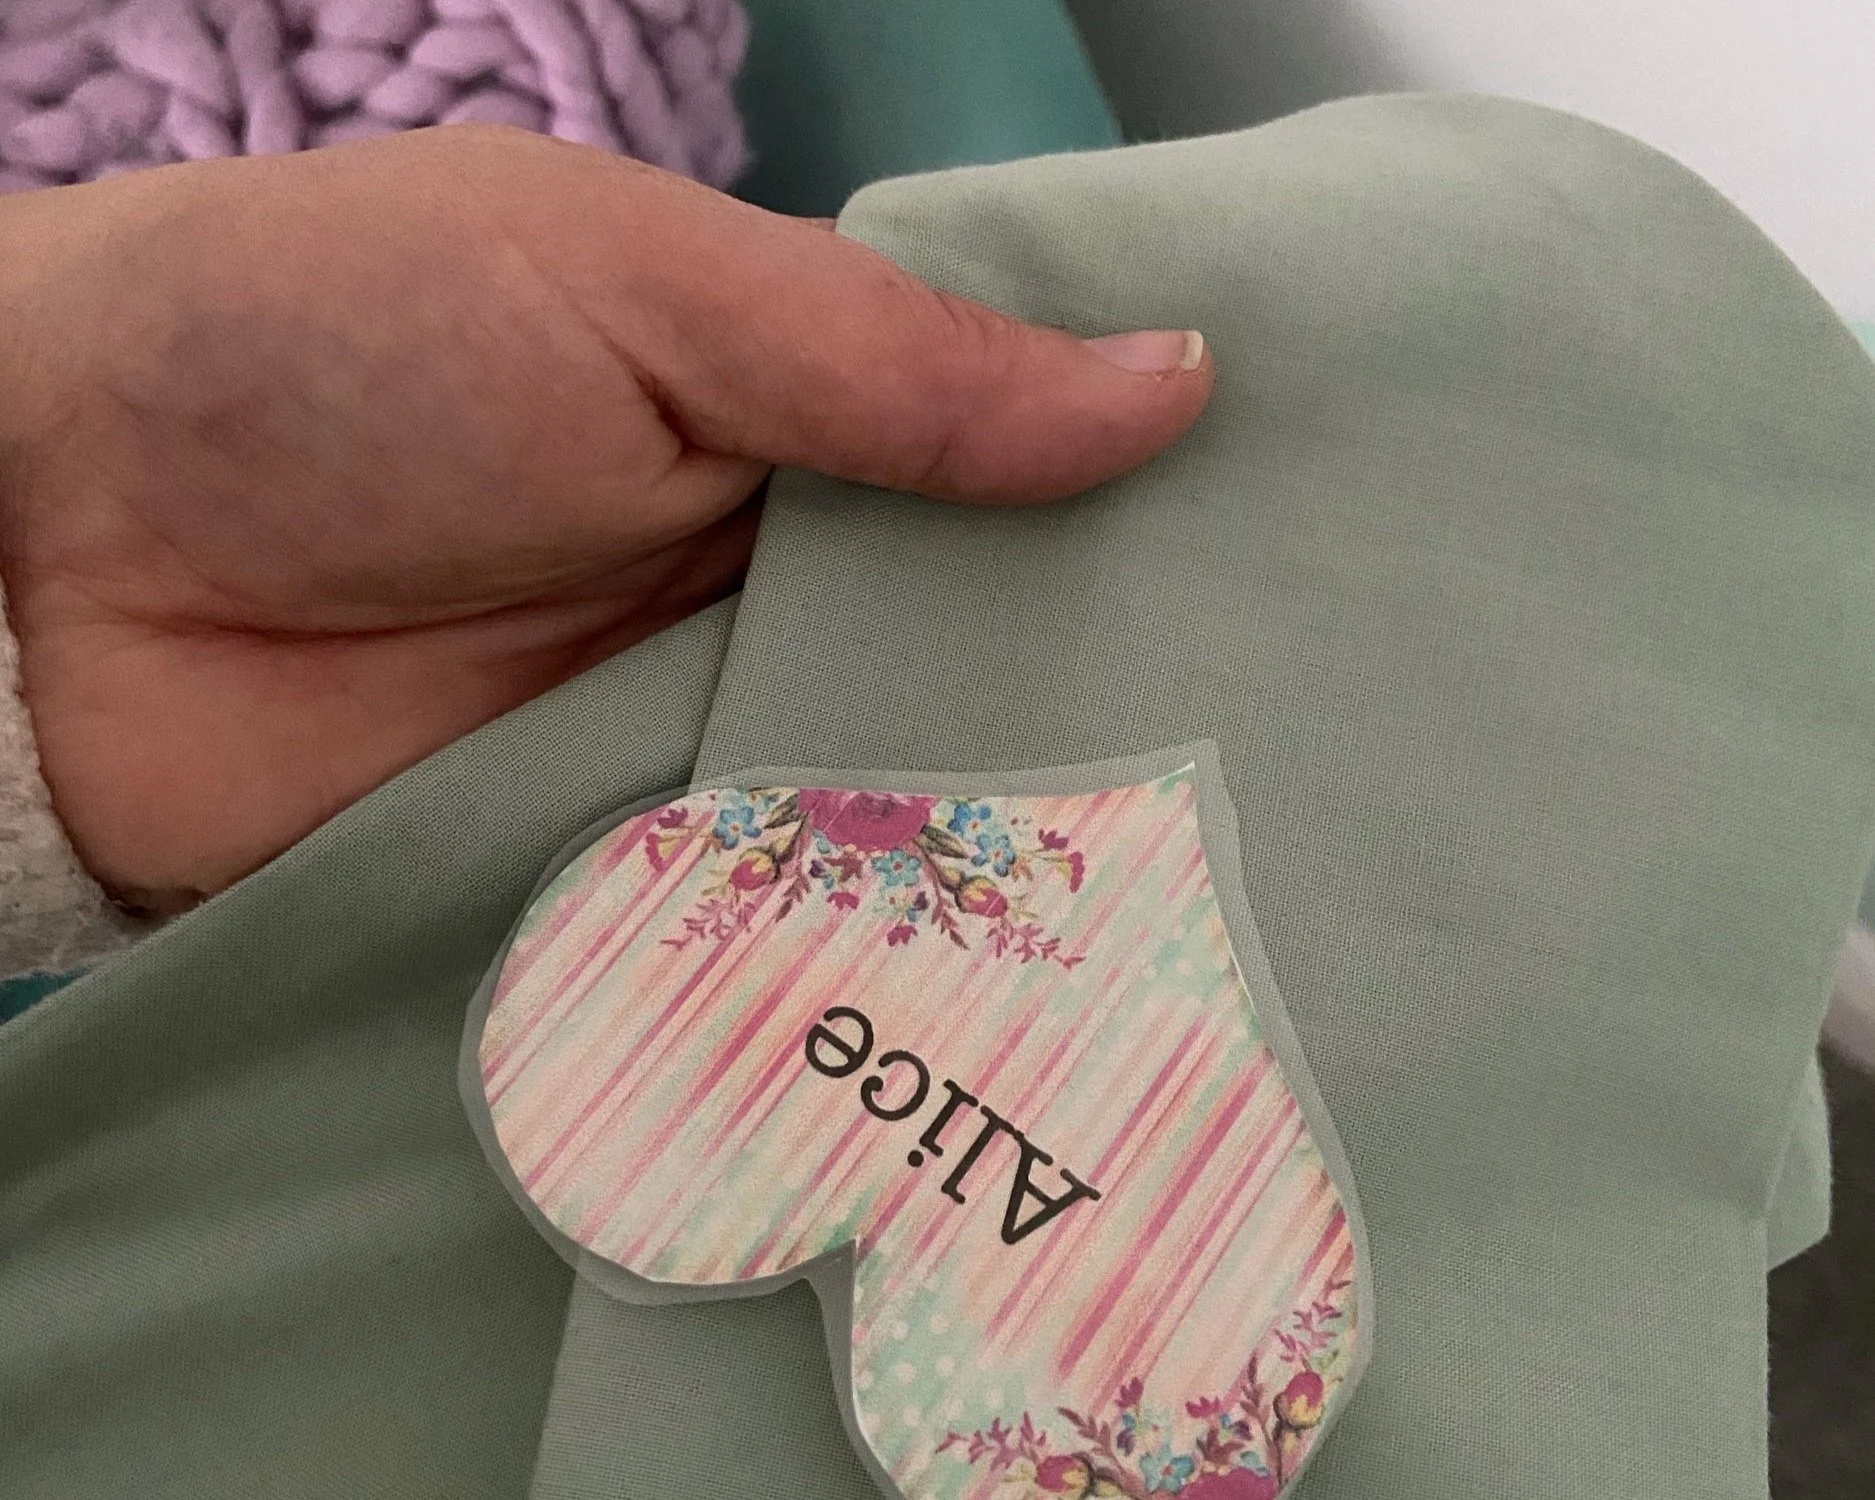
Once you are happy with your finished sash, use your name badge to pin both sash pieces together where feels comfortable and you are done!
Place your badge on your sash where feels comfortable for your size/ fit to wear.
Ta-da!