
Floral Textured Canvas Art Kit Instructions
I hope you enjoy creating your floral textured canvas art, it’s such a simple and effective craft and I find it very therapeutic to do!
You might need:
Baby wipes or damp tissues/ kitchen roll
Have fun and any questions, please just pop me an email!
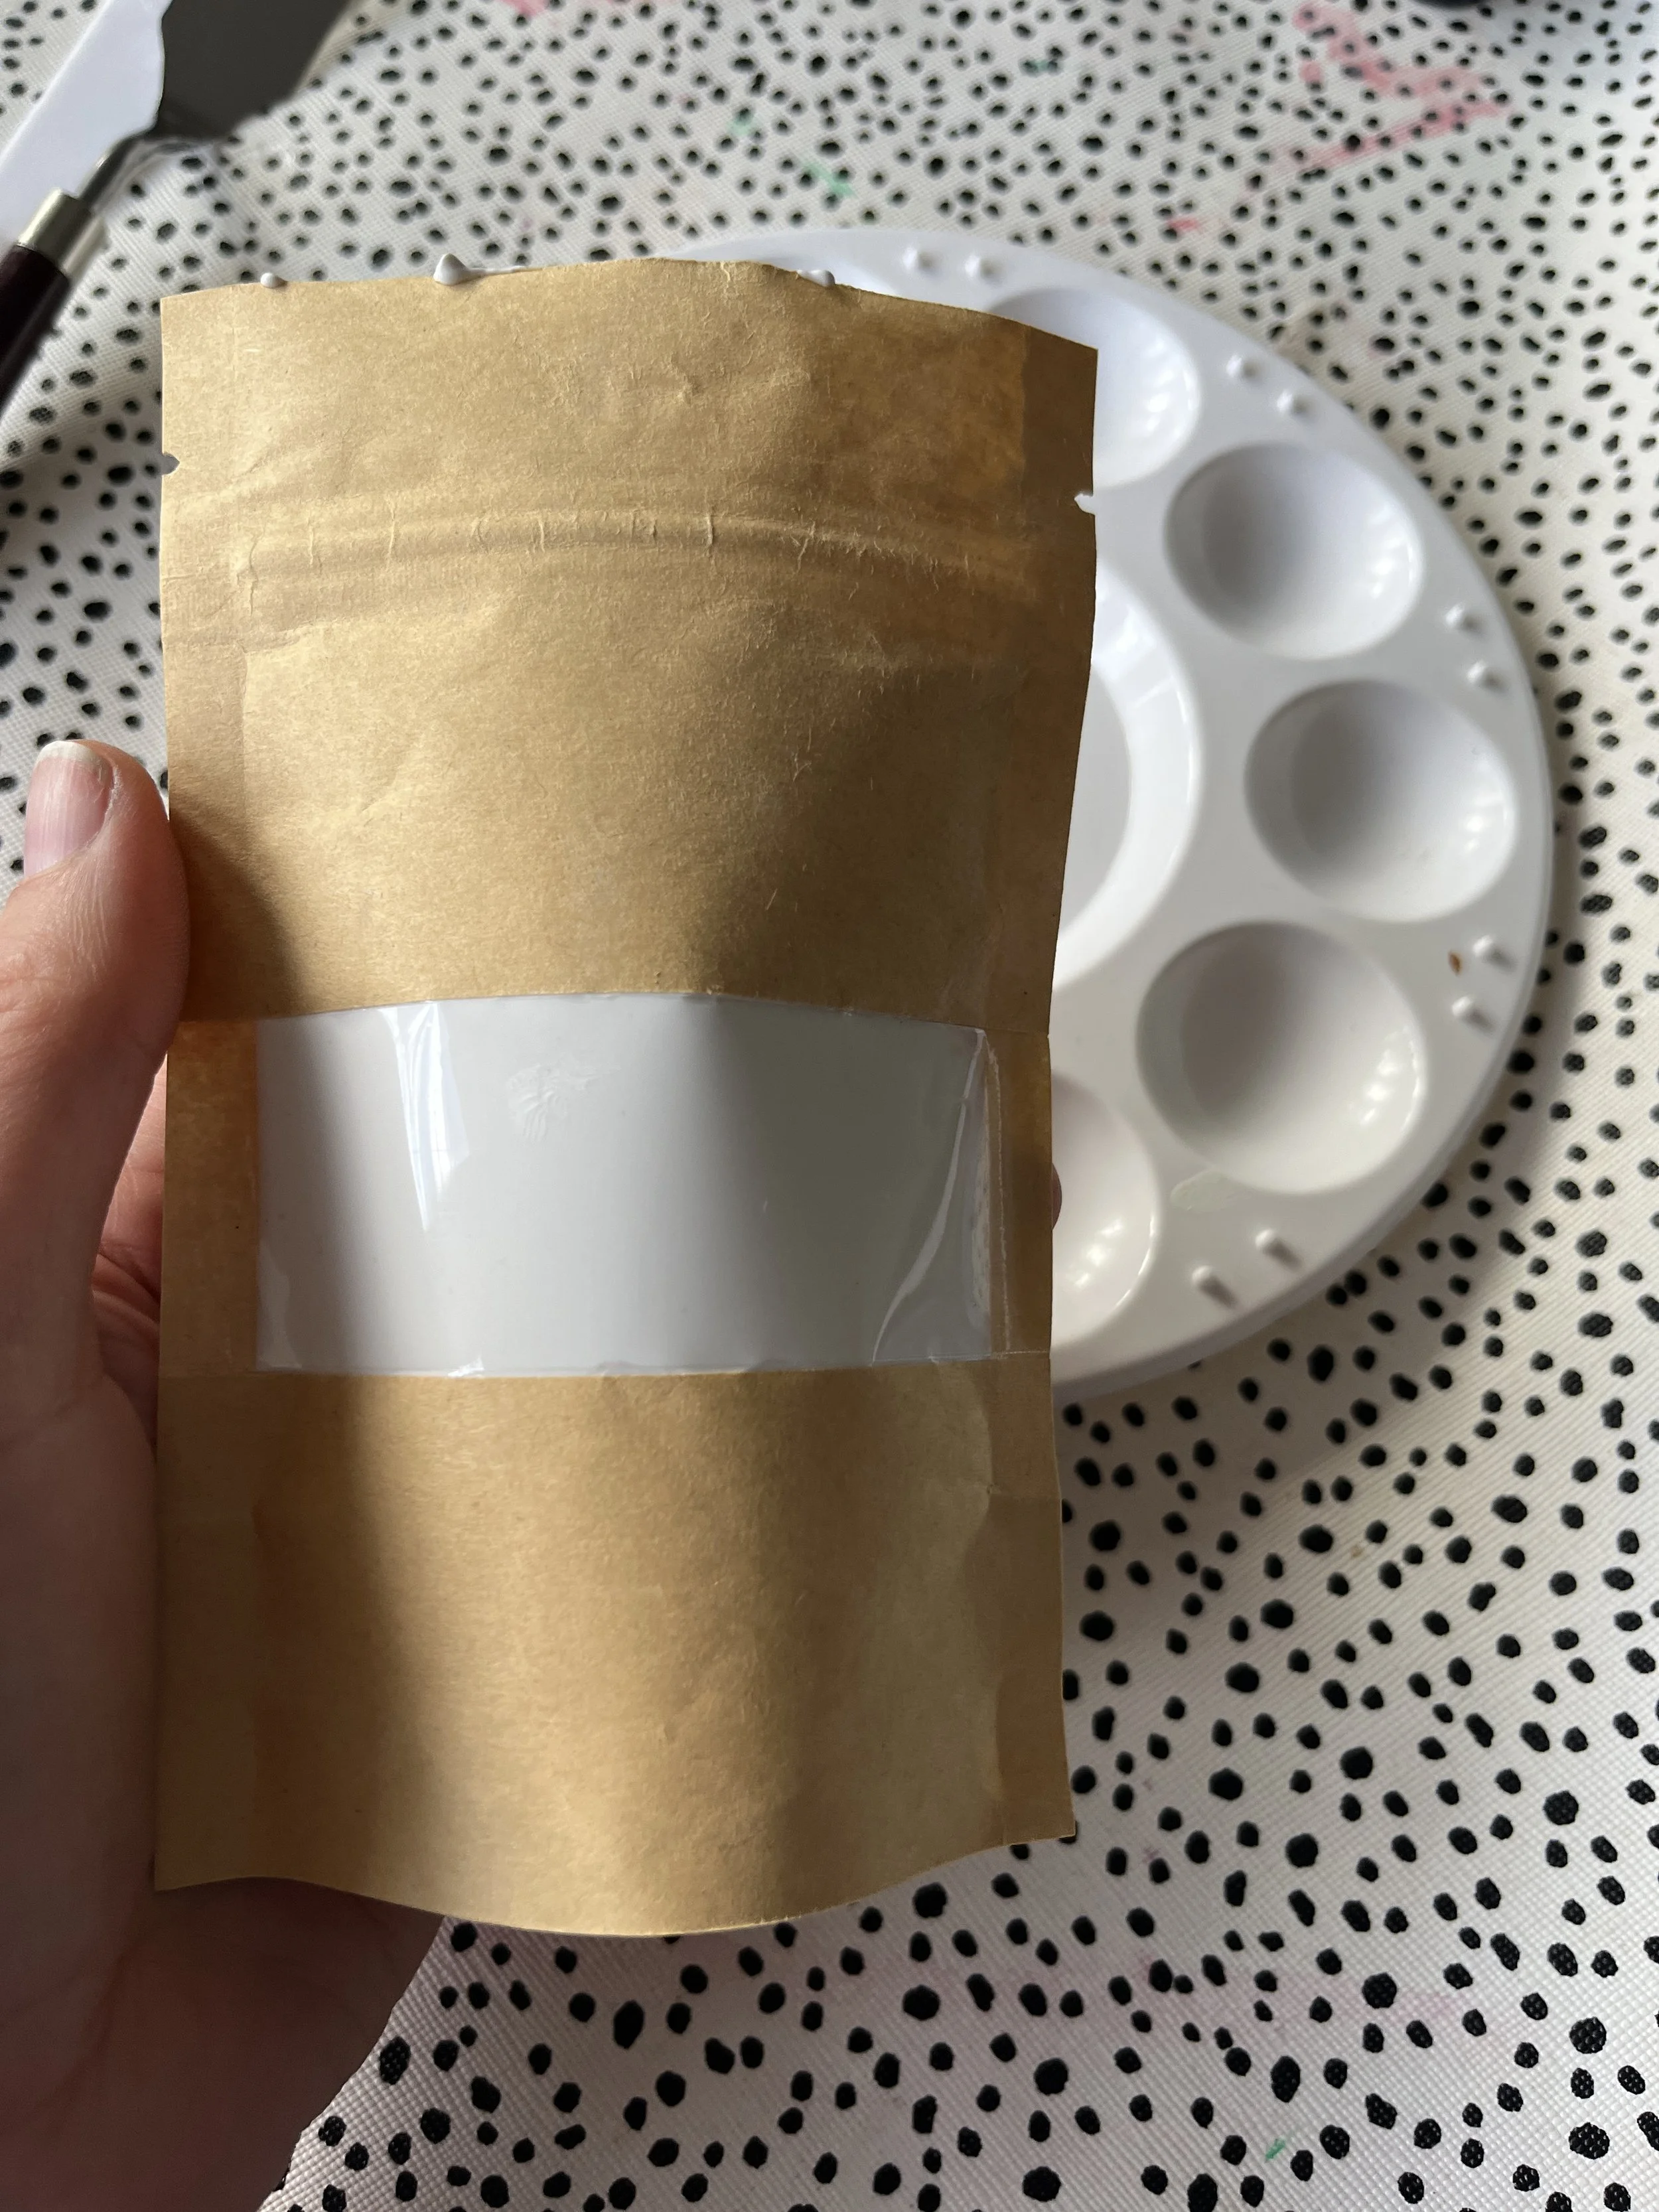
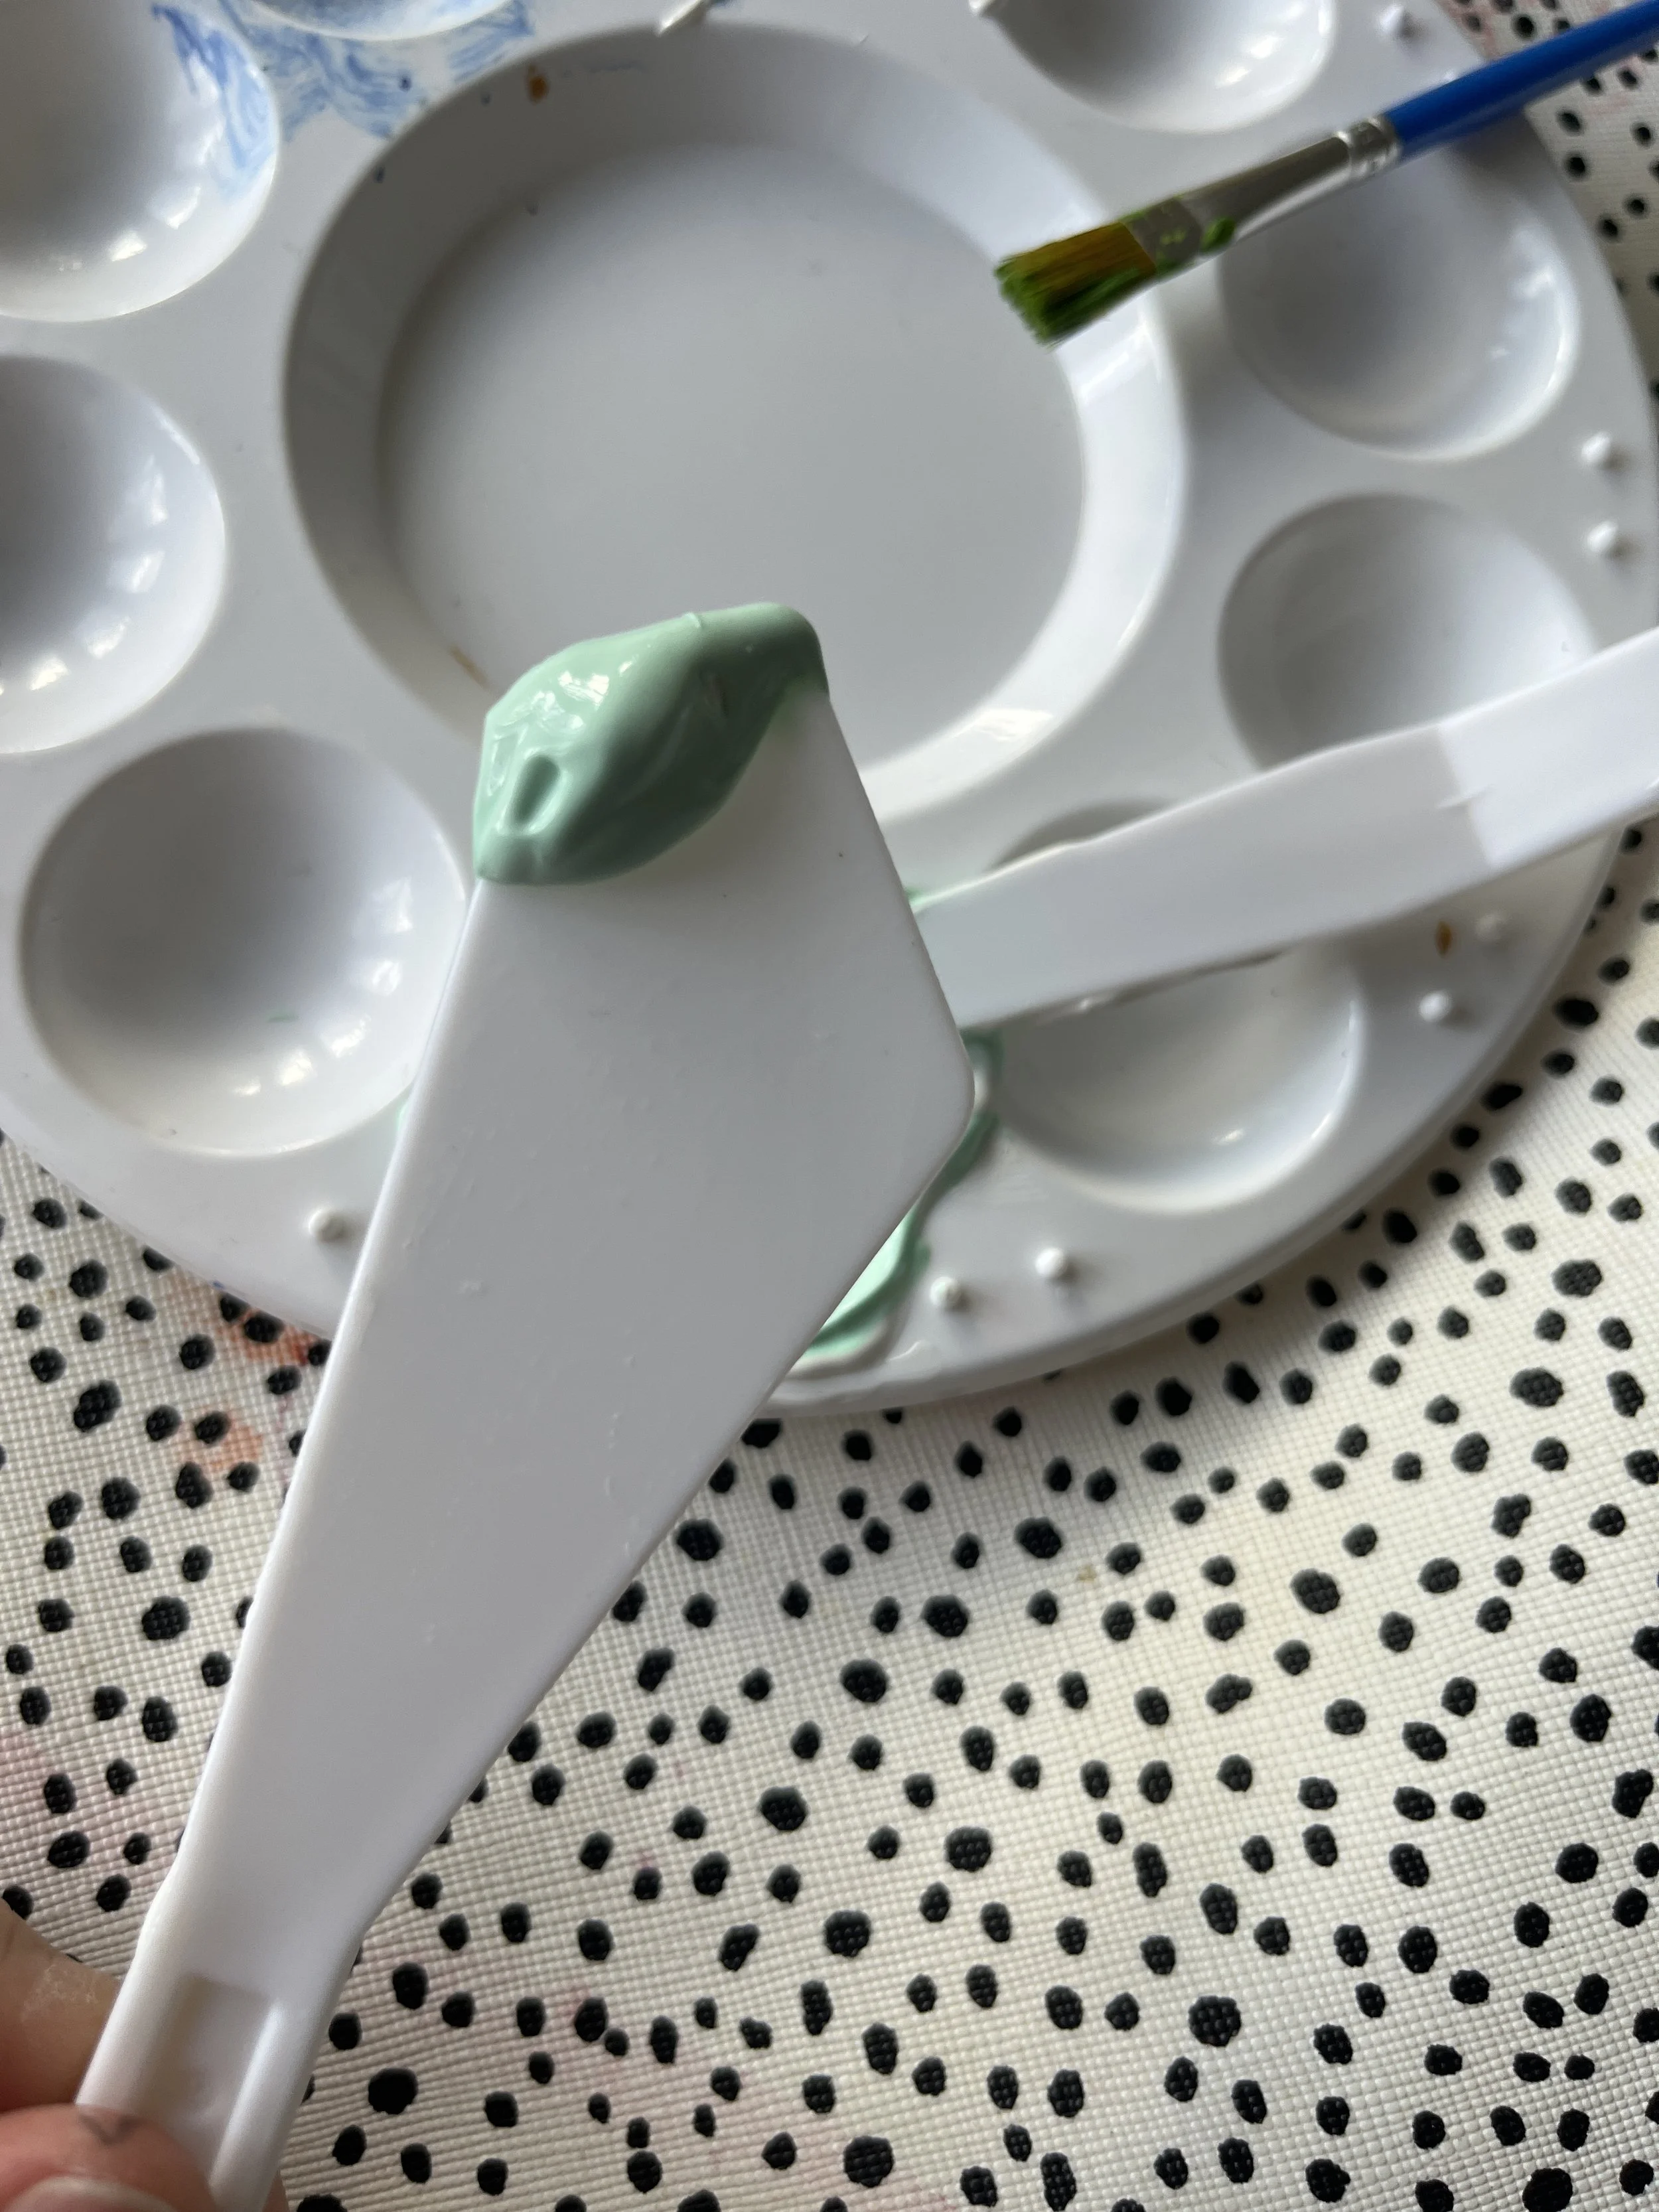
1. This is your texturising paste that you will use to mix with some acrylic paint to 'paint' onto your canvas.
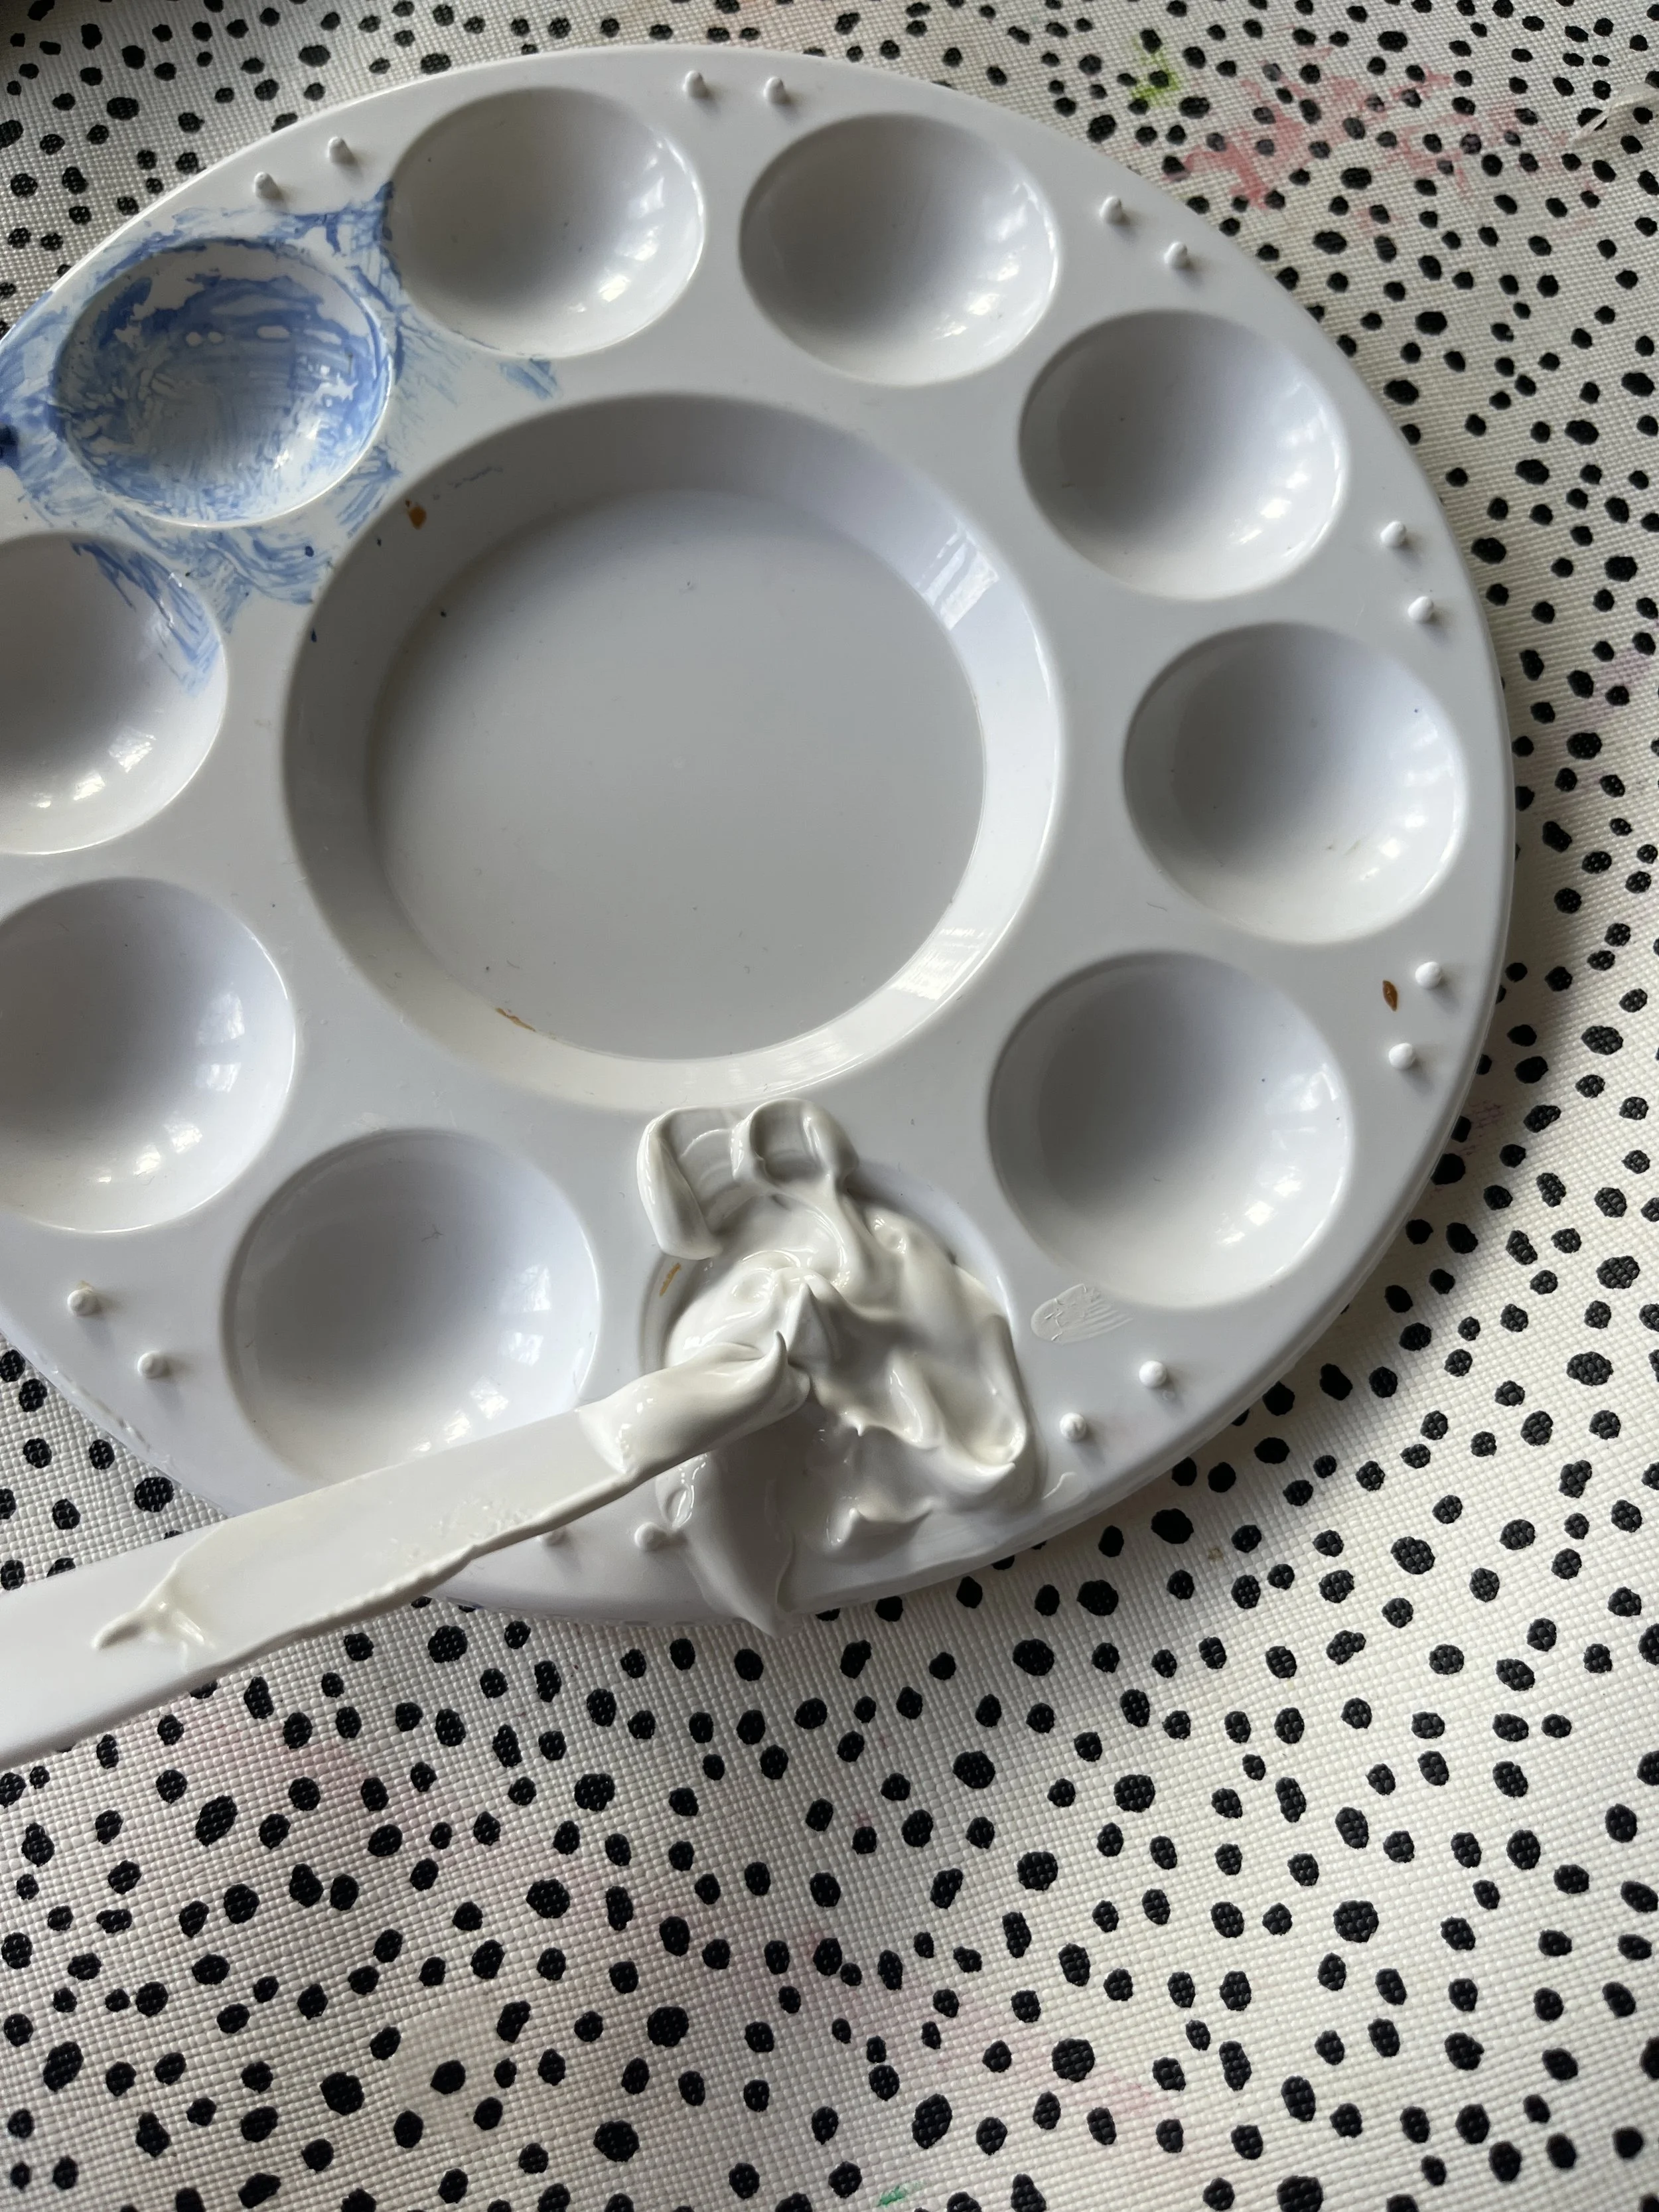
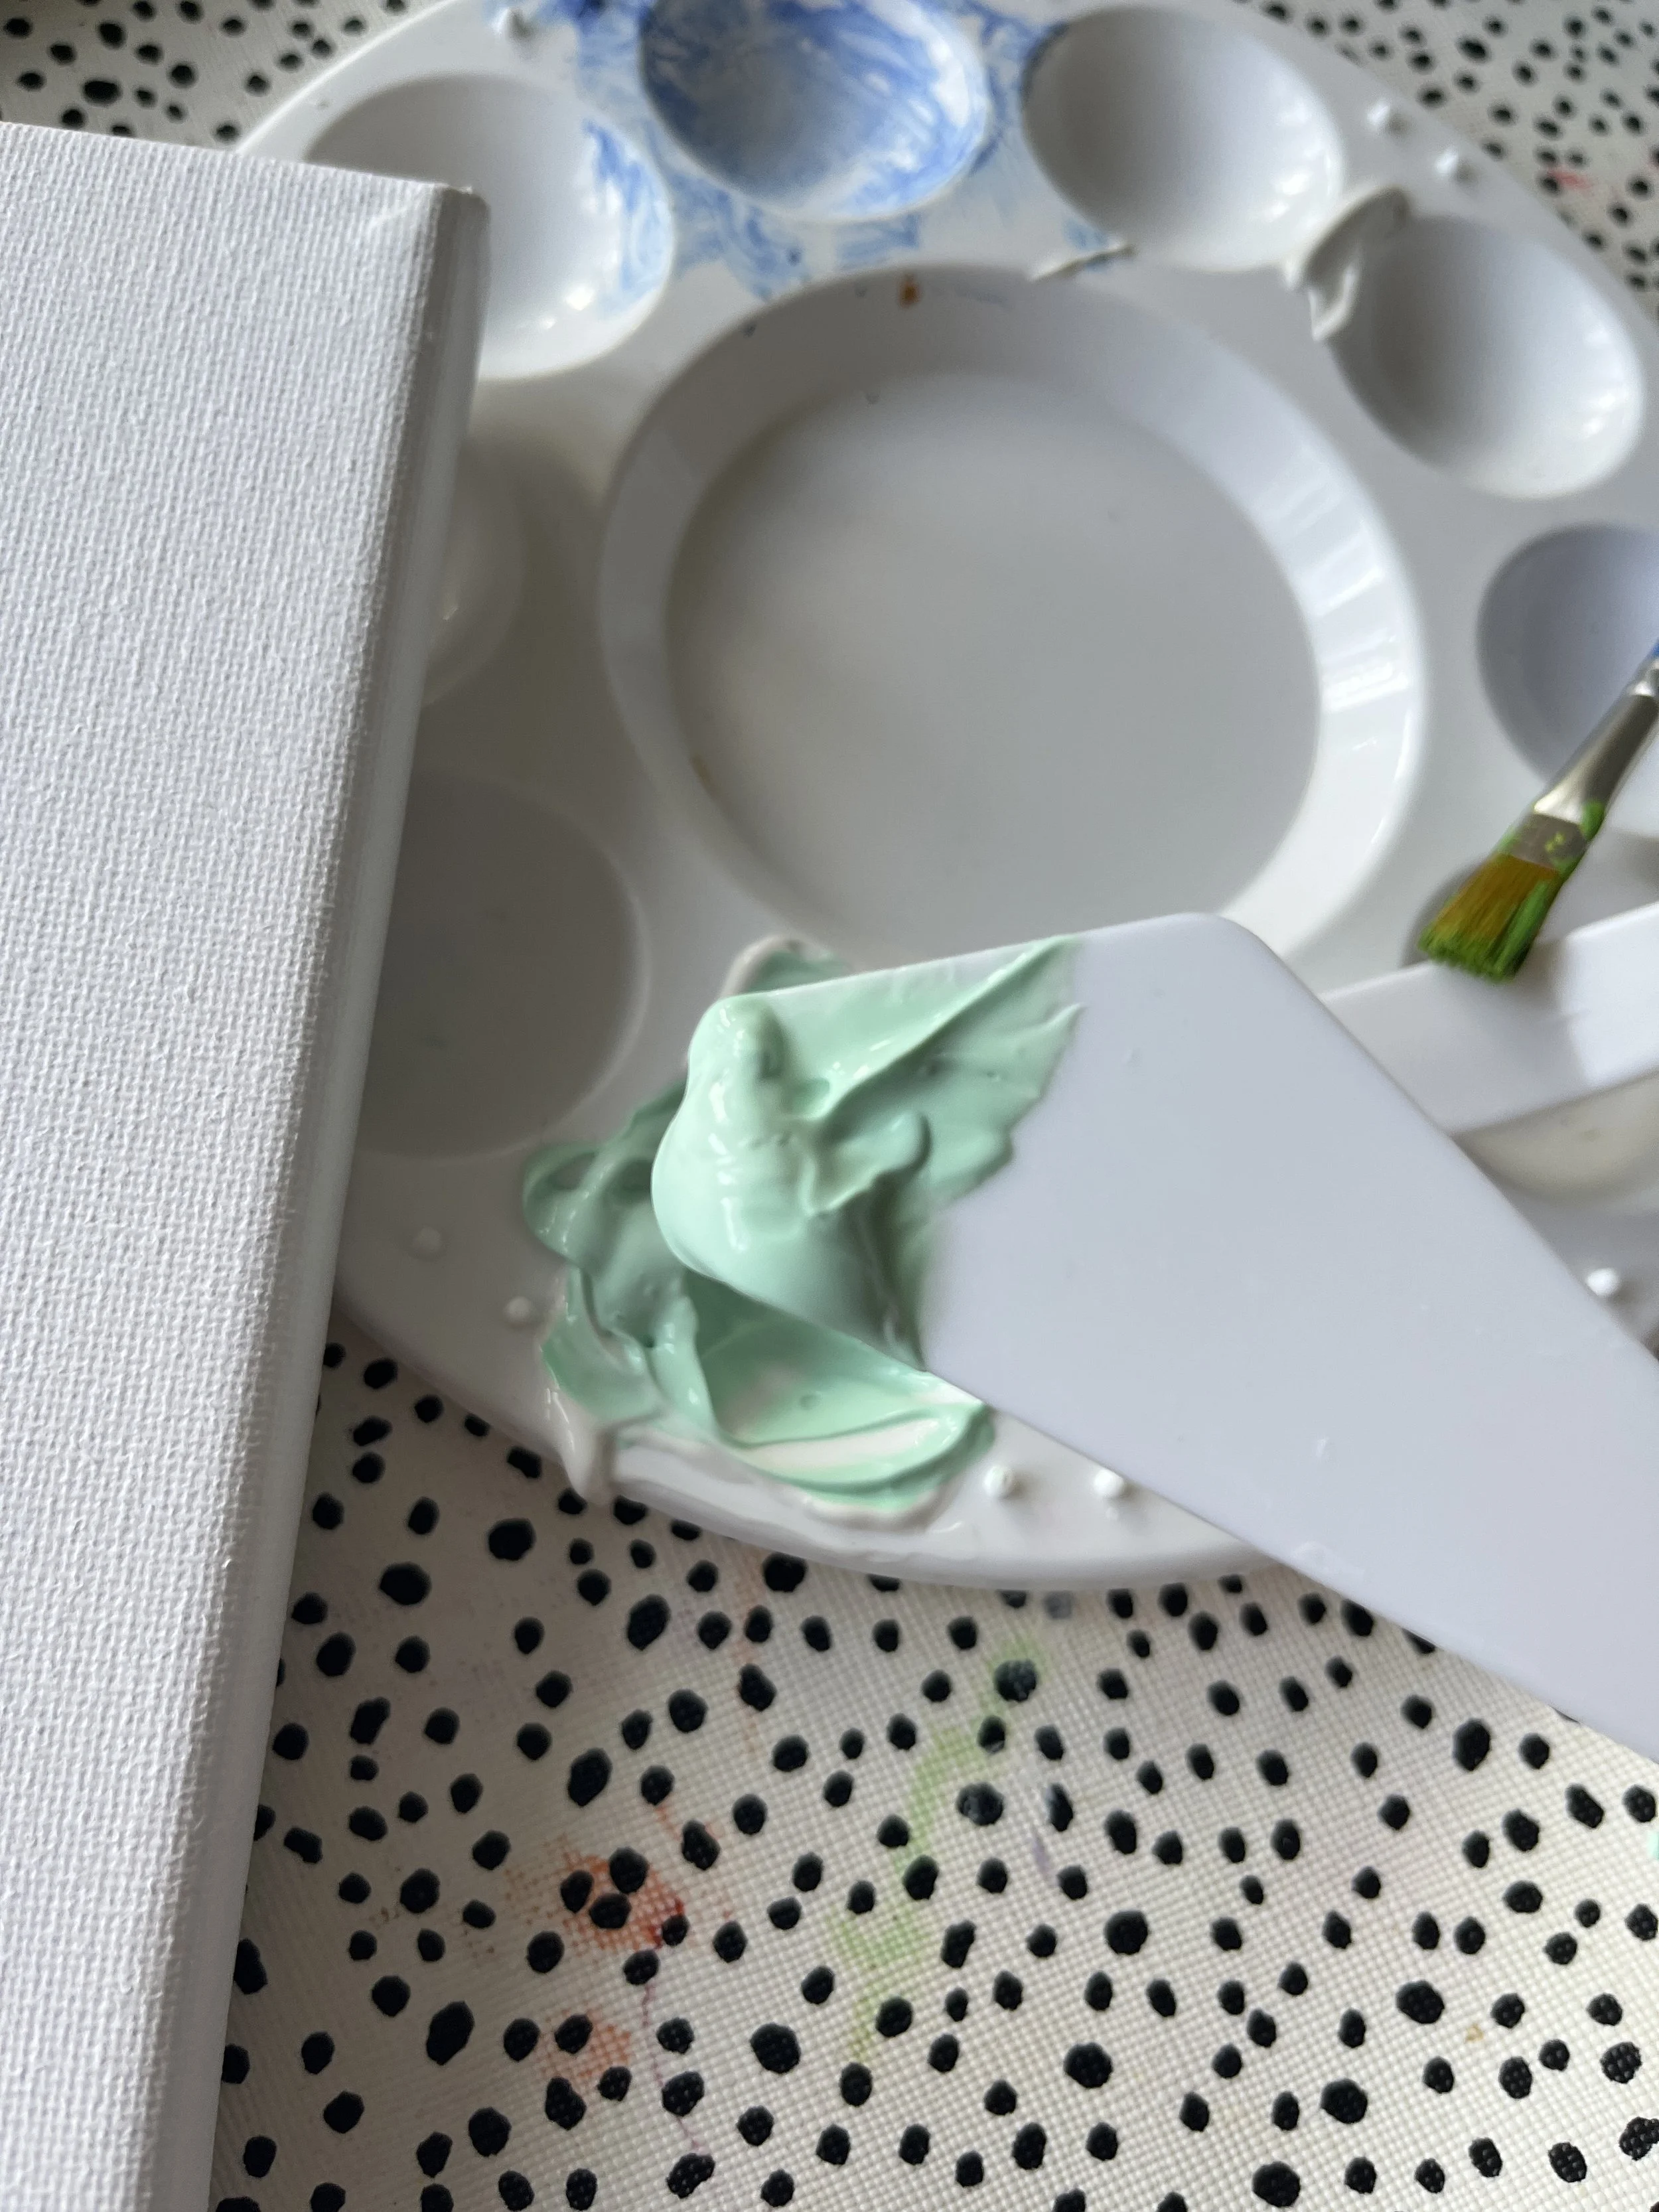
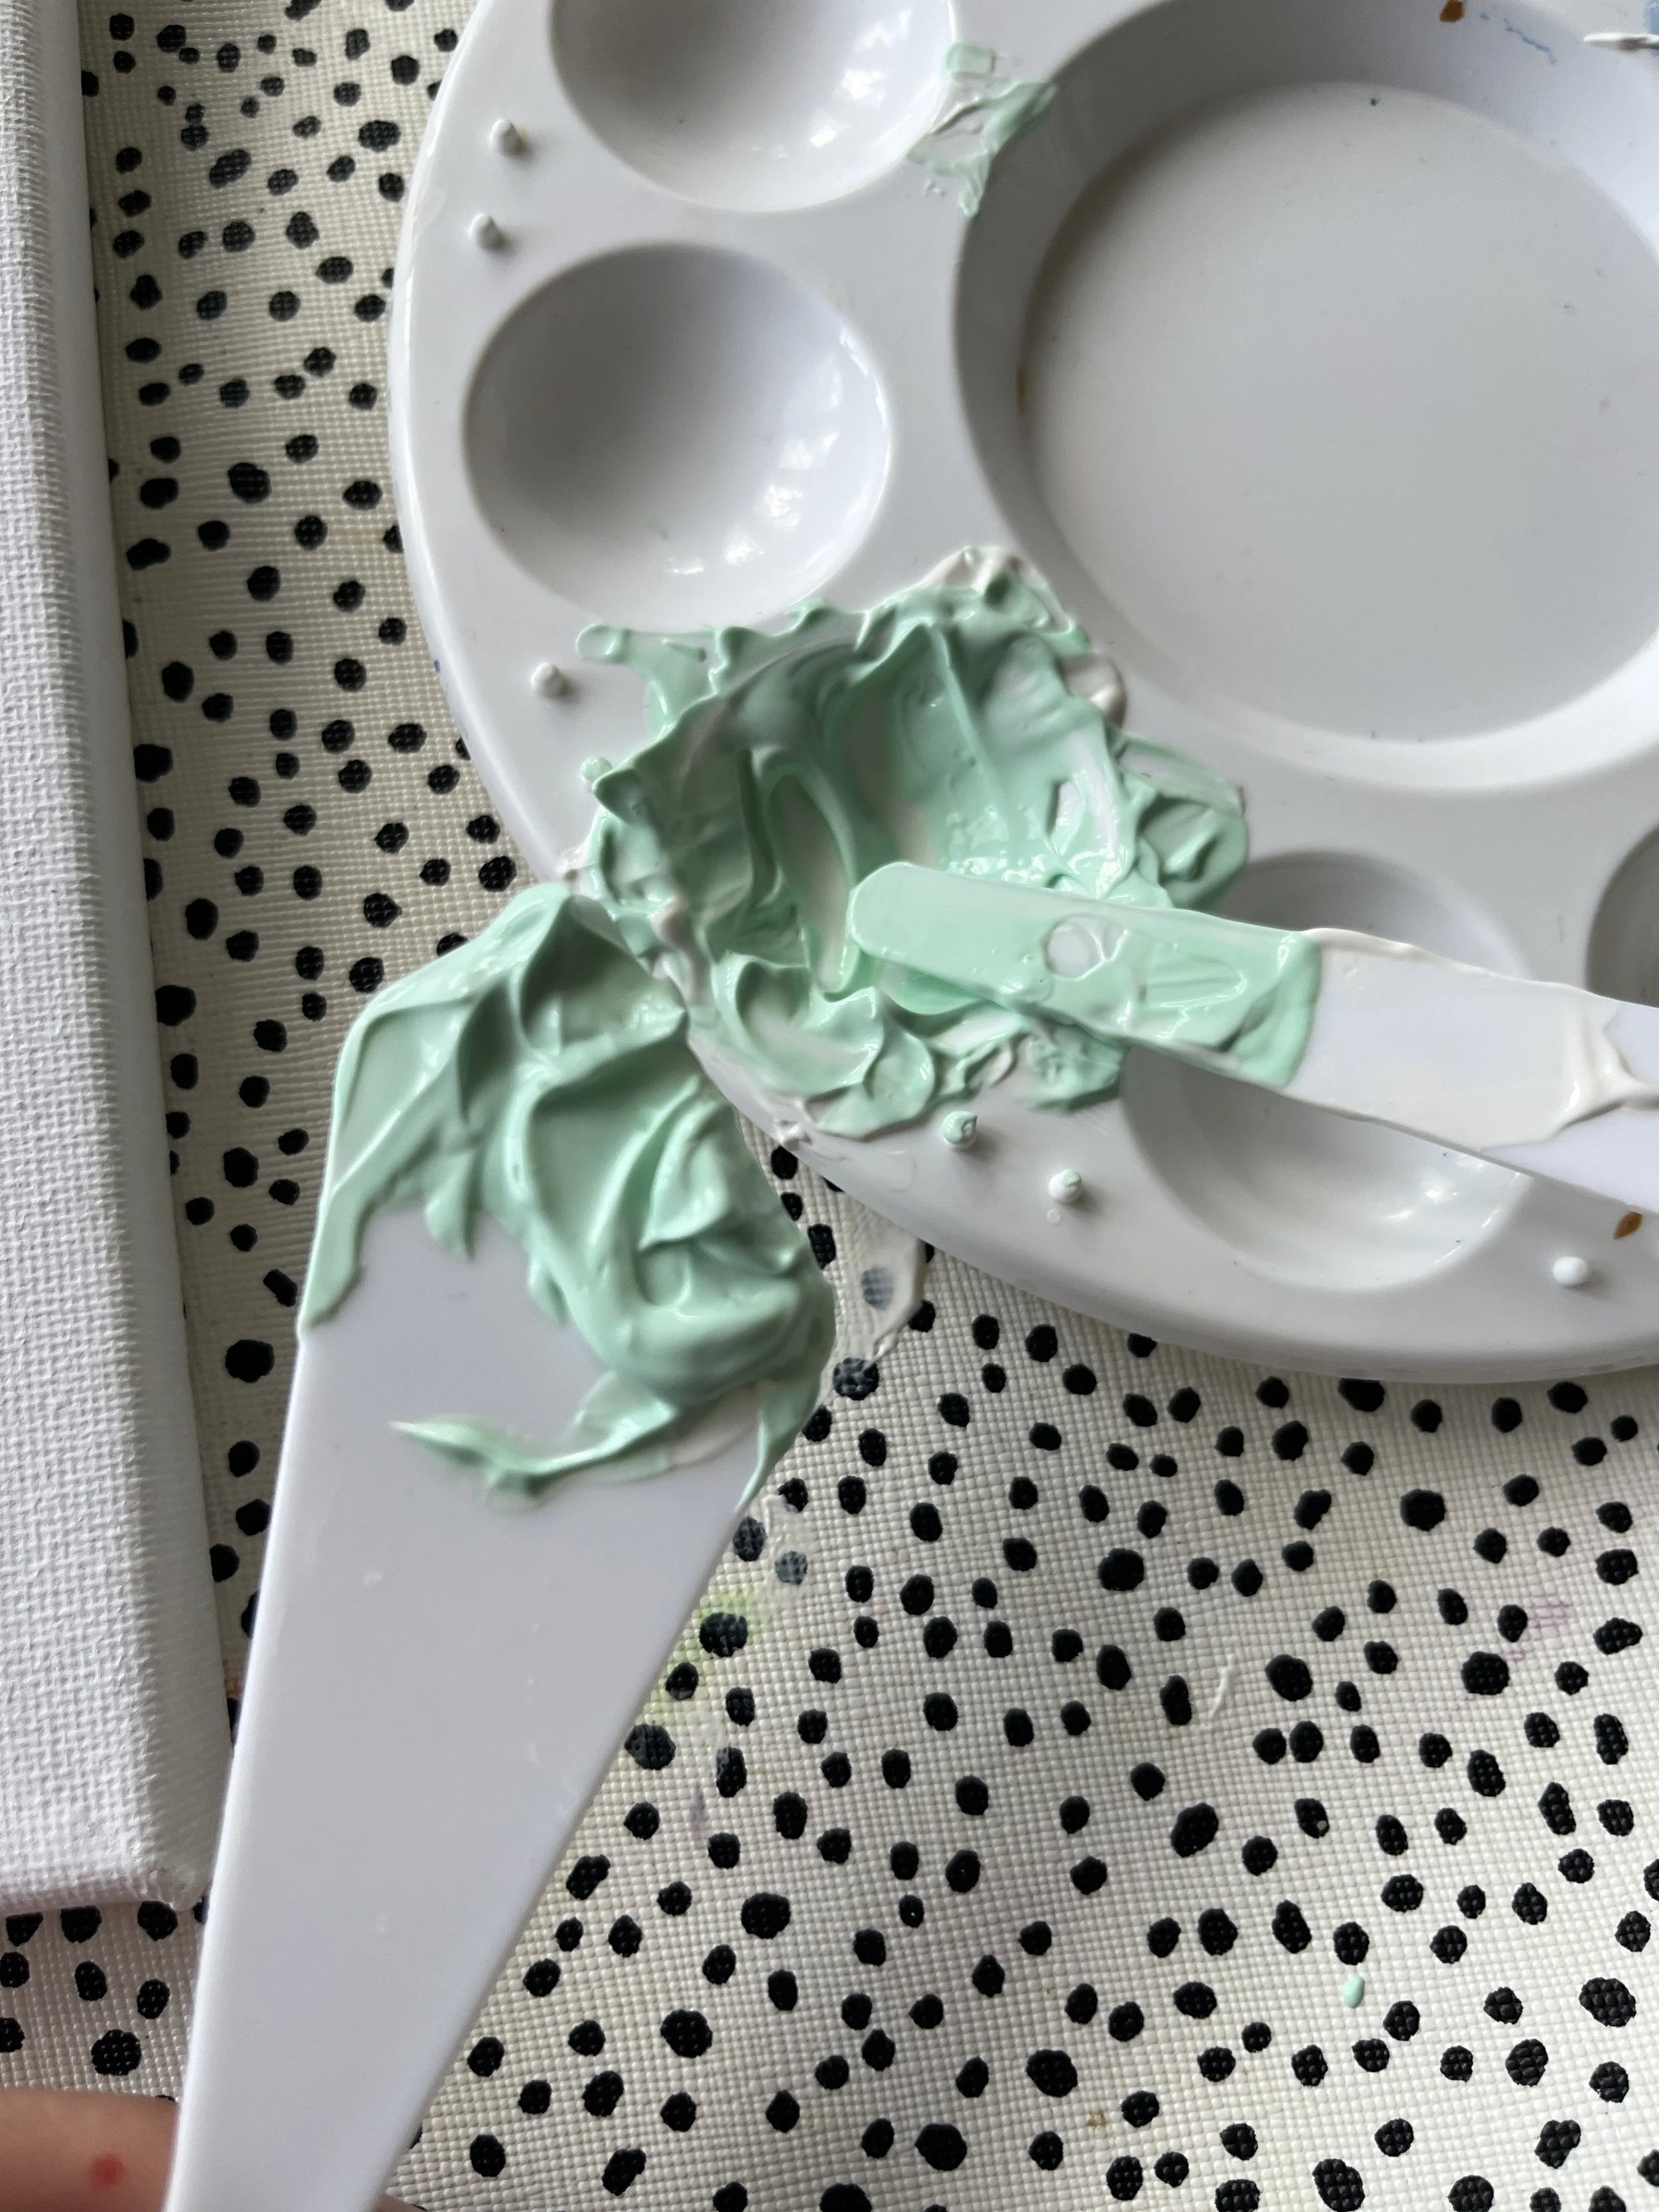
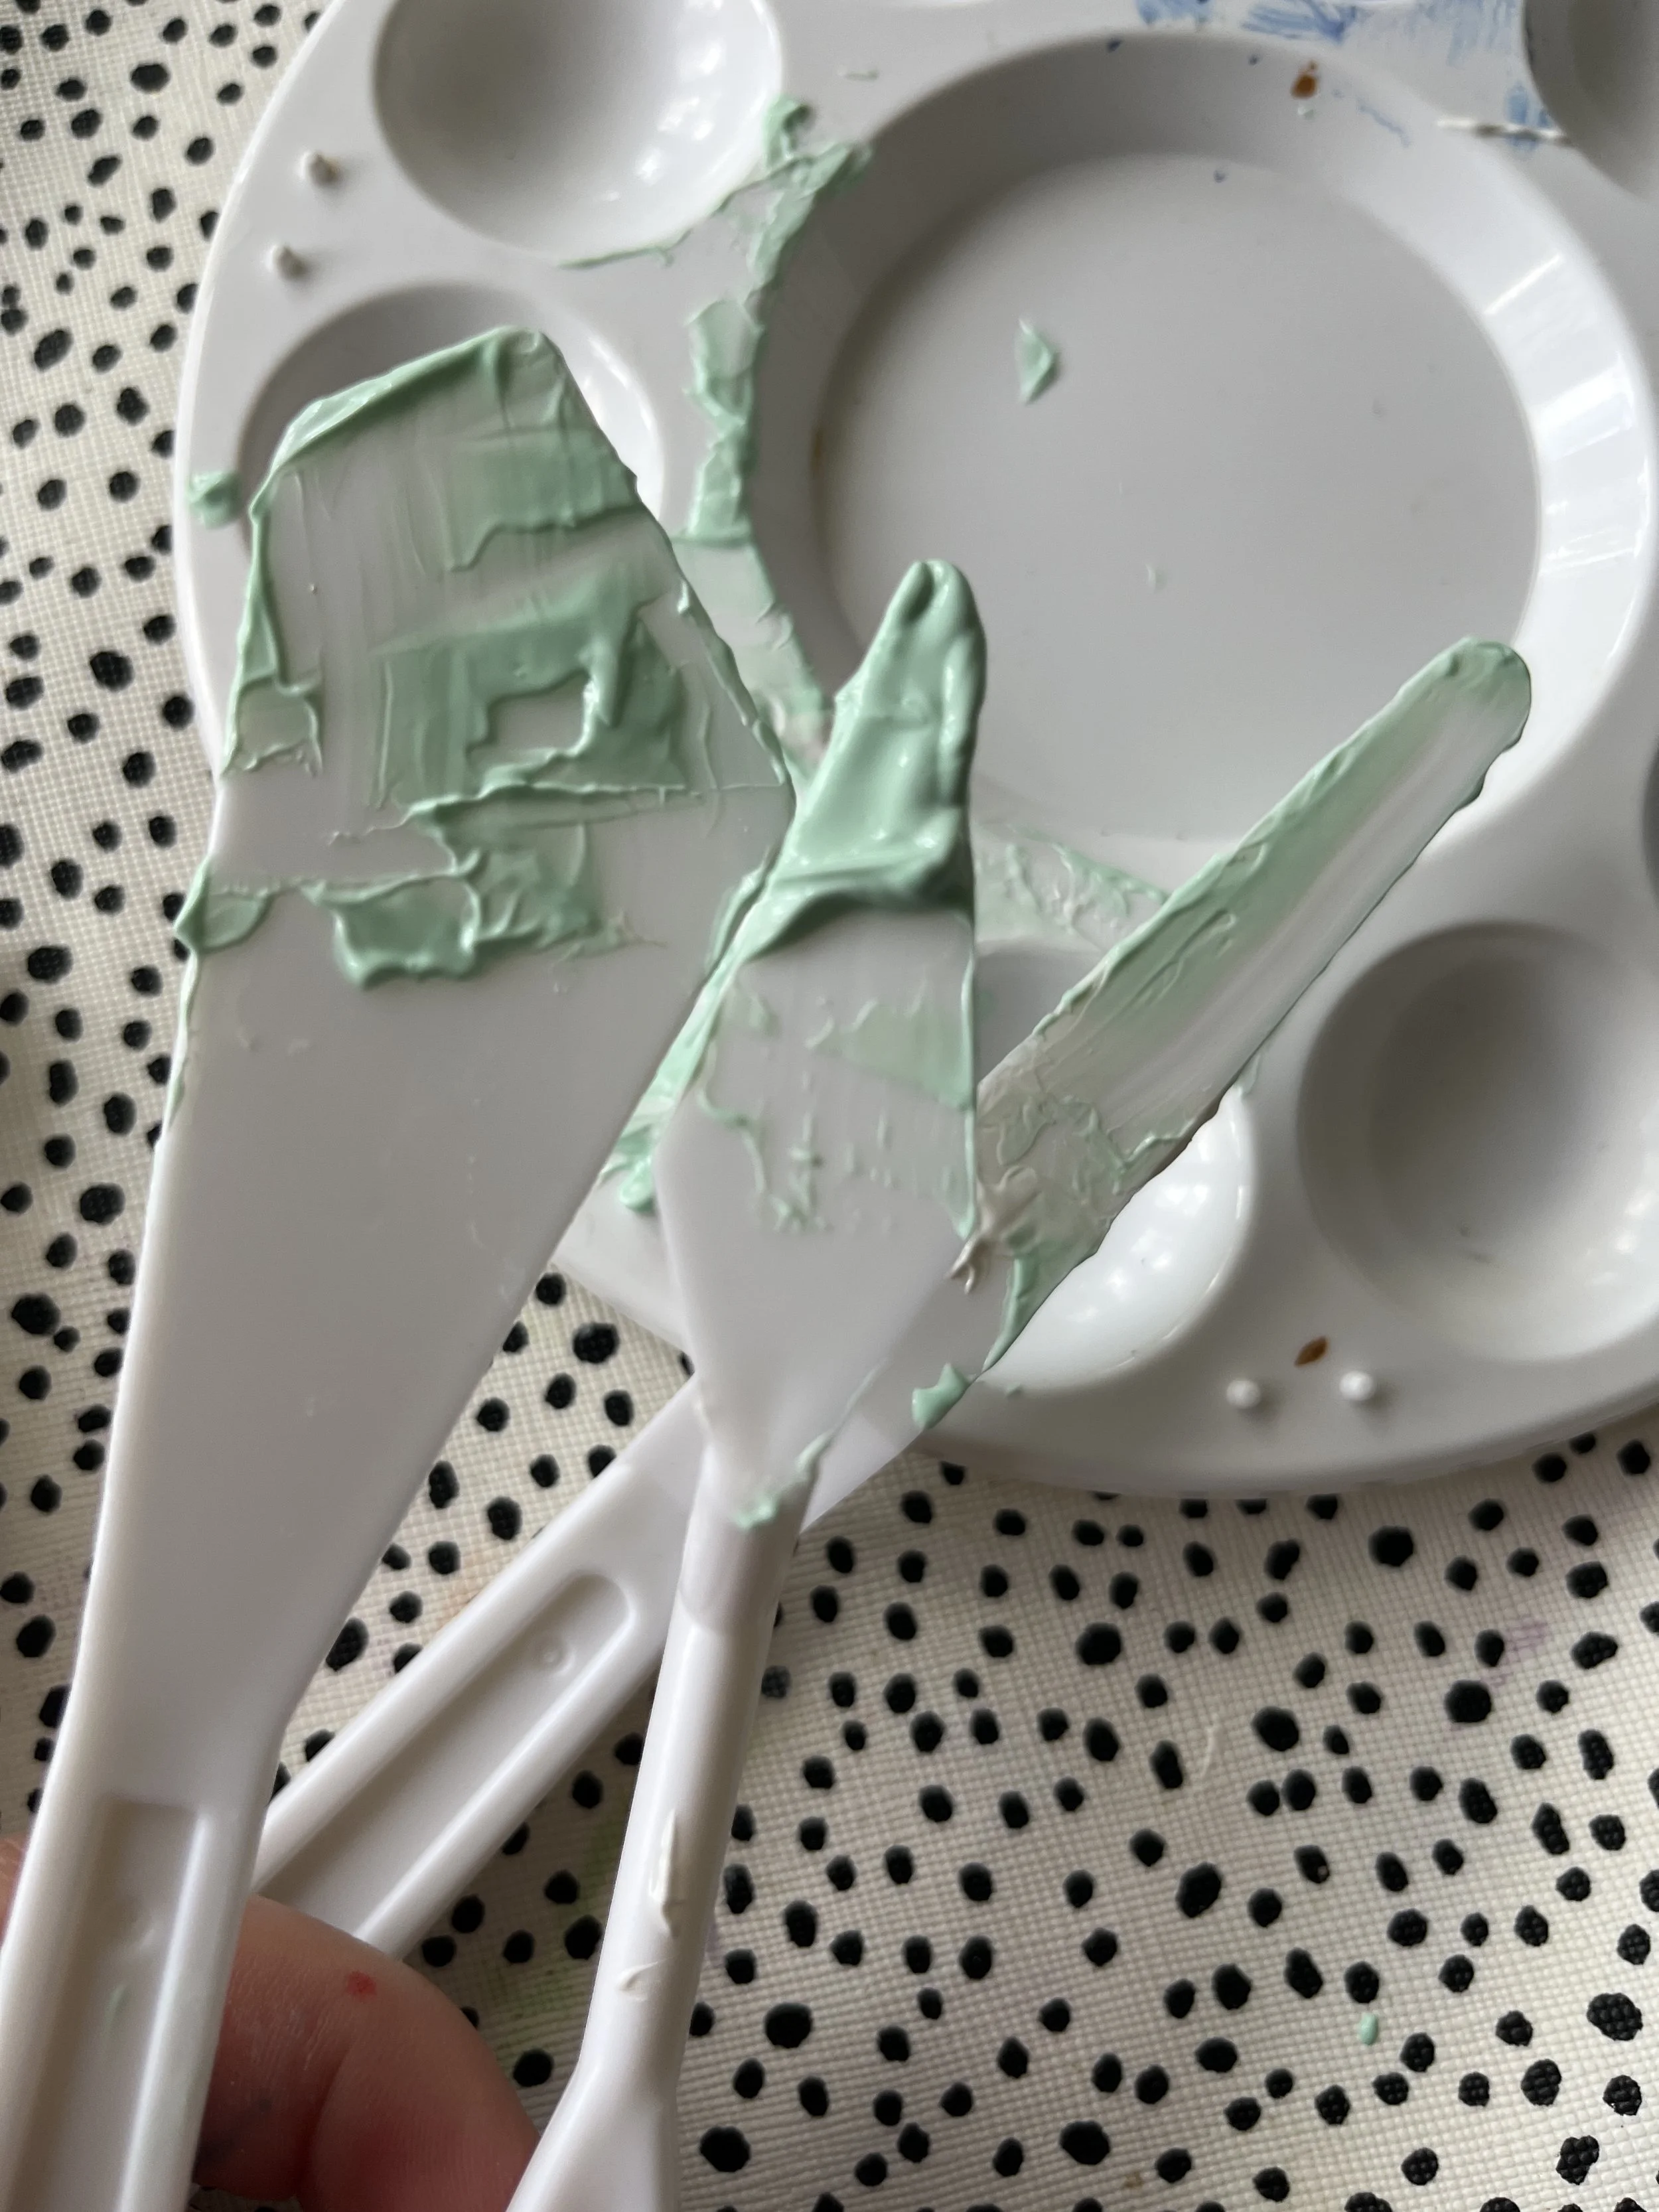
2. Start by taking your paint palette and putting some of the texture paste on it. You can use the cardboard included to practice techniques on if you wish. You can do this with just the white paste or mix a colour.
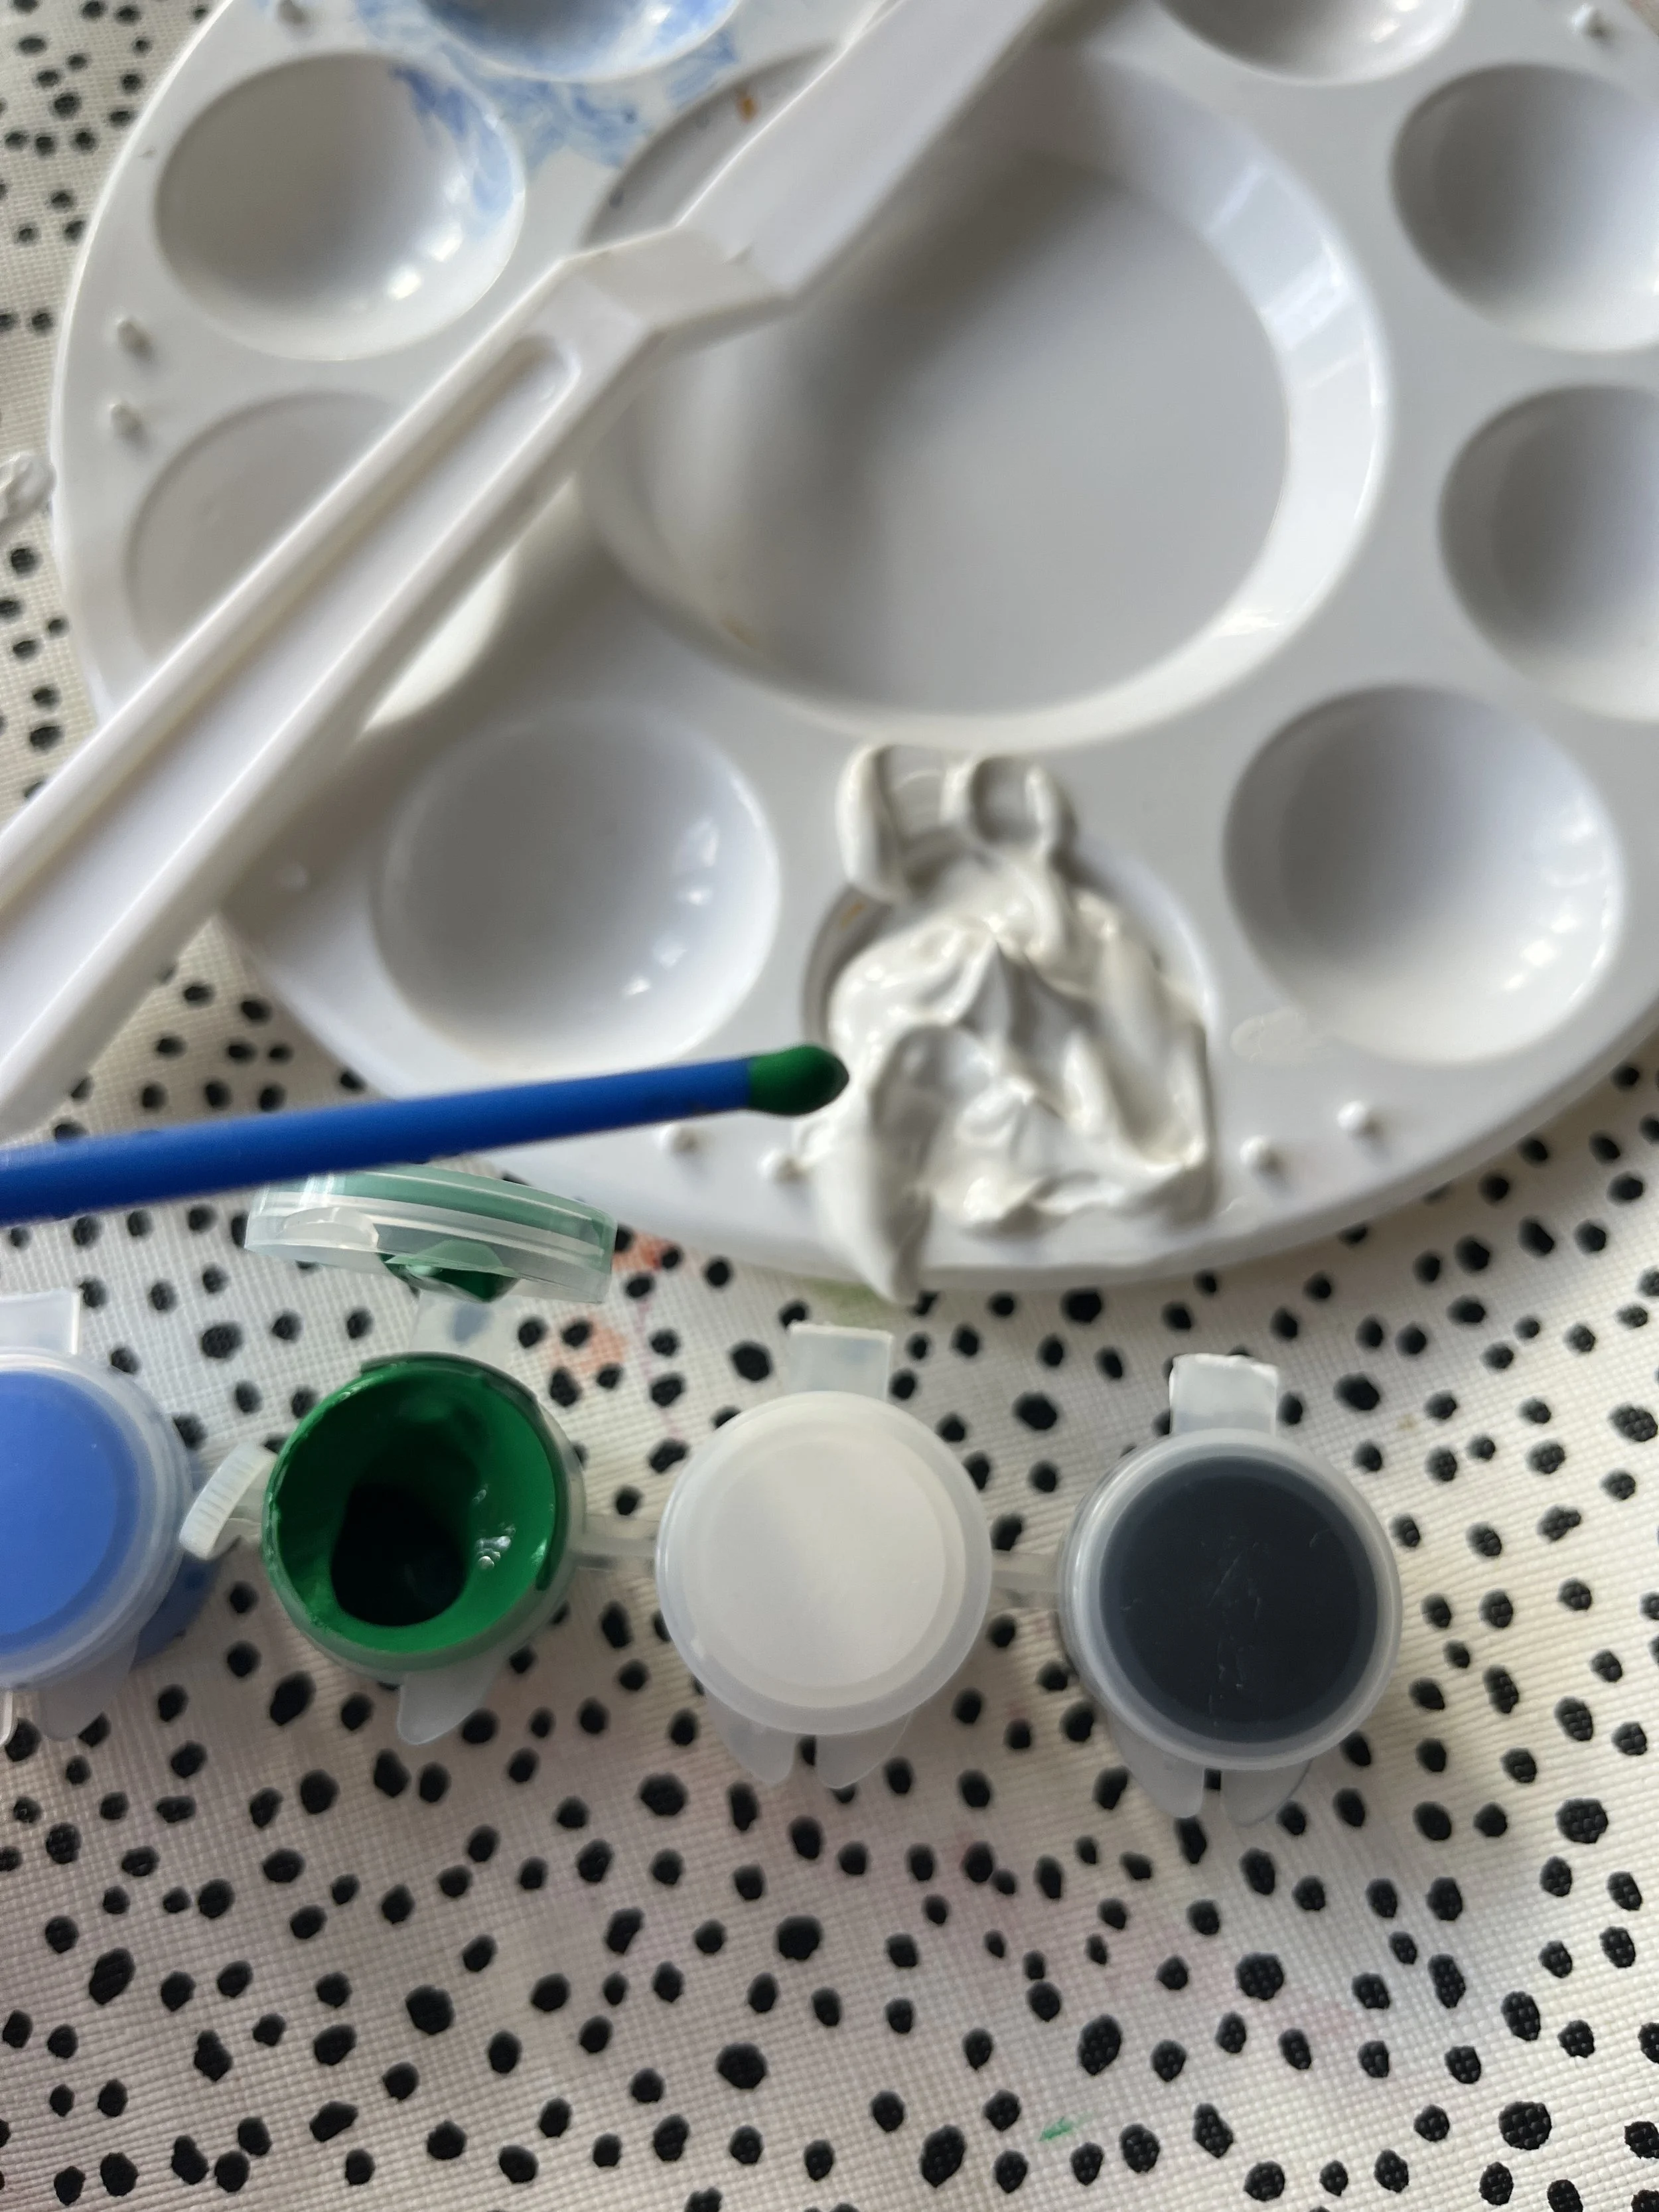
3. Think about what colours you might like to make, we choose to do 3 colours but you could make some up to match your interiors. You only need a little dab of paint so use the end of the paintbrush to add to the paste and mix together. You can always add more colour if necessary.
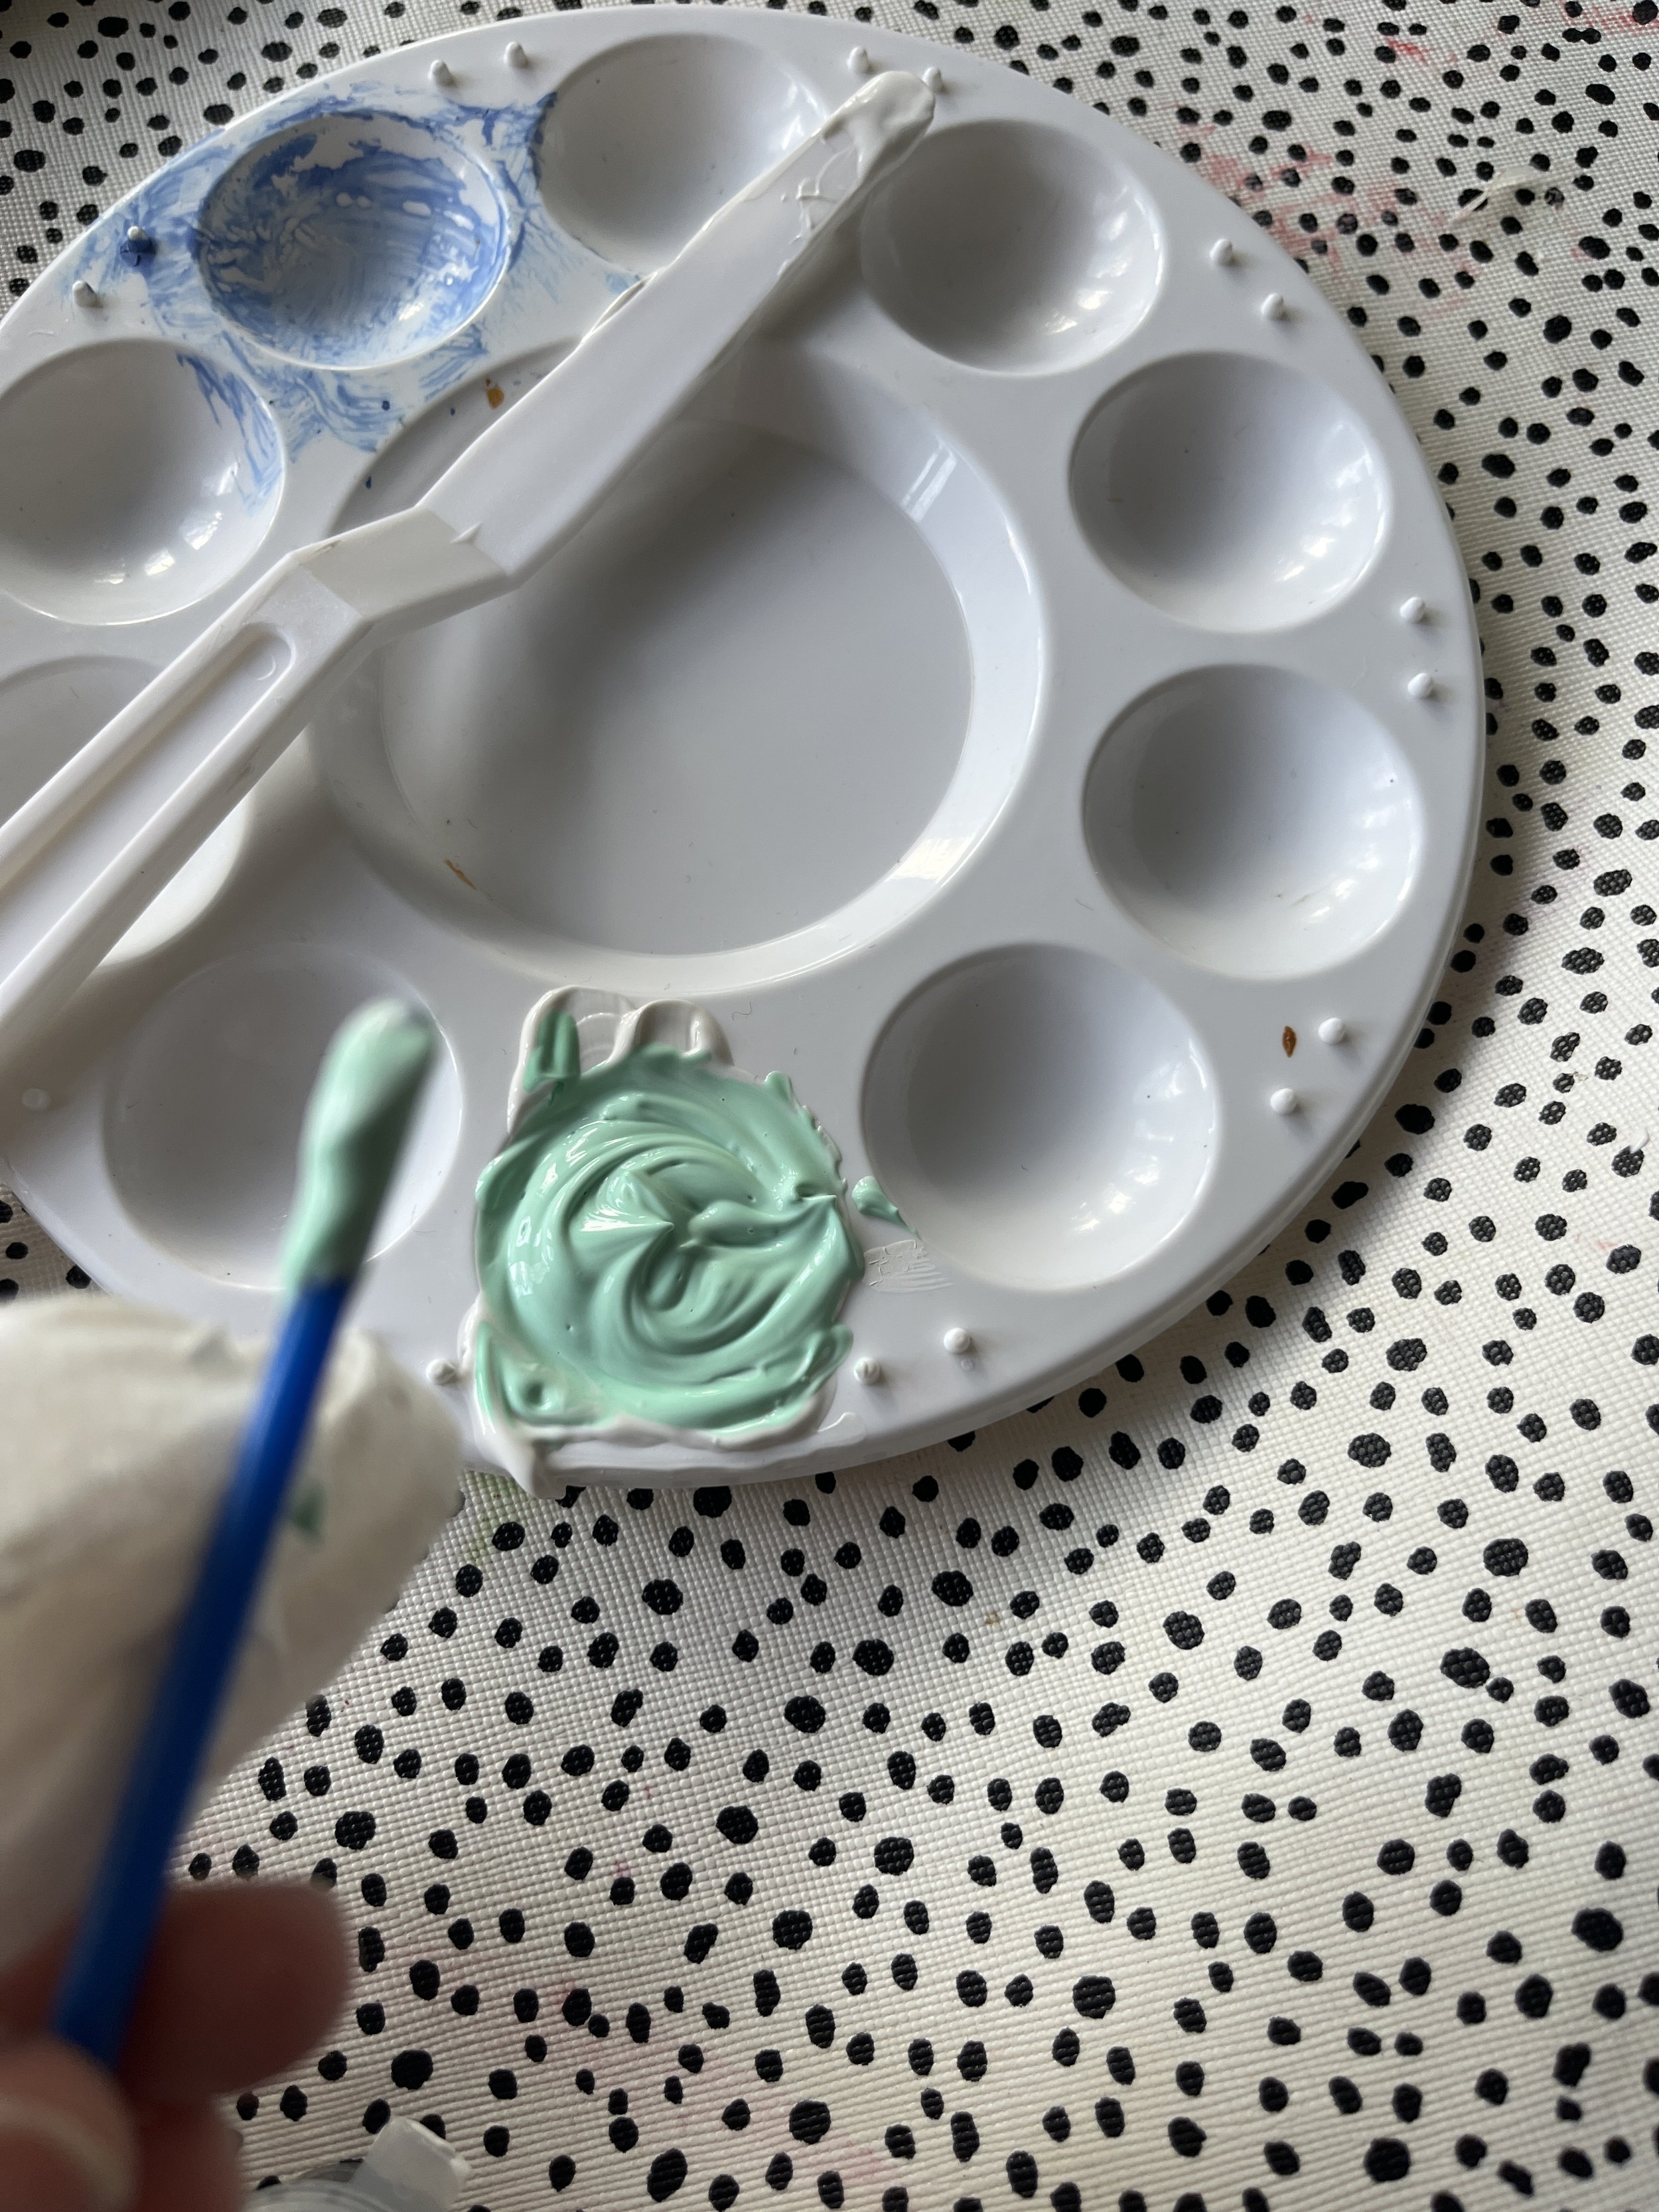
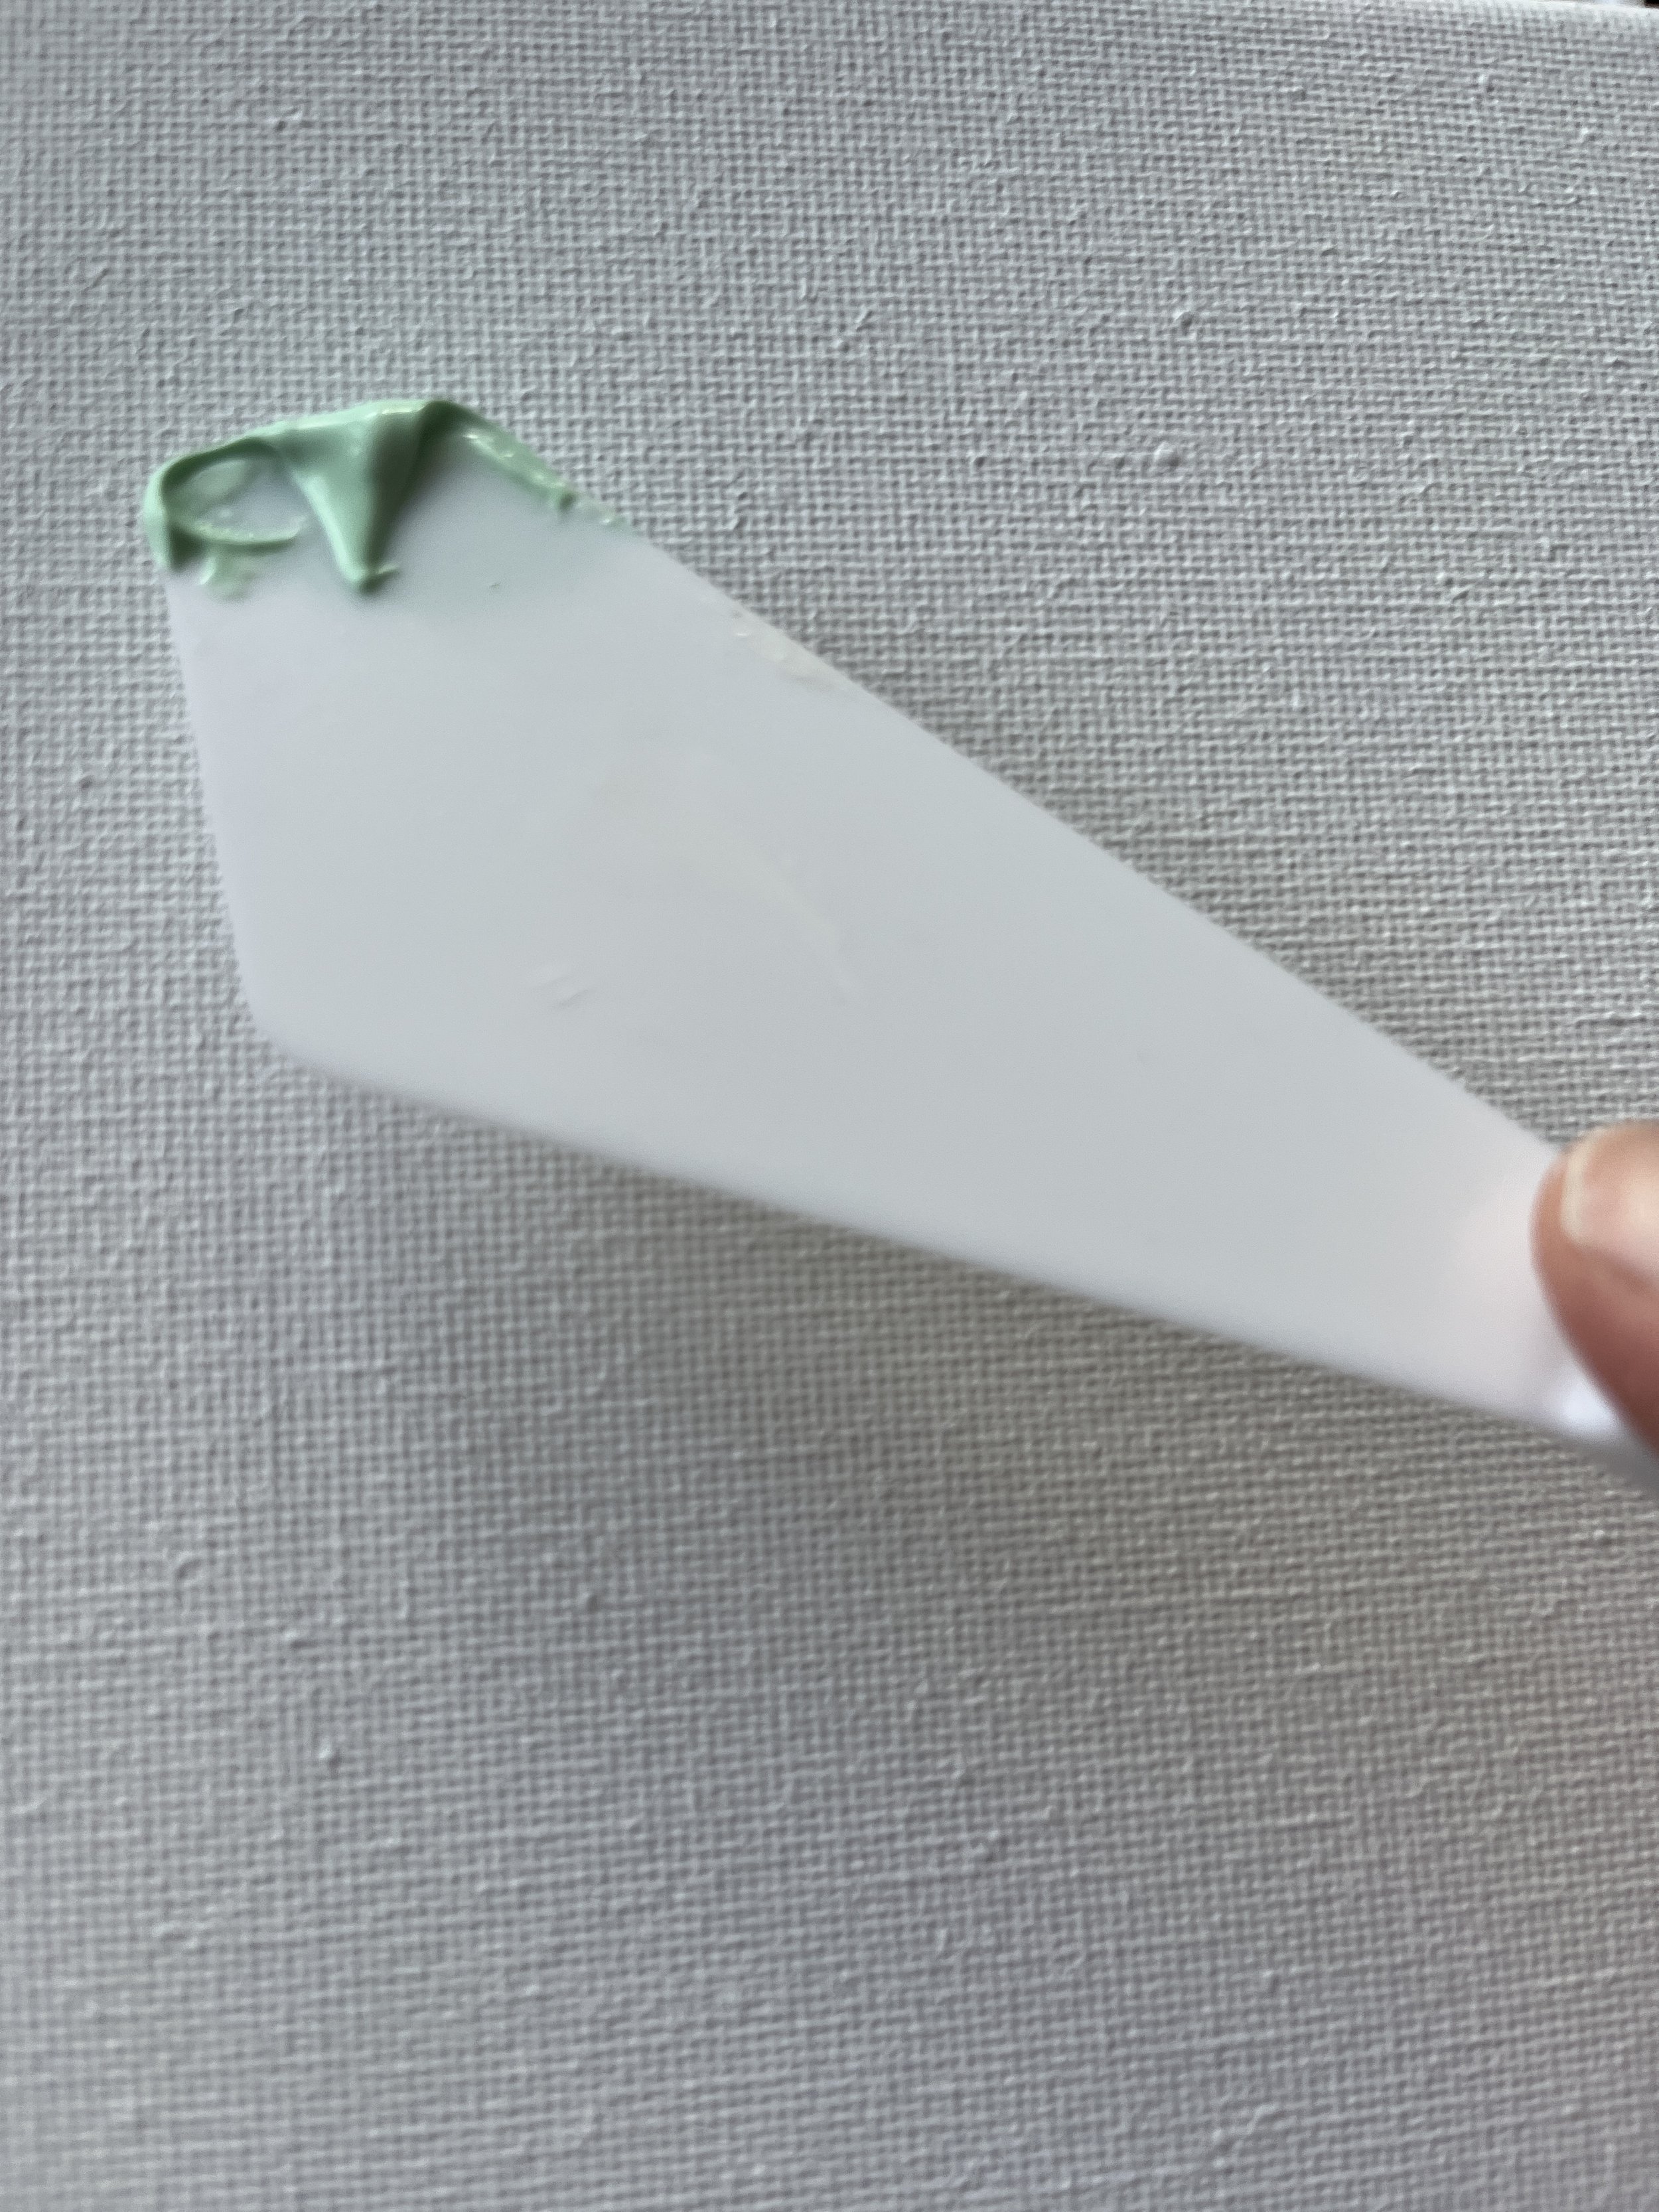
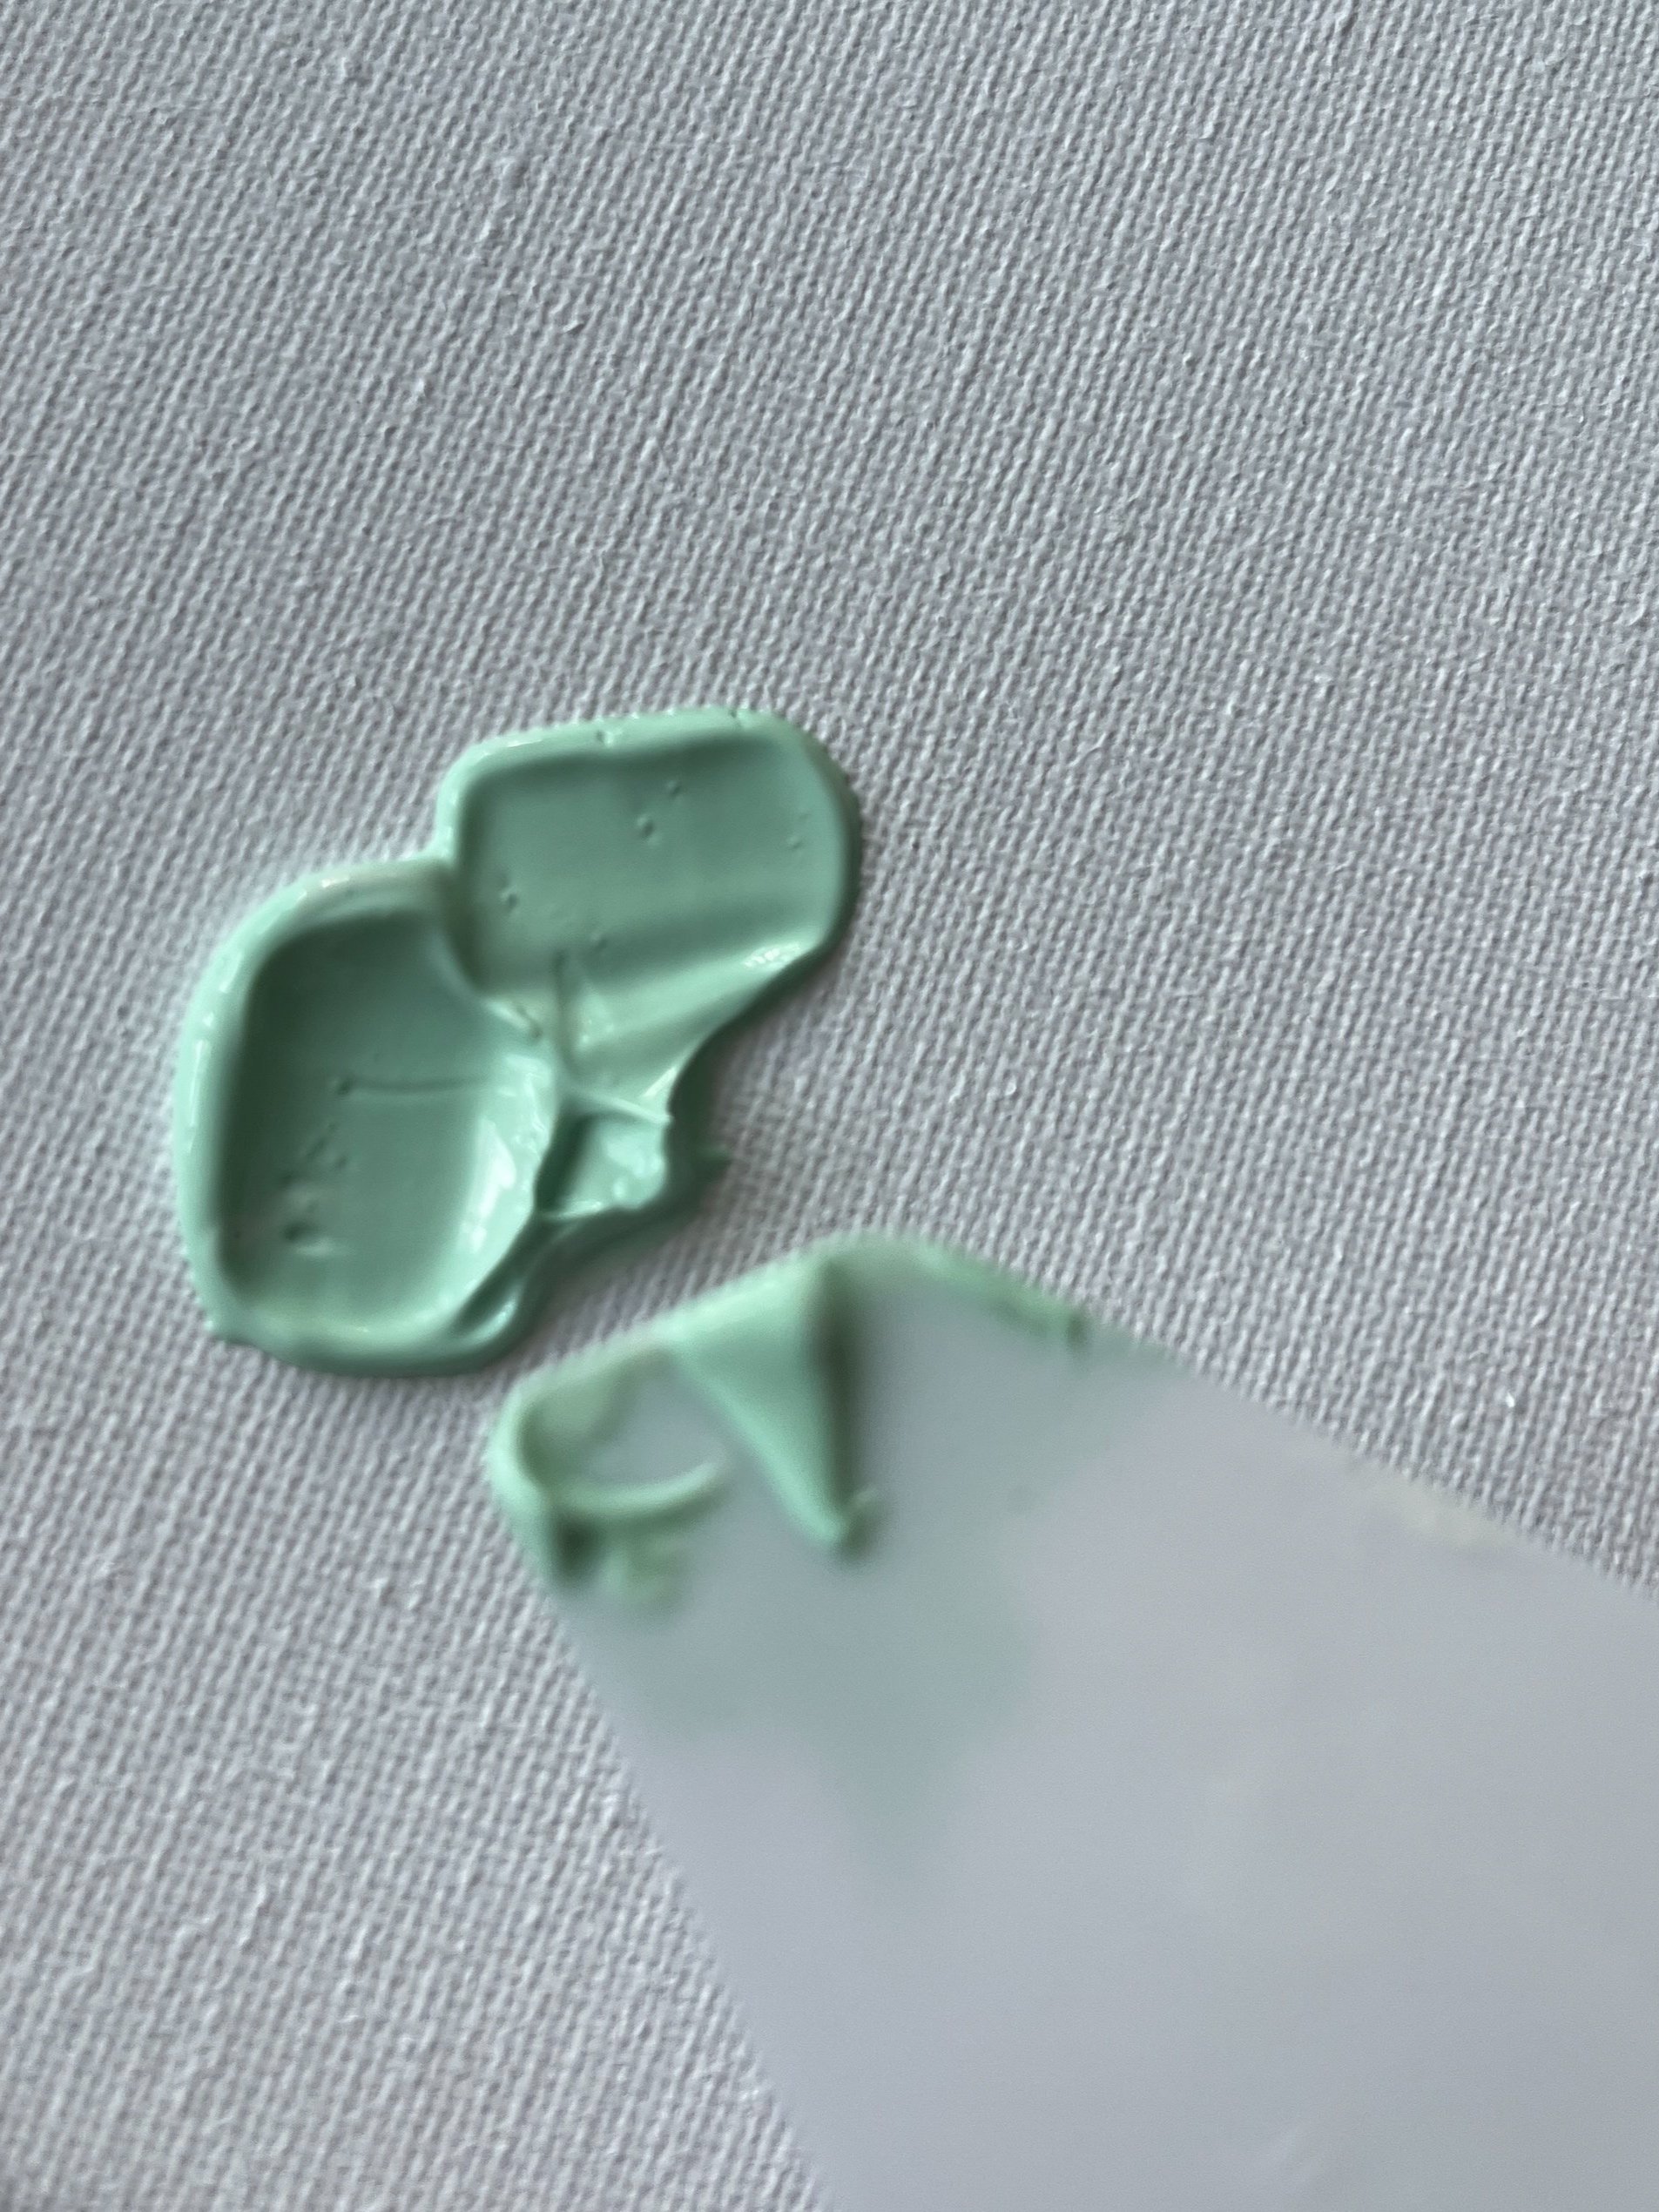
4. Use your paintbrush or the end of it to mix the colour into the paste until you are happy with it.
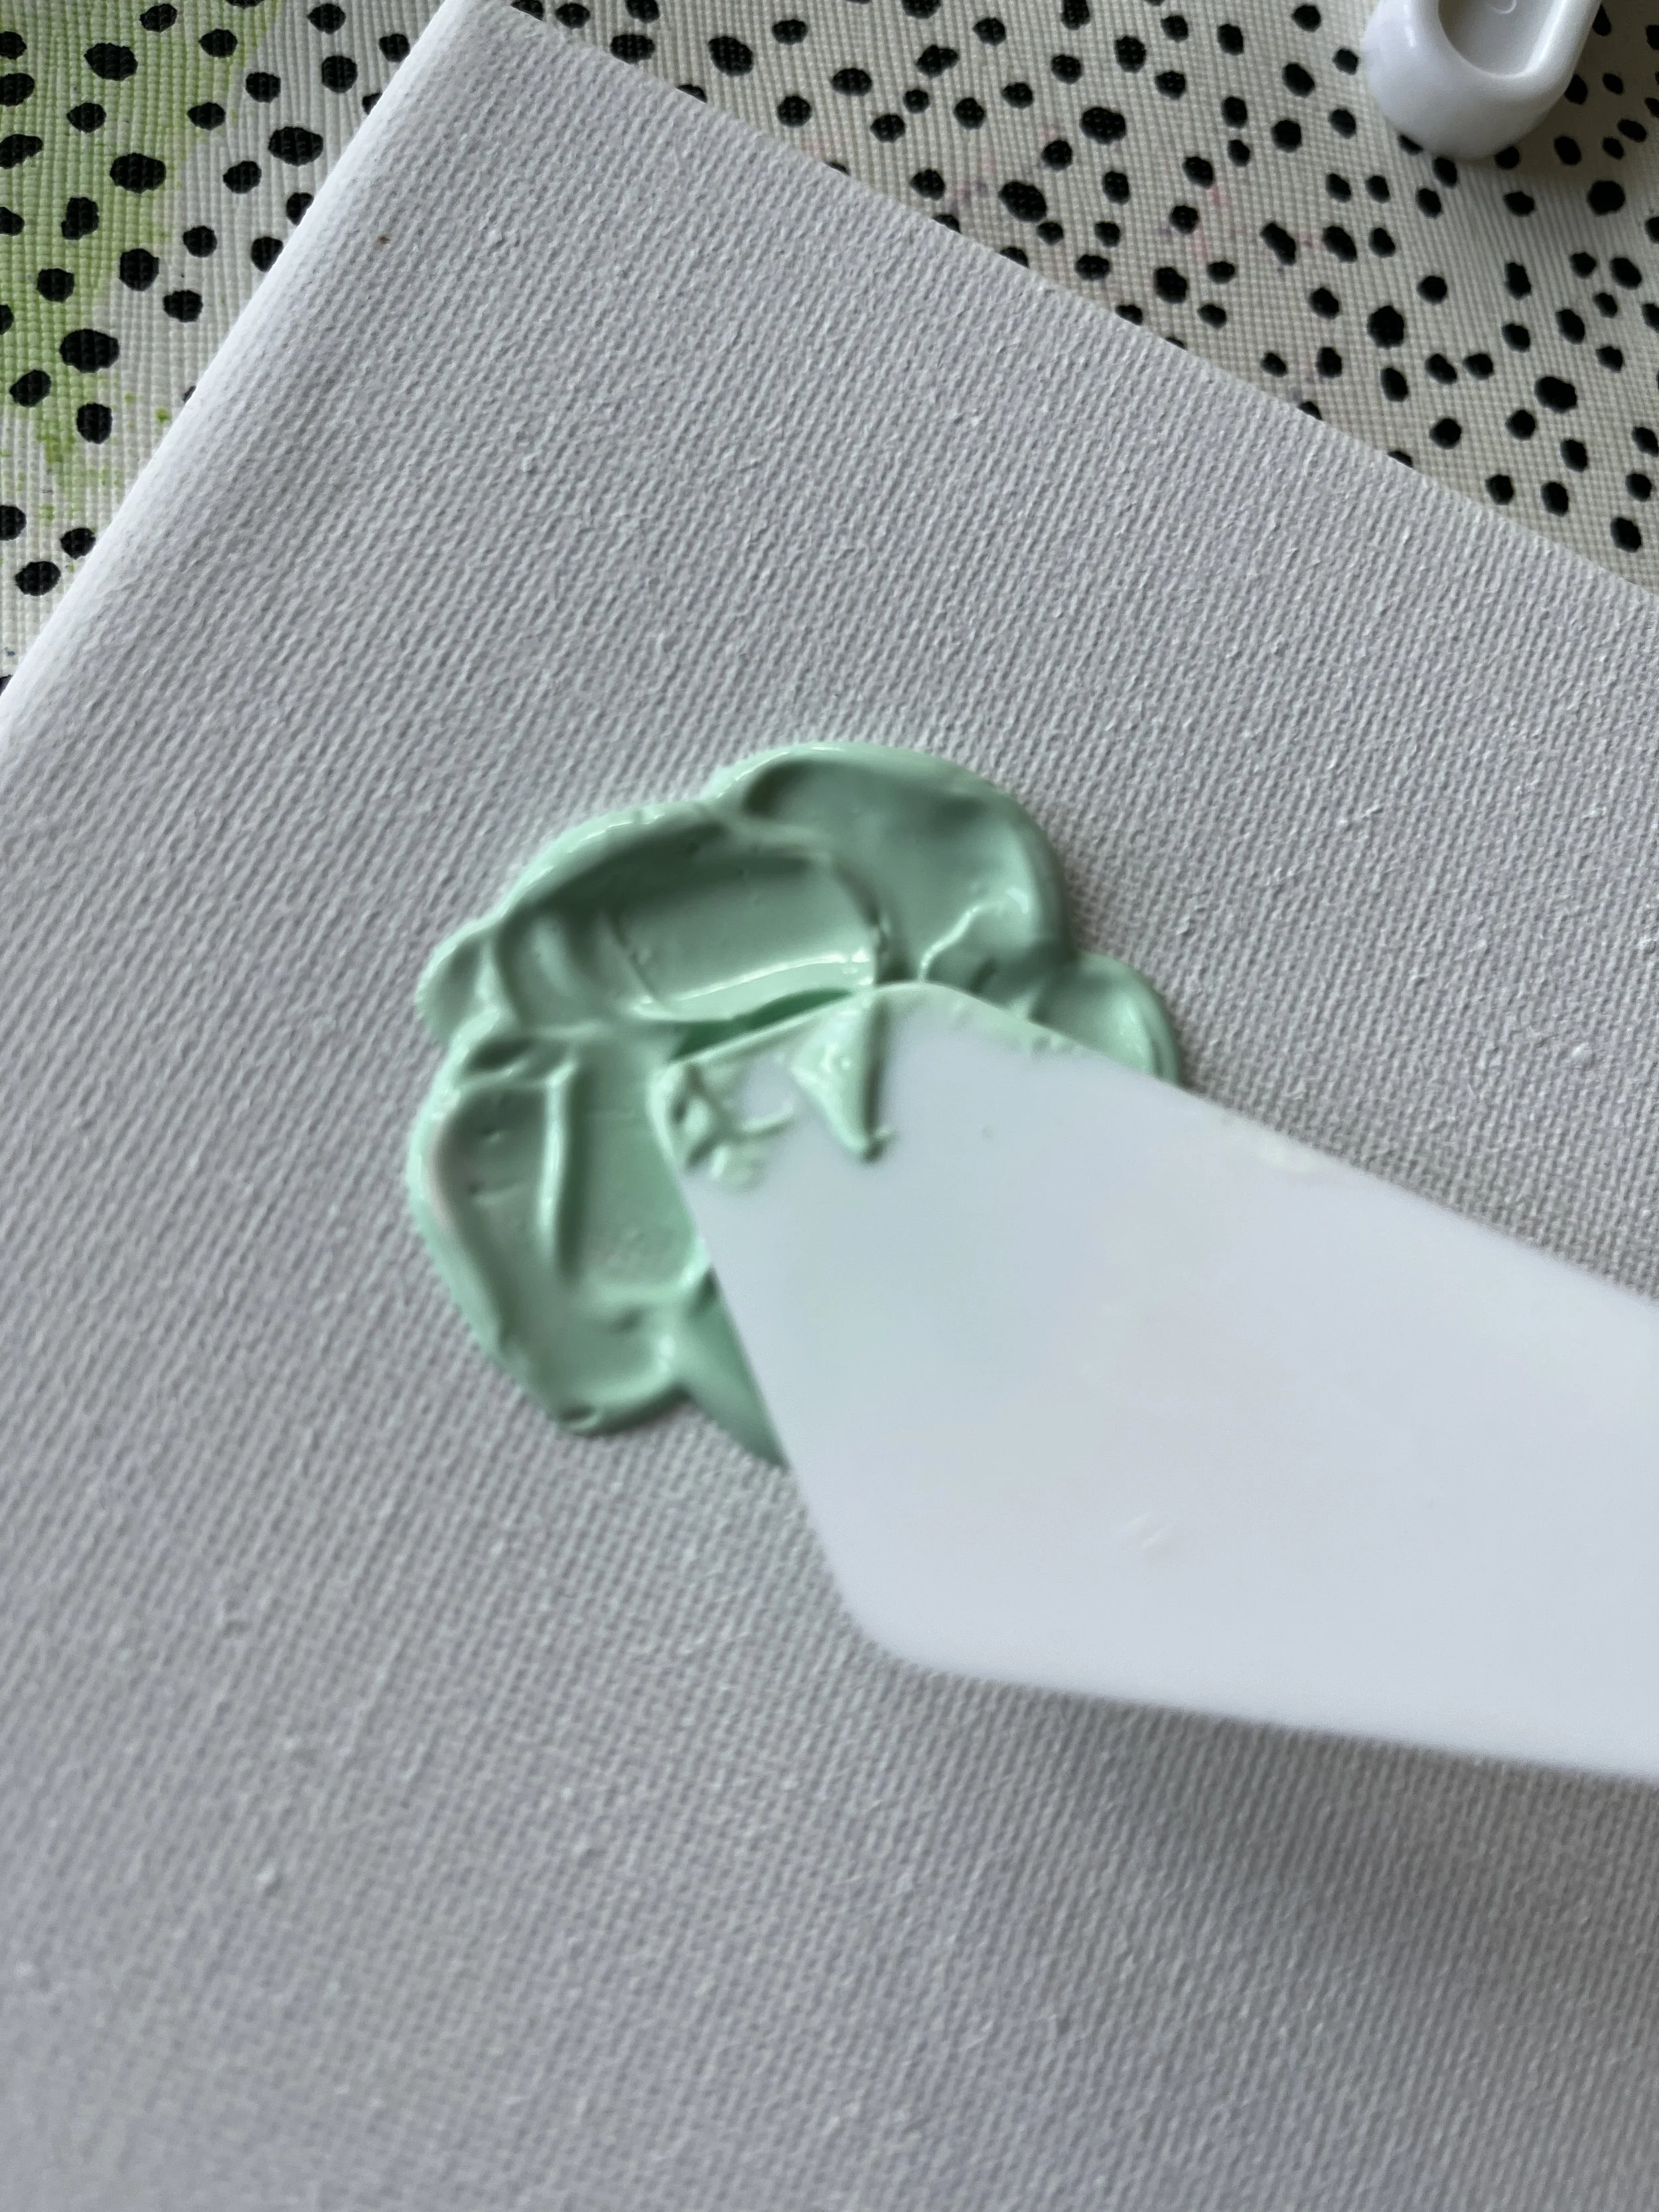
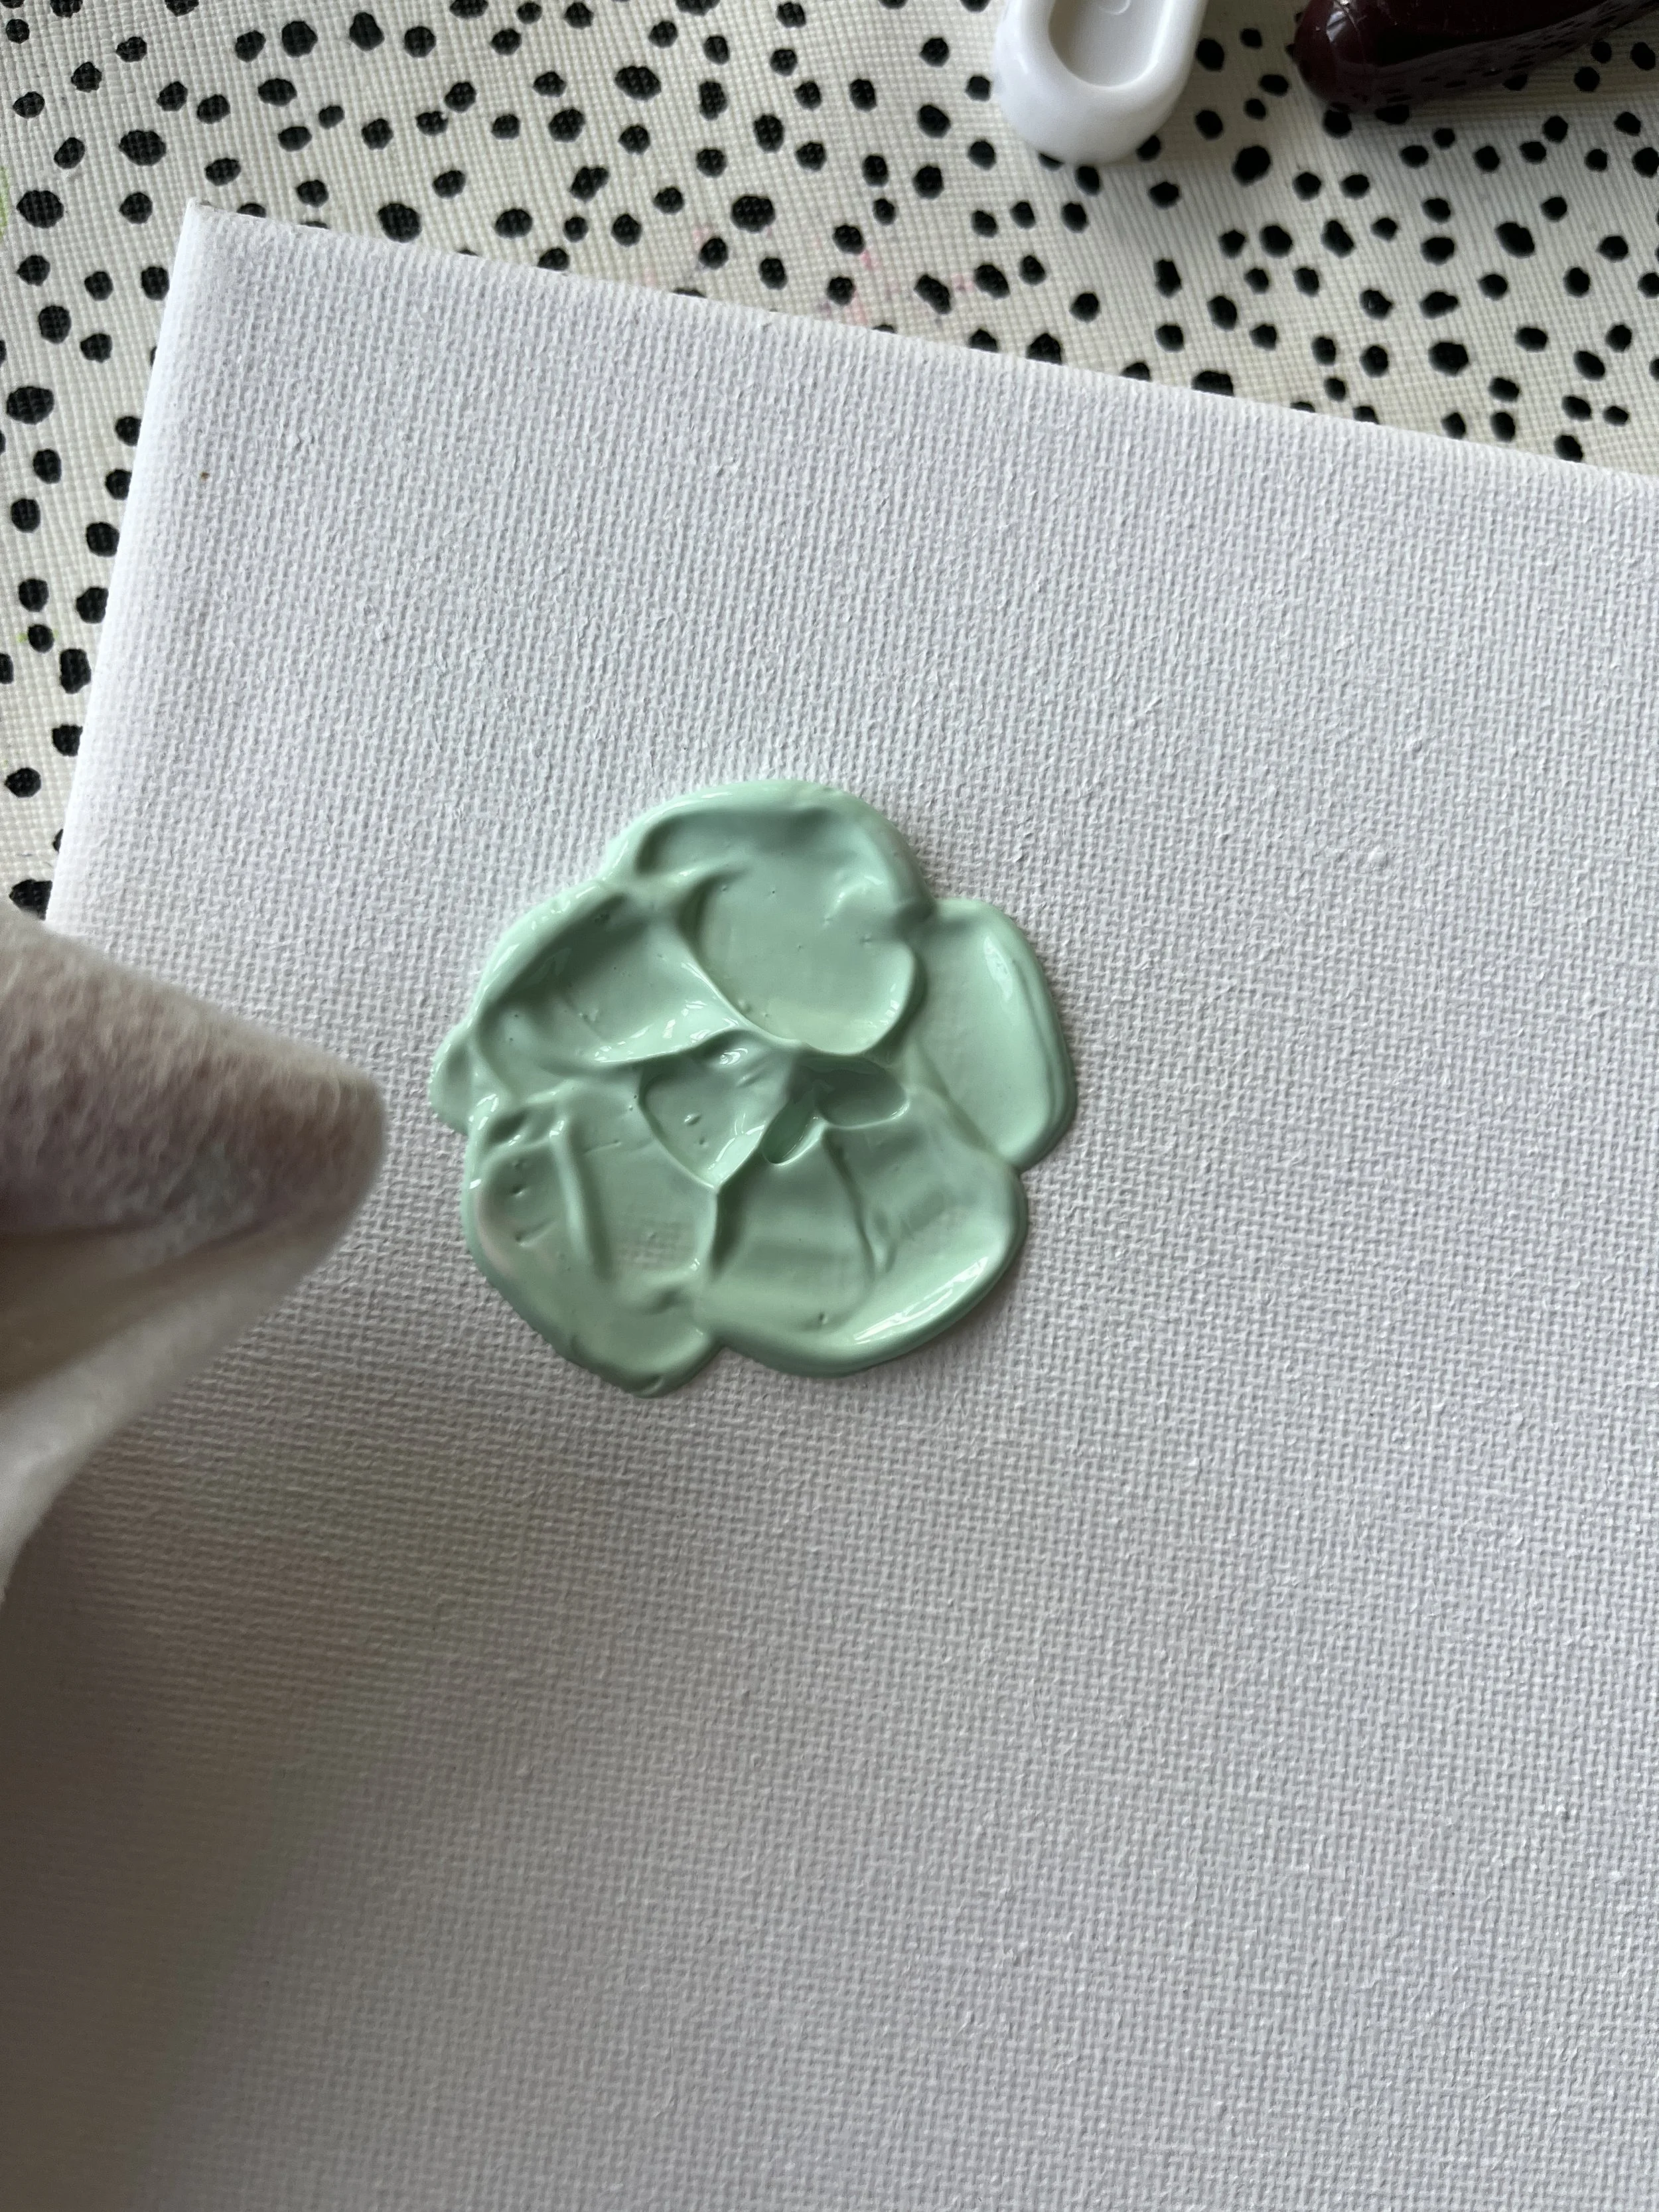
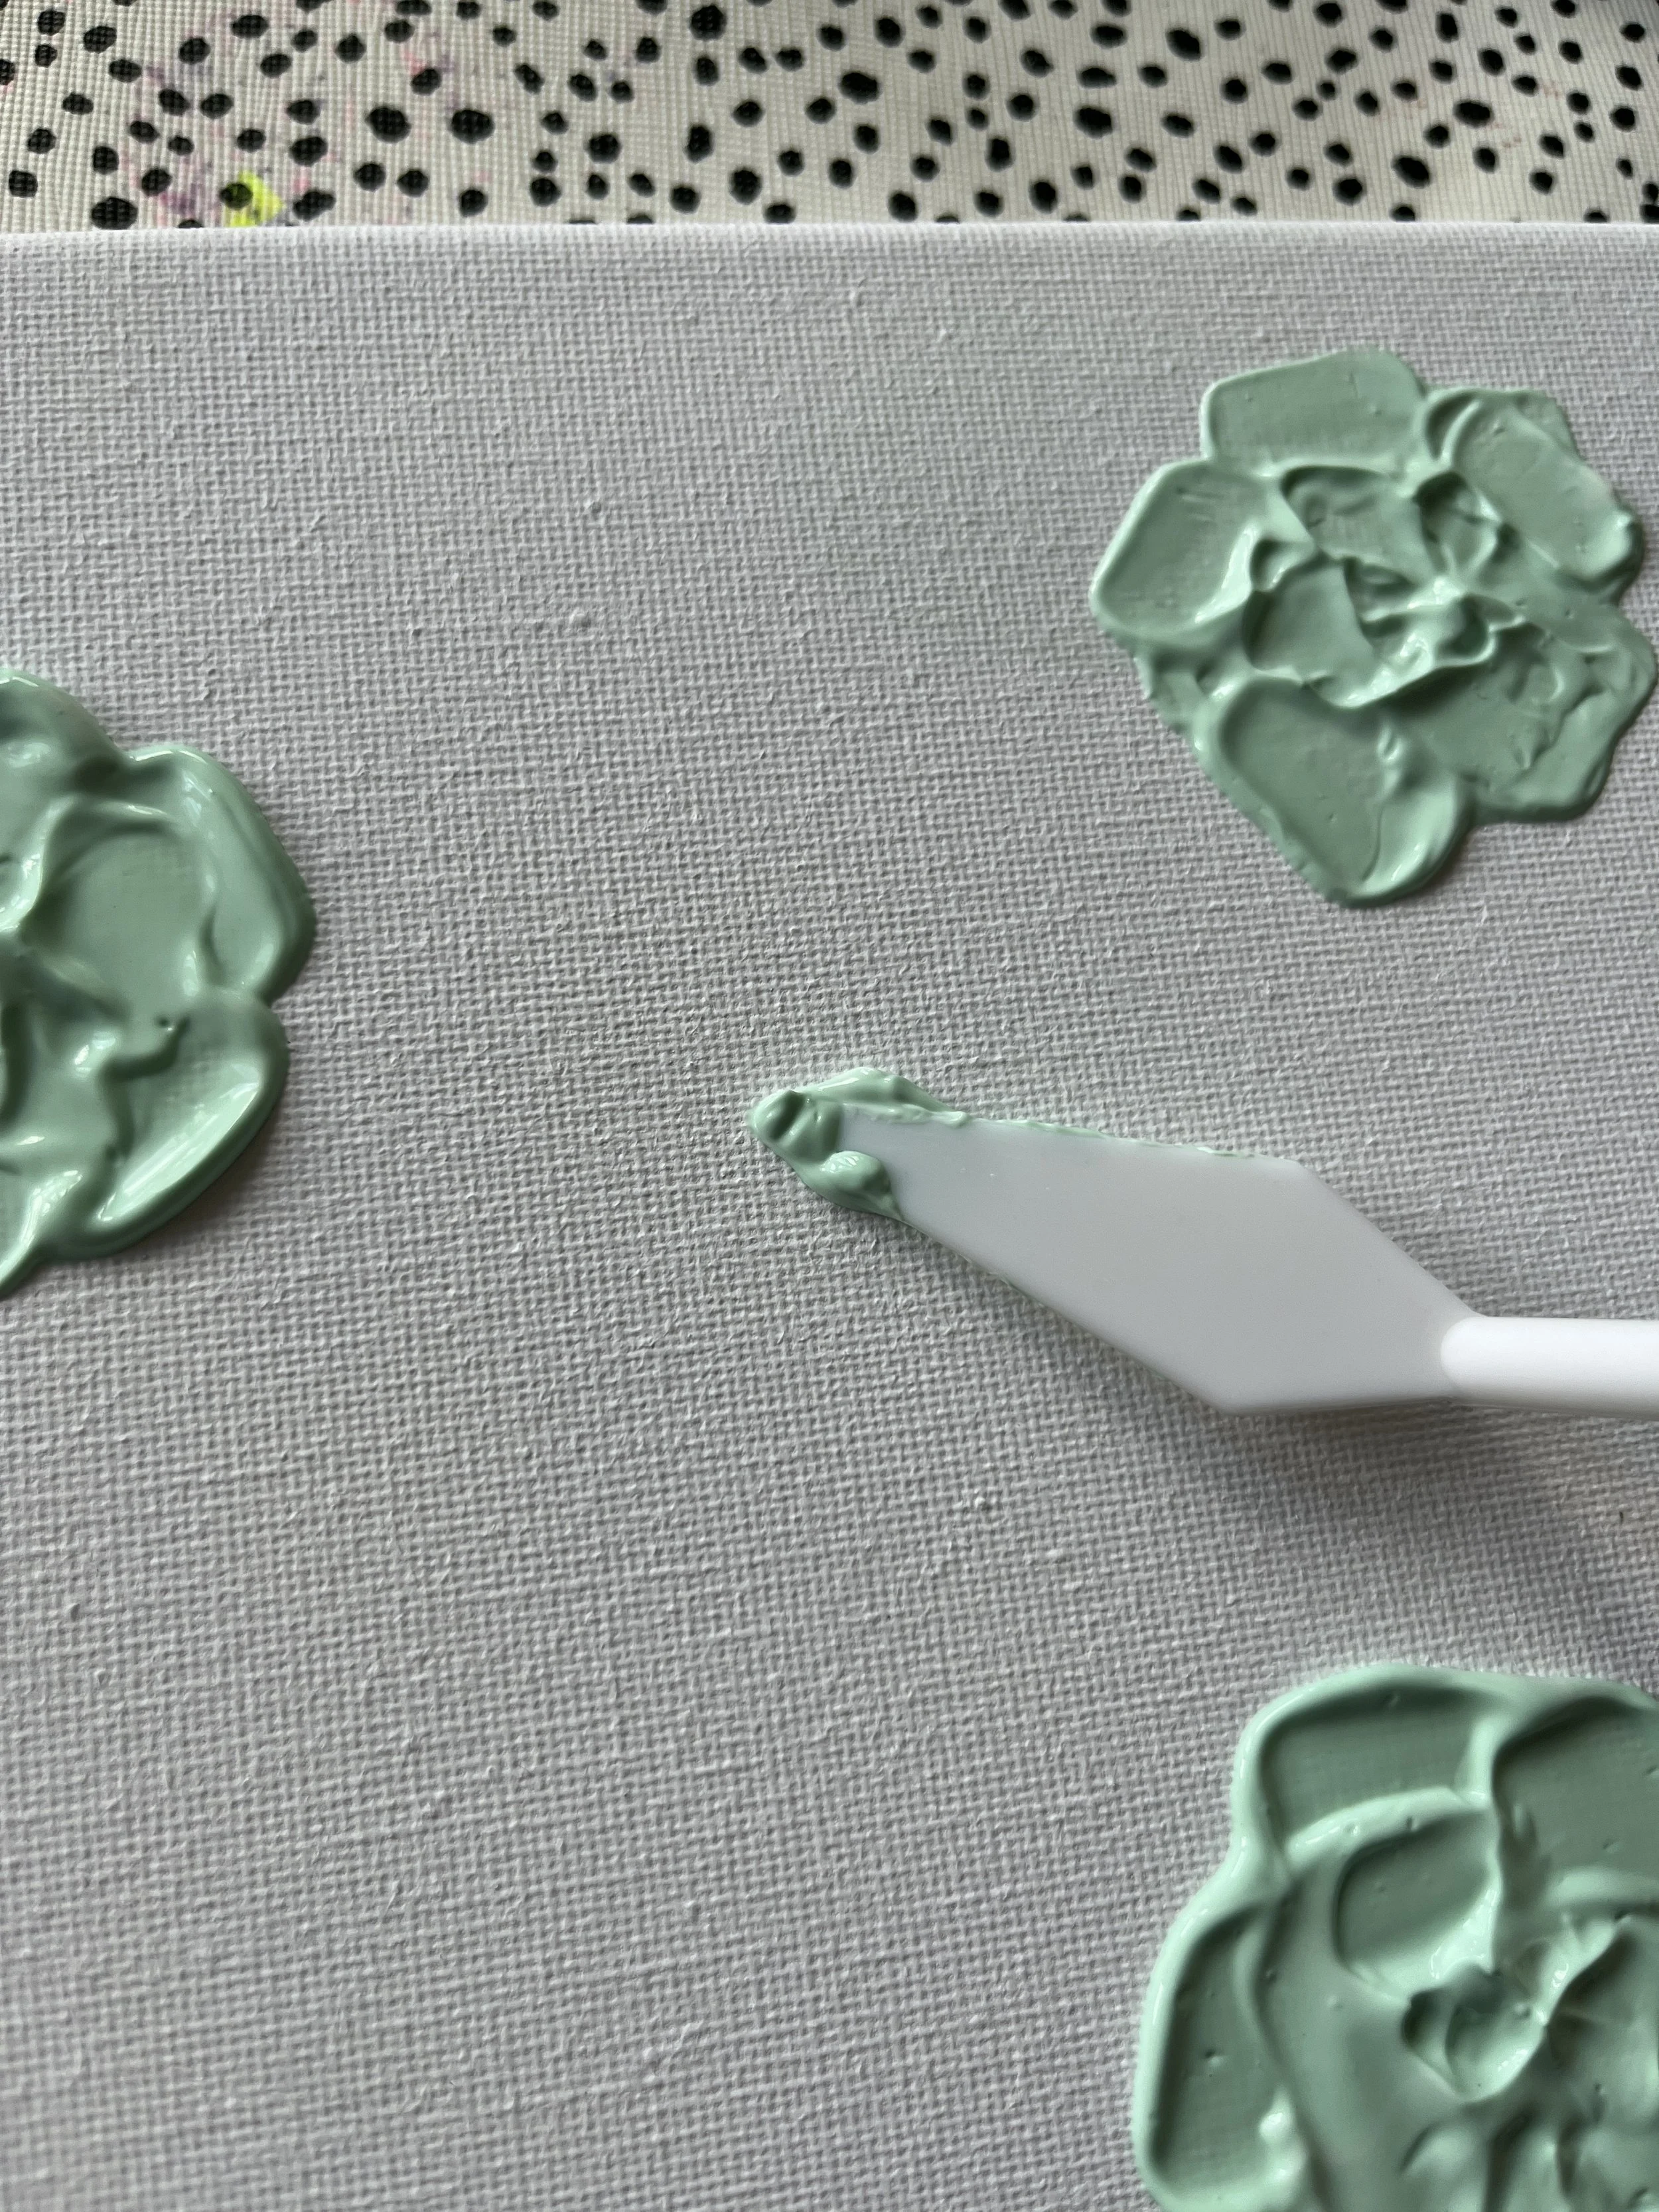
5. Use the largest knife with the flat edges in order to make a 'rose' type flower. Pop some paste onto the knife.
6. Press onto the canvas (or card if you are practising) and push down.
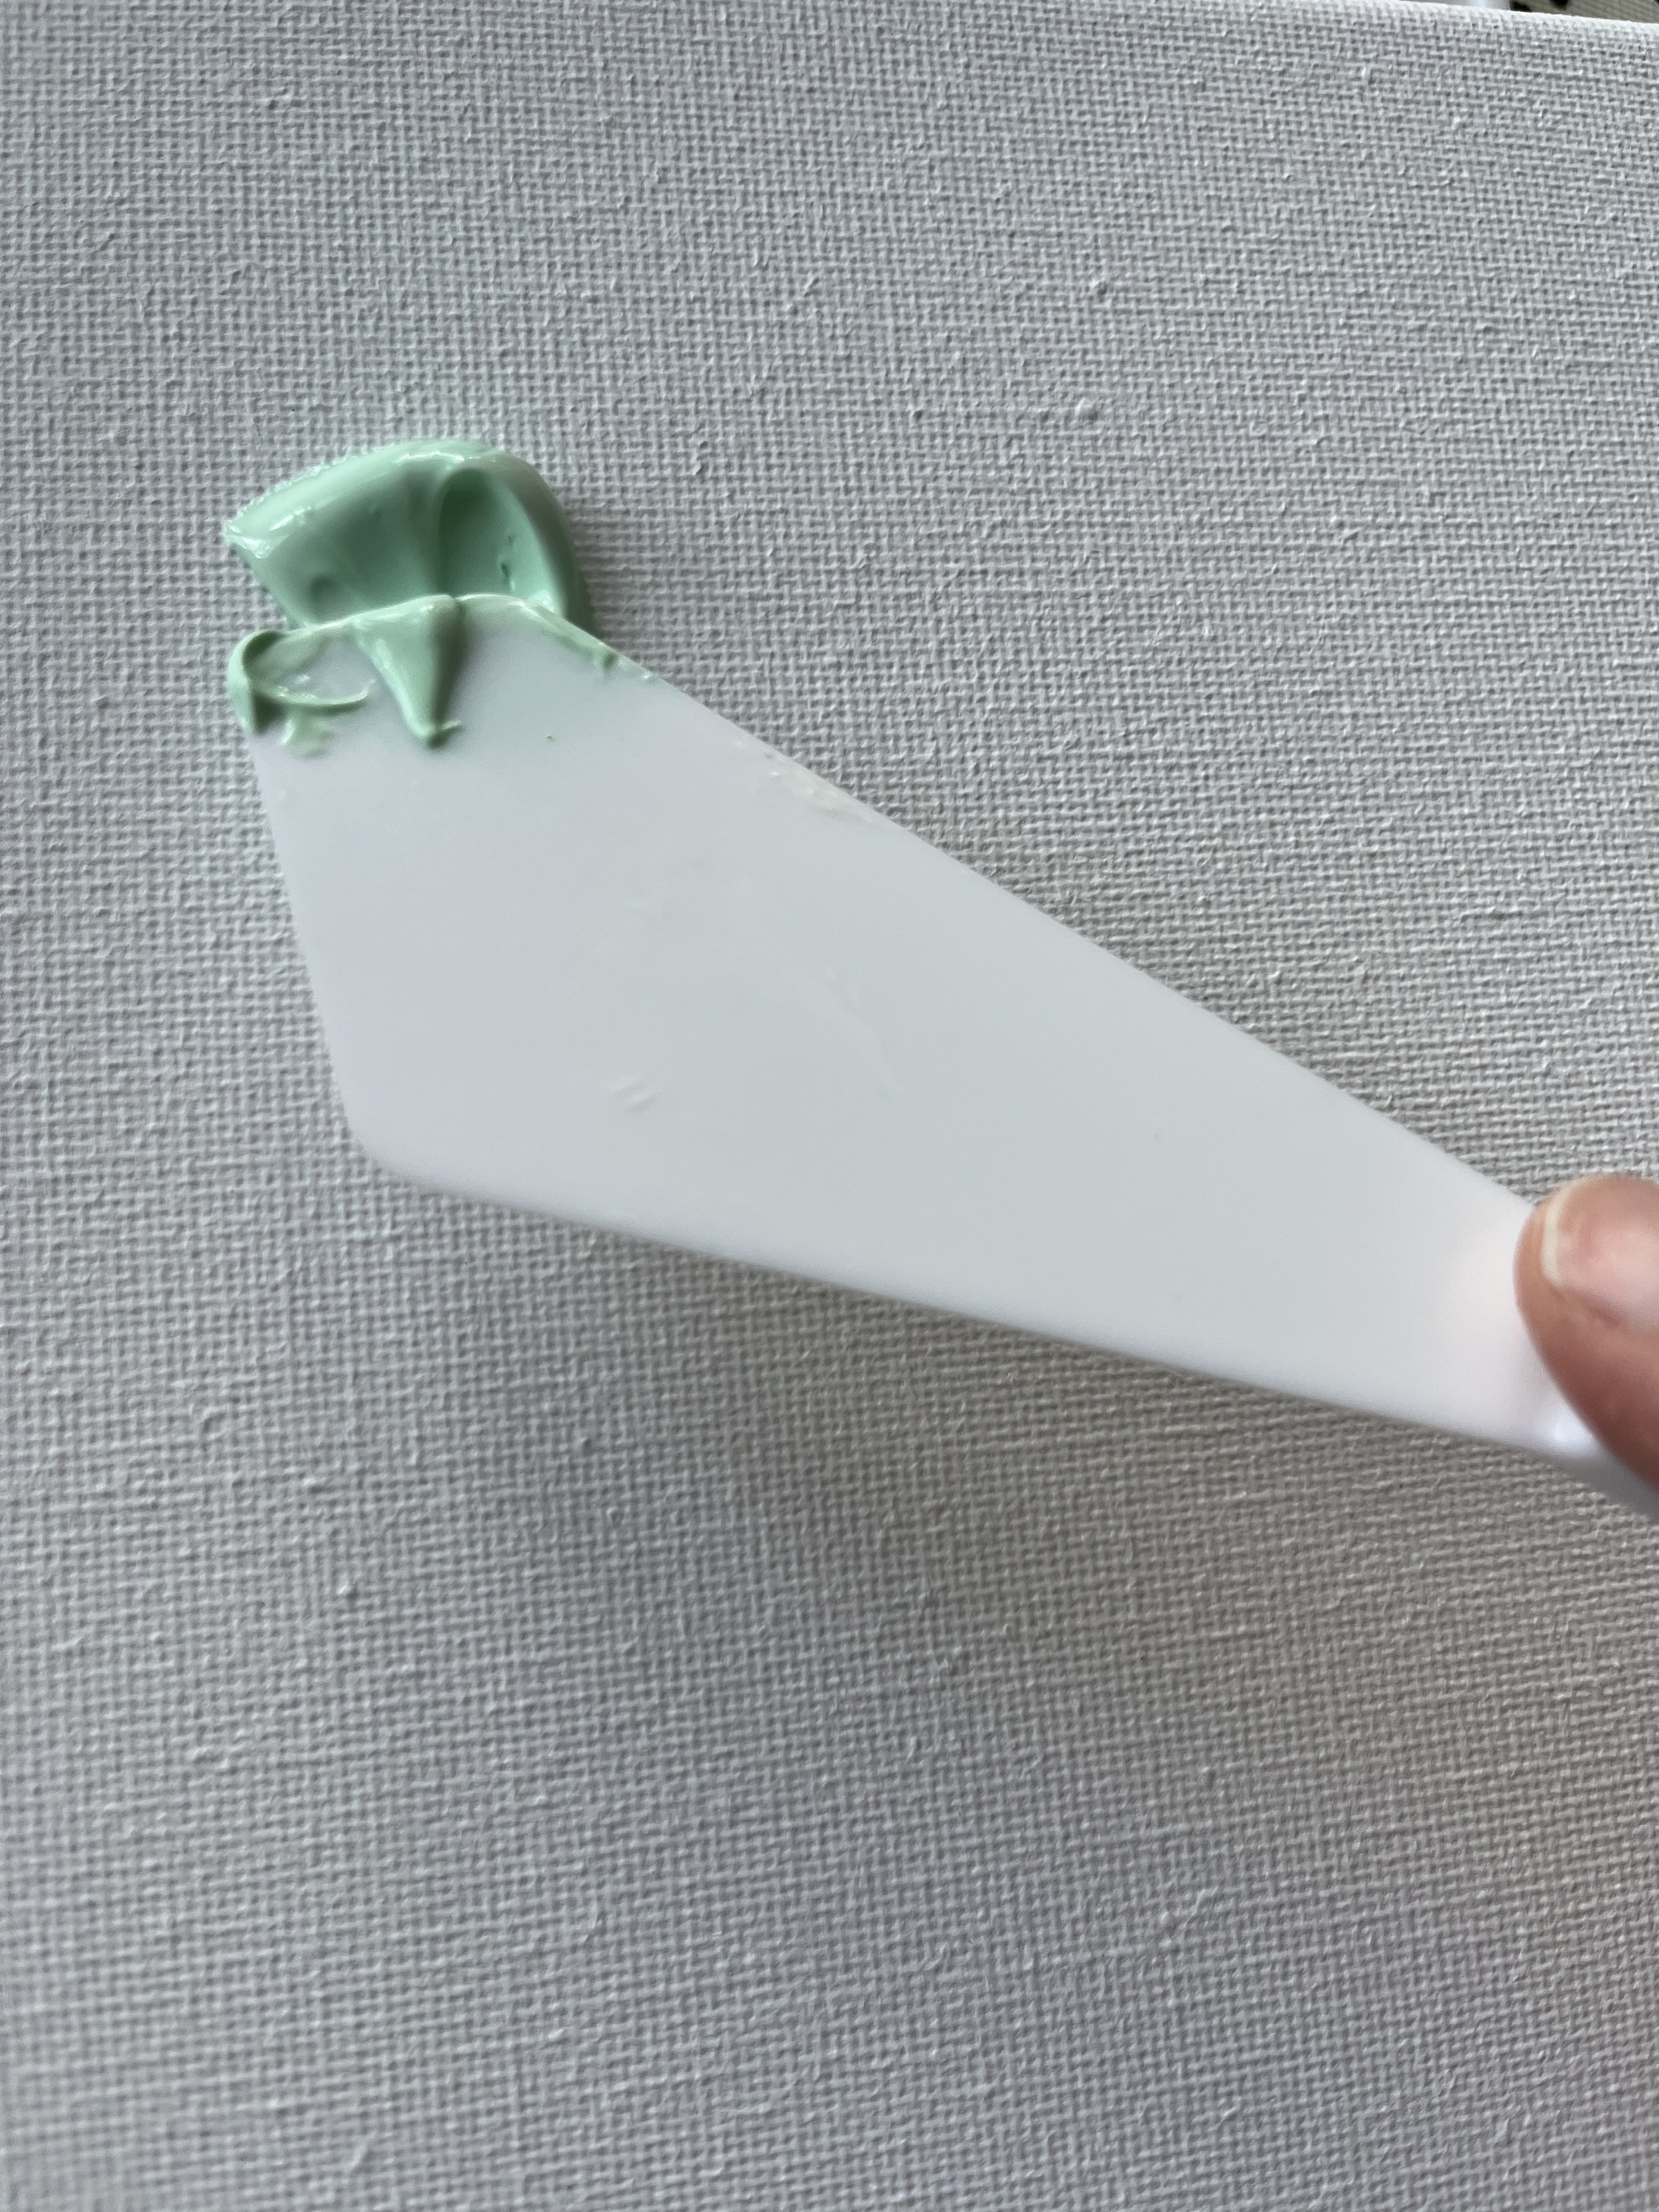
7. Draw the knife towards to you to make one of the petals.
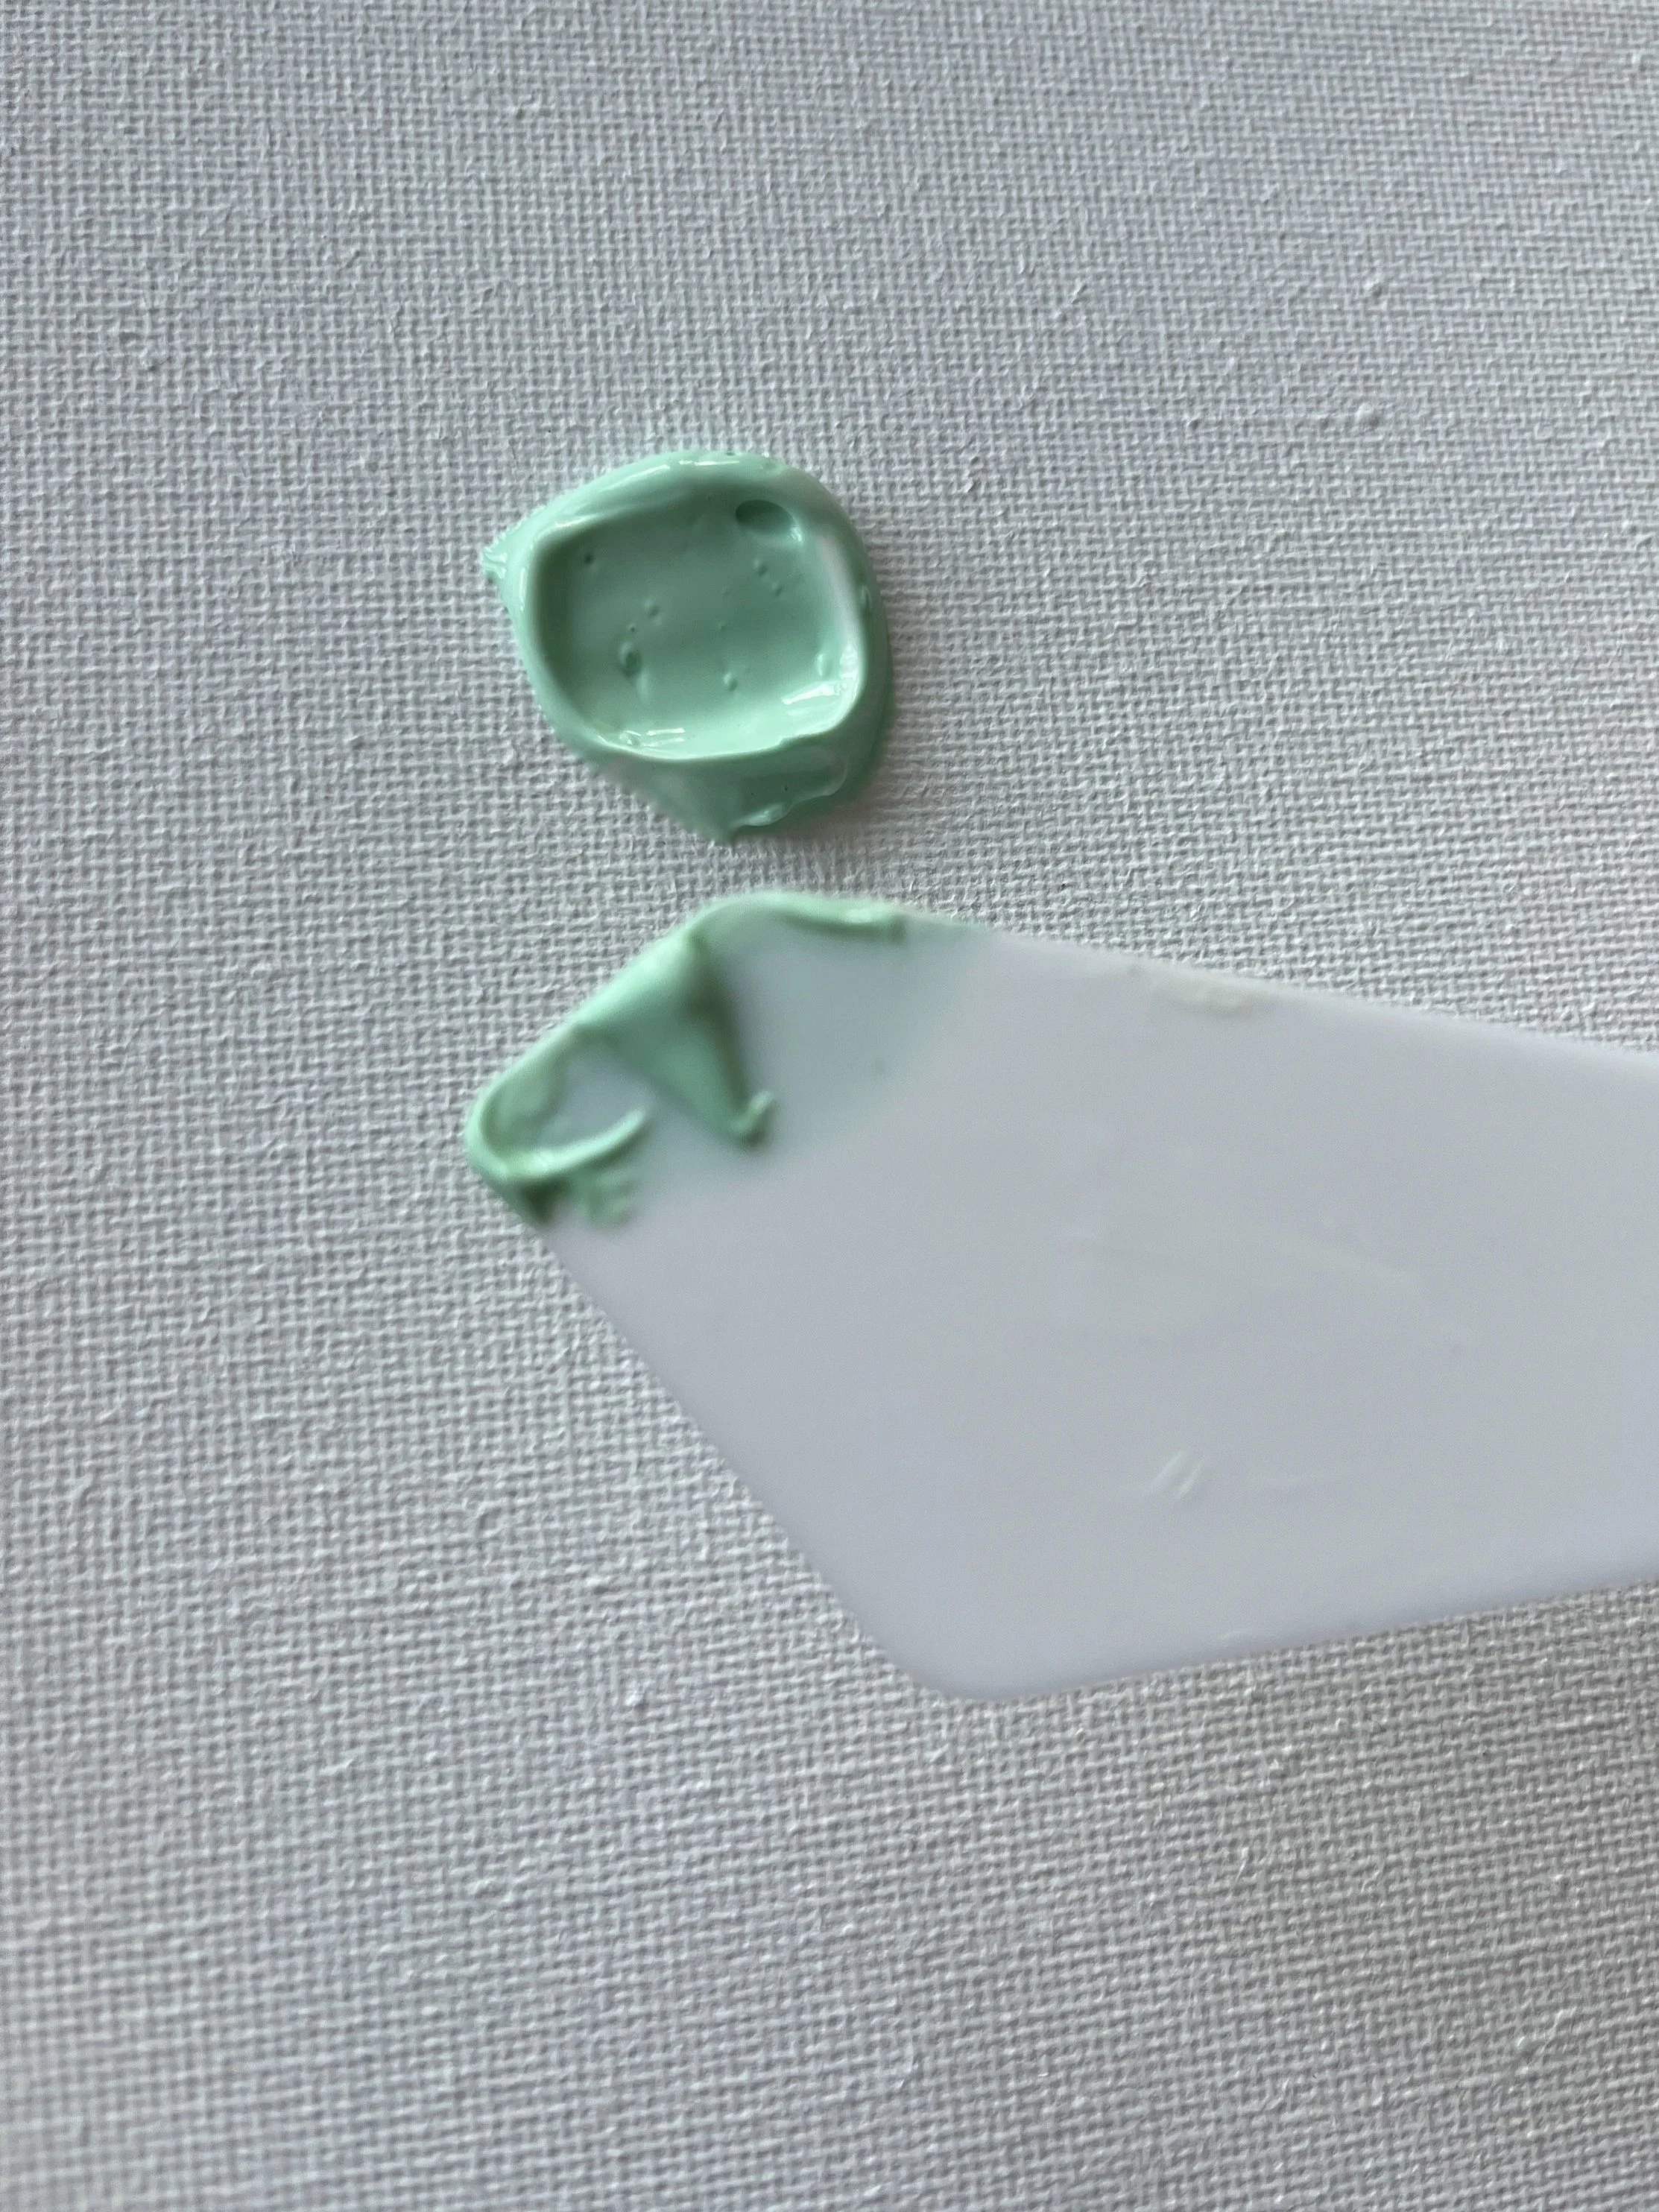
8. Lift the knife off and then you have your first petal!
9. Take some more of the paste if you need it.
10. Repeat the same process next to your first petal.
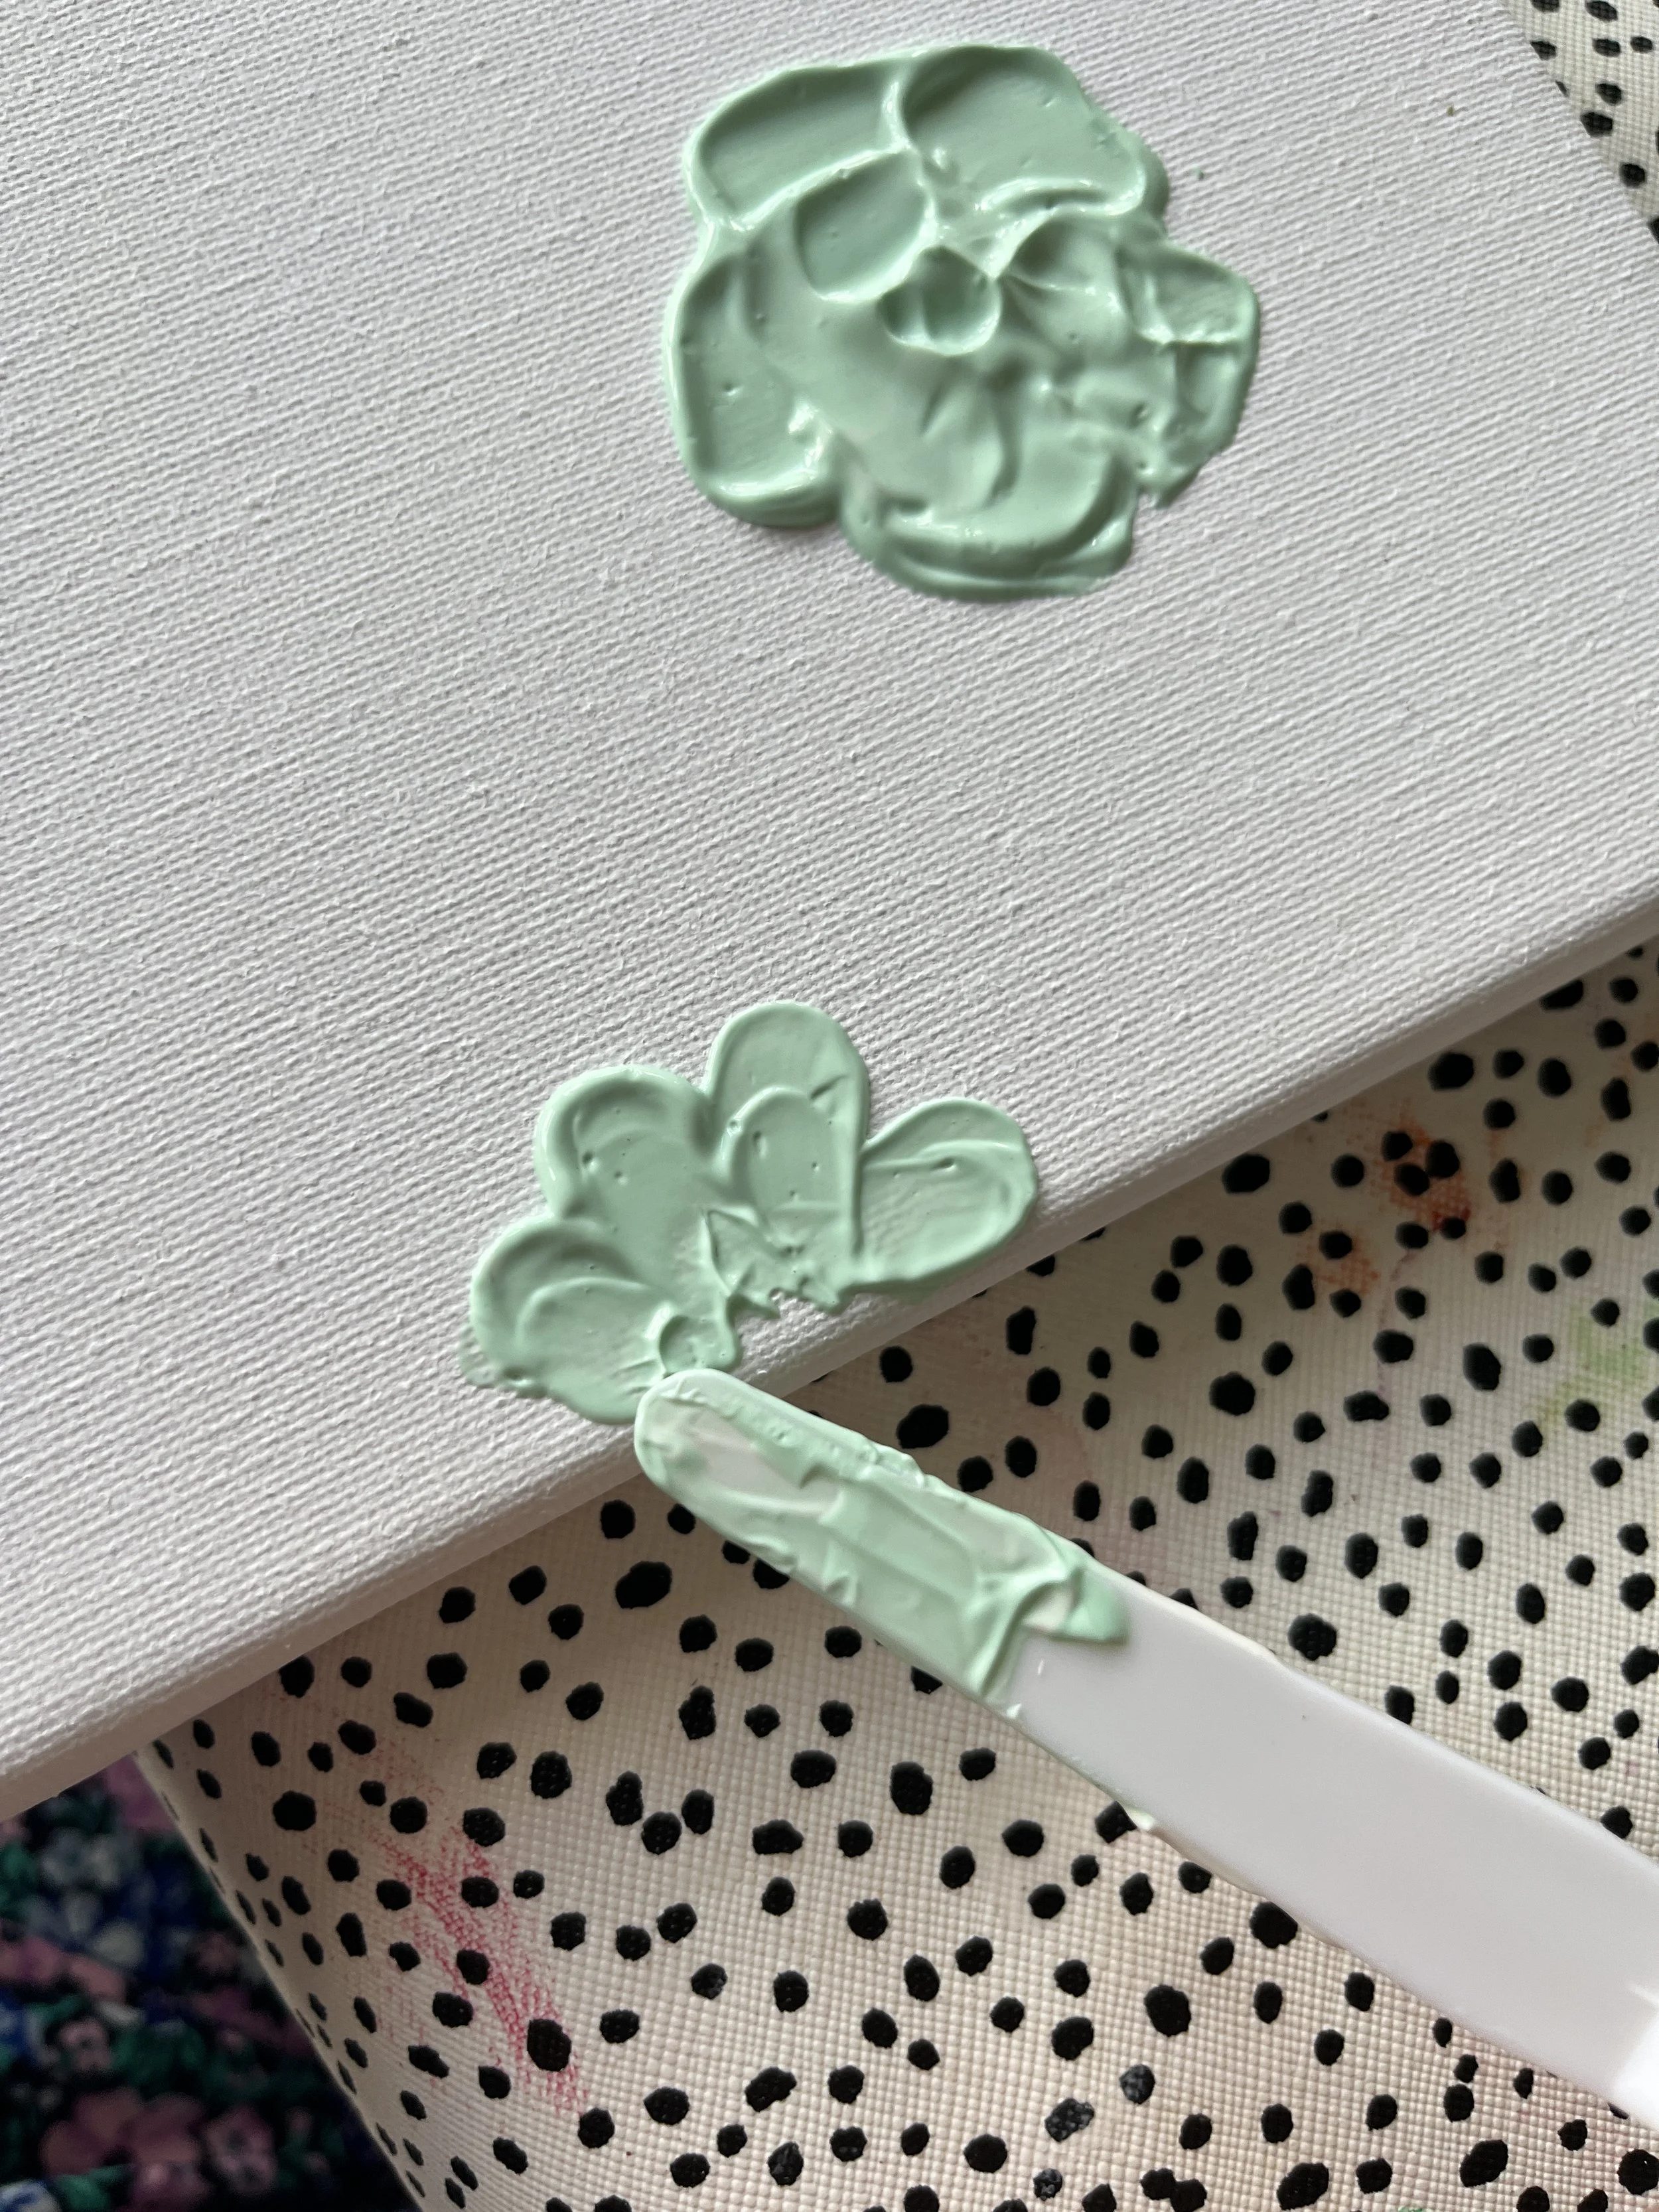
11. Repeat until you have petals all the way around to create the flower (we like doing things is odd number so 5 is perfect!)
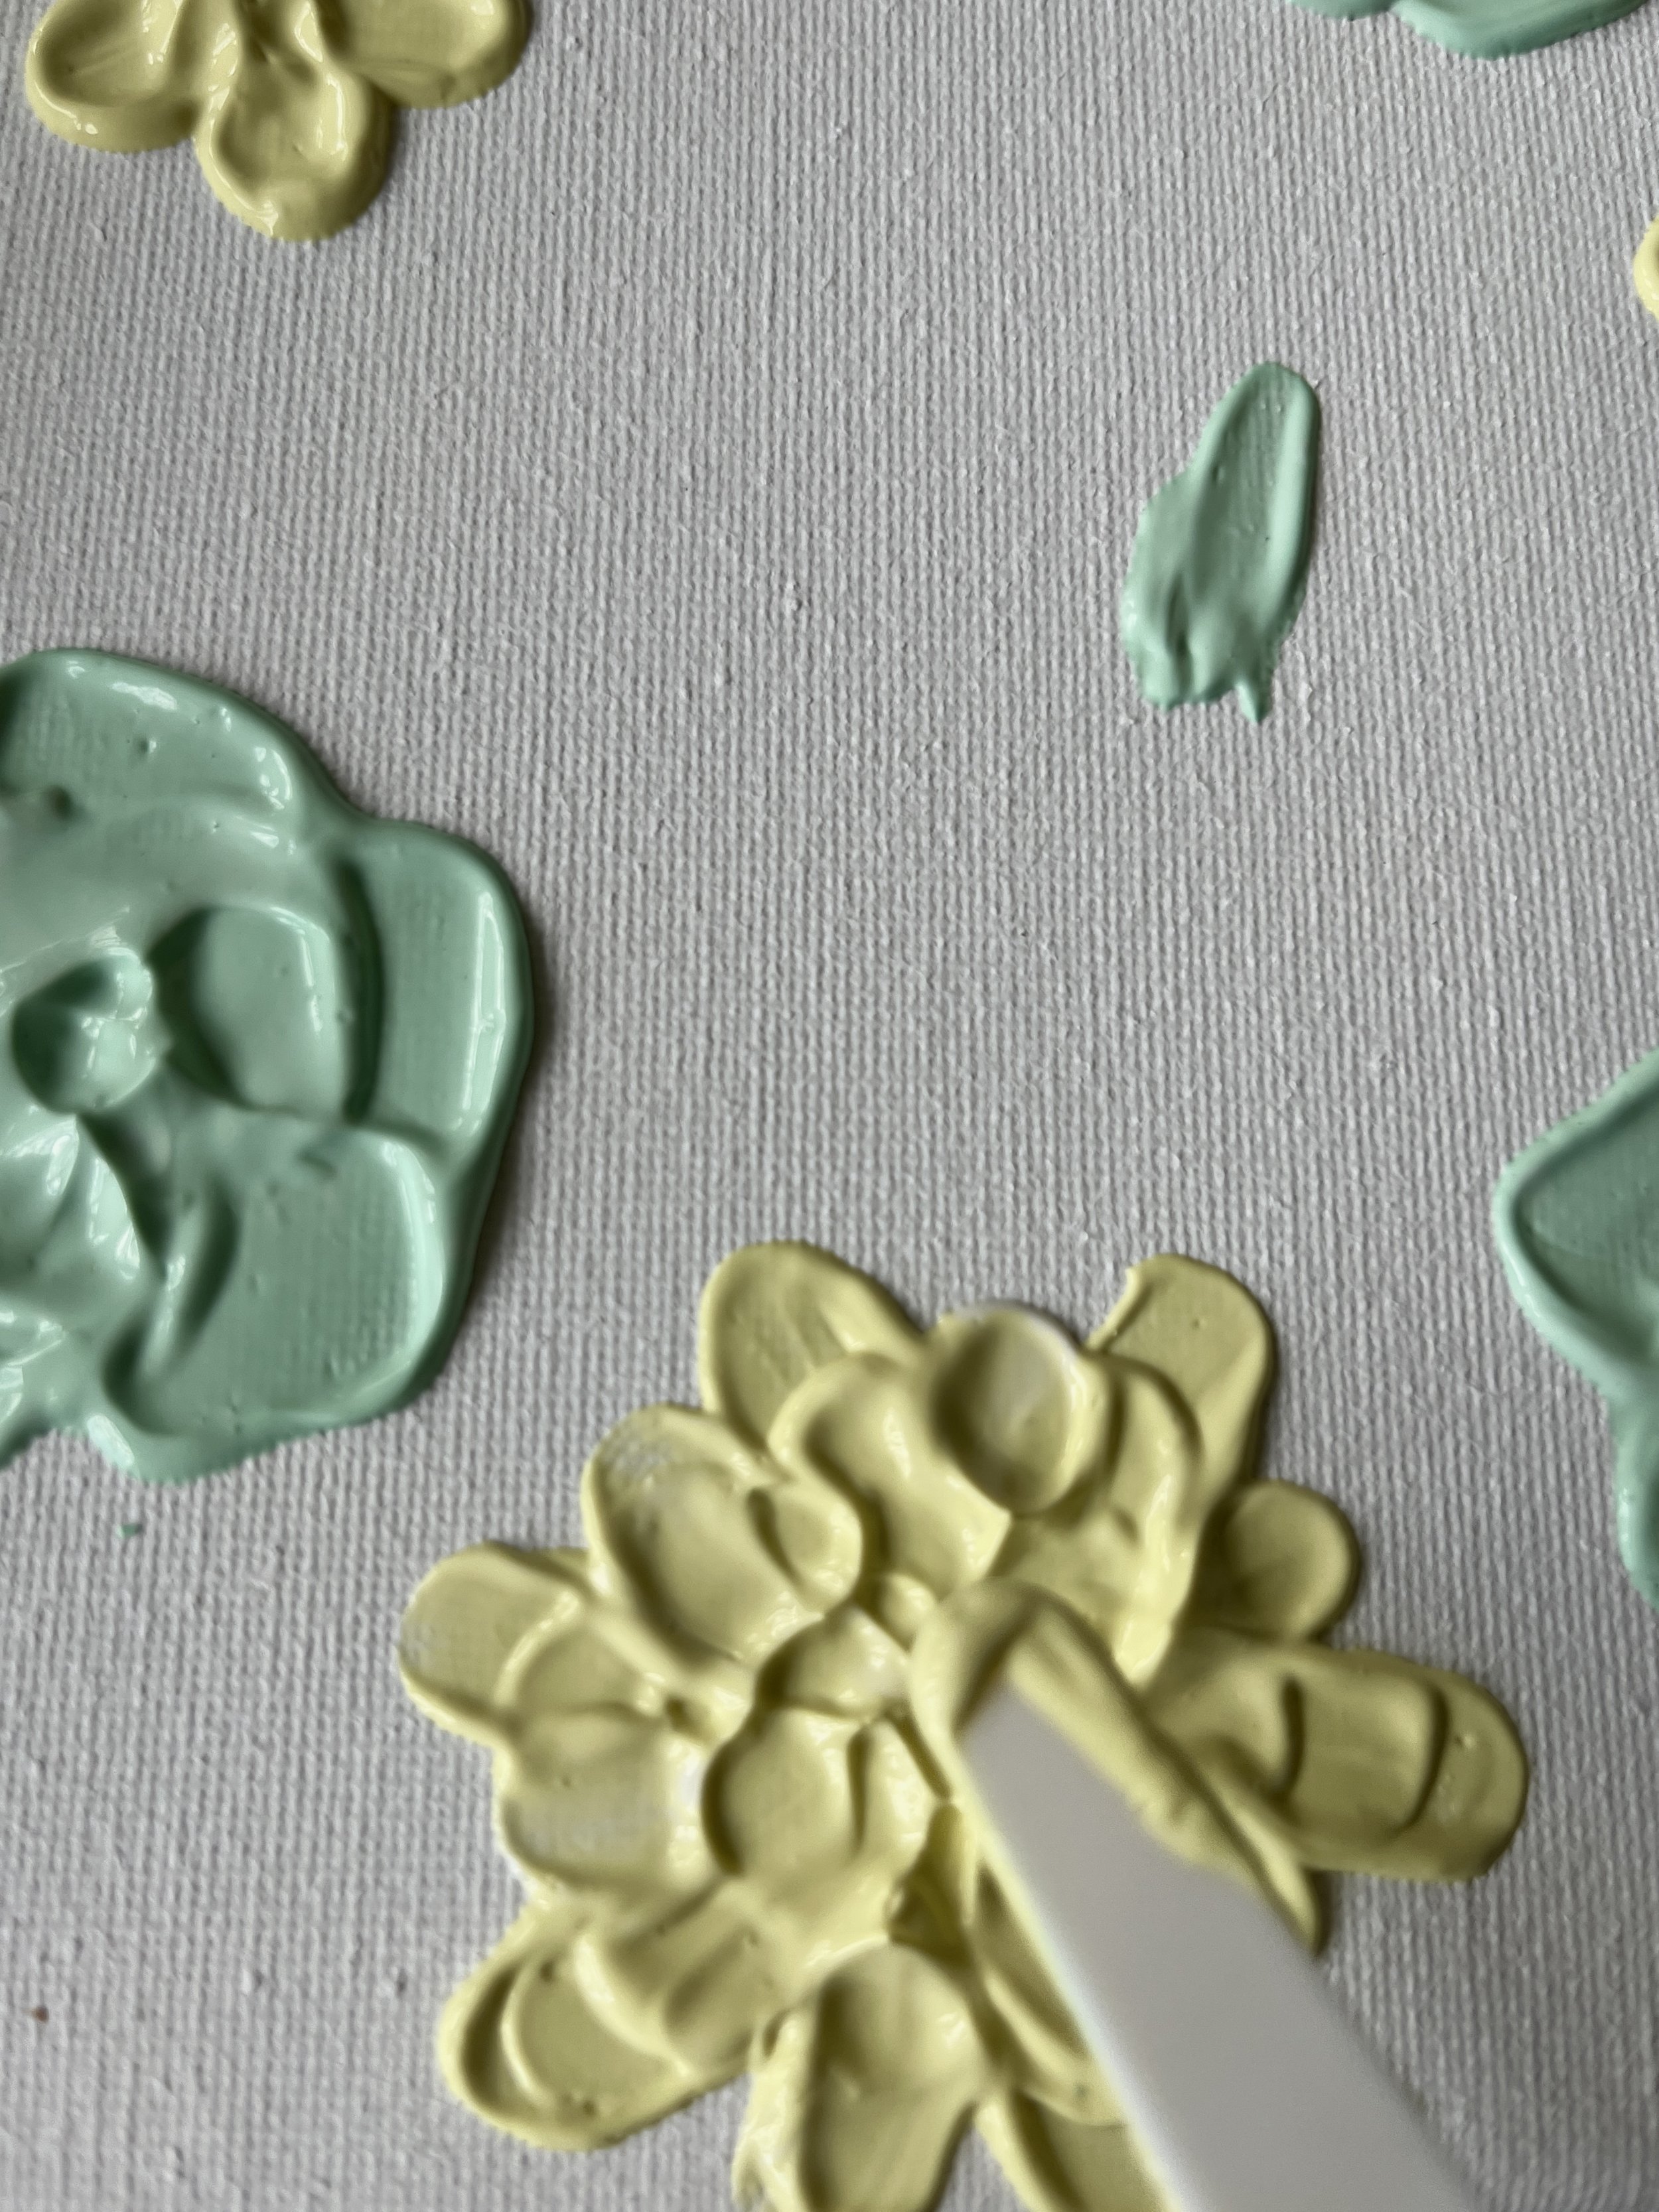
12. Do a smaller version of the same process in the middle of the flower to give it some more texture.
13. I smudged this one a little bit on the left but it's easy to use a baby wipe on your finger or damp tissue to wipe it away before it dries.
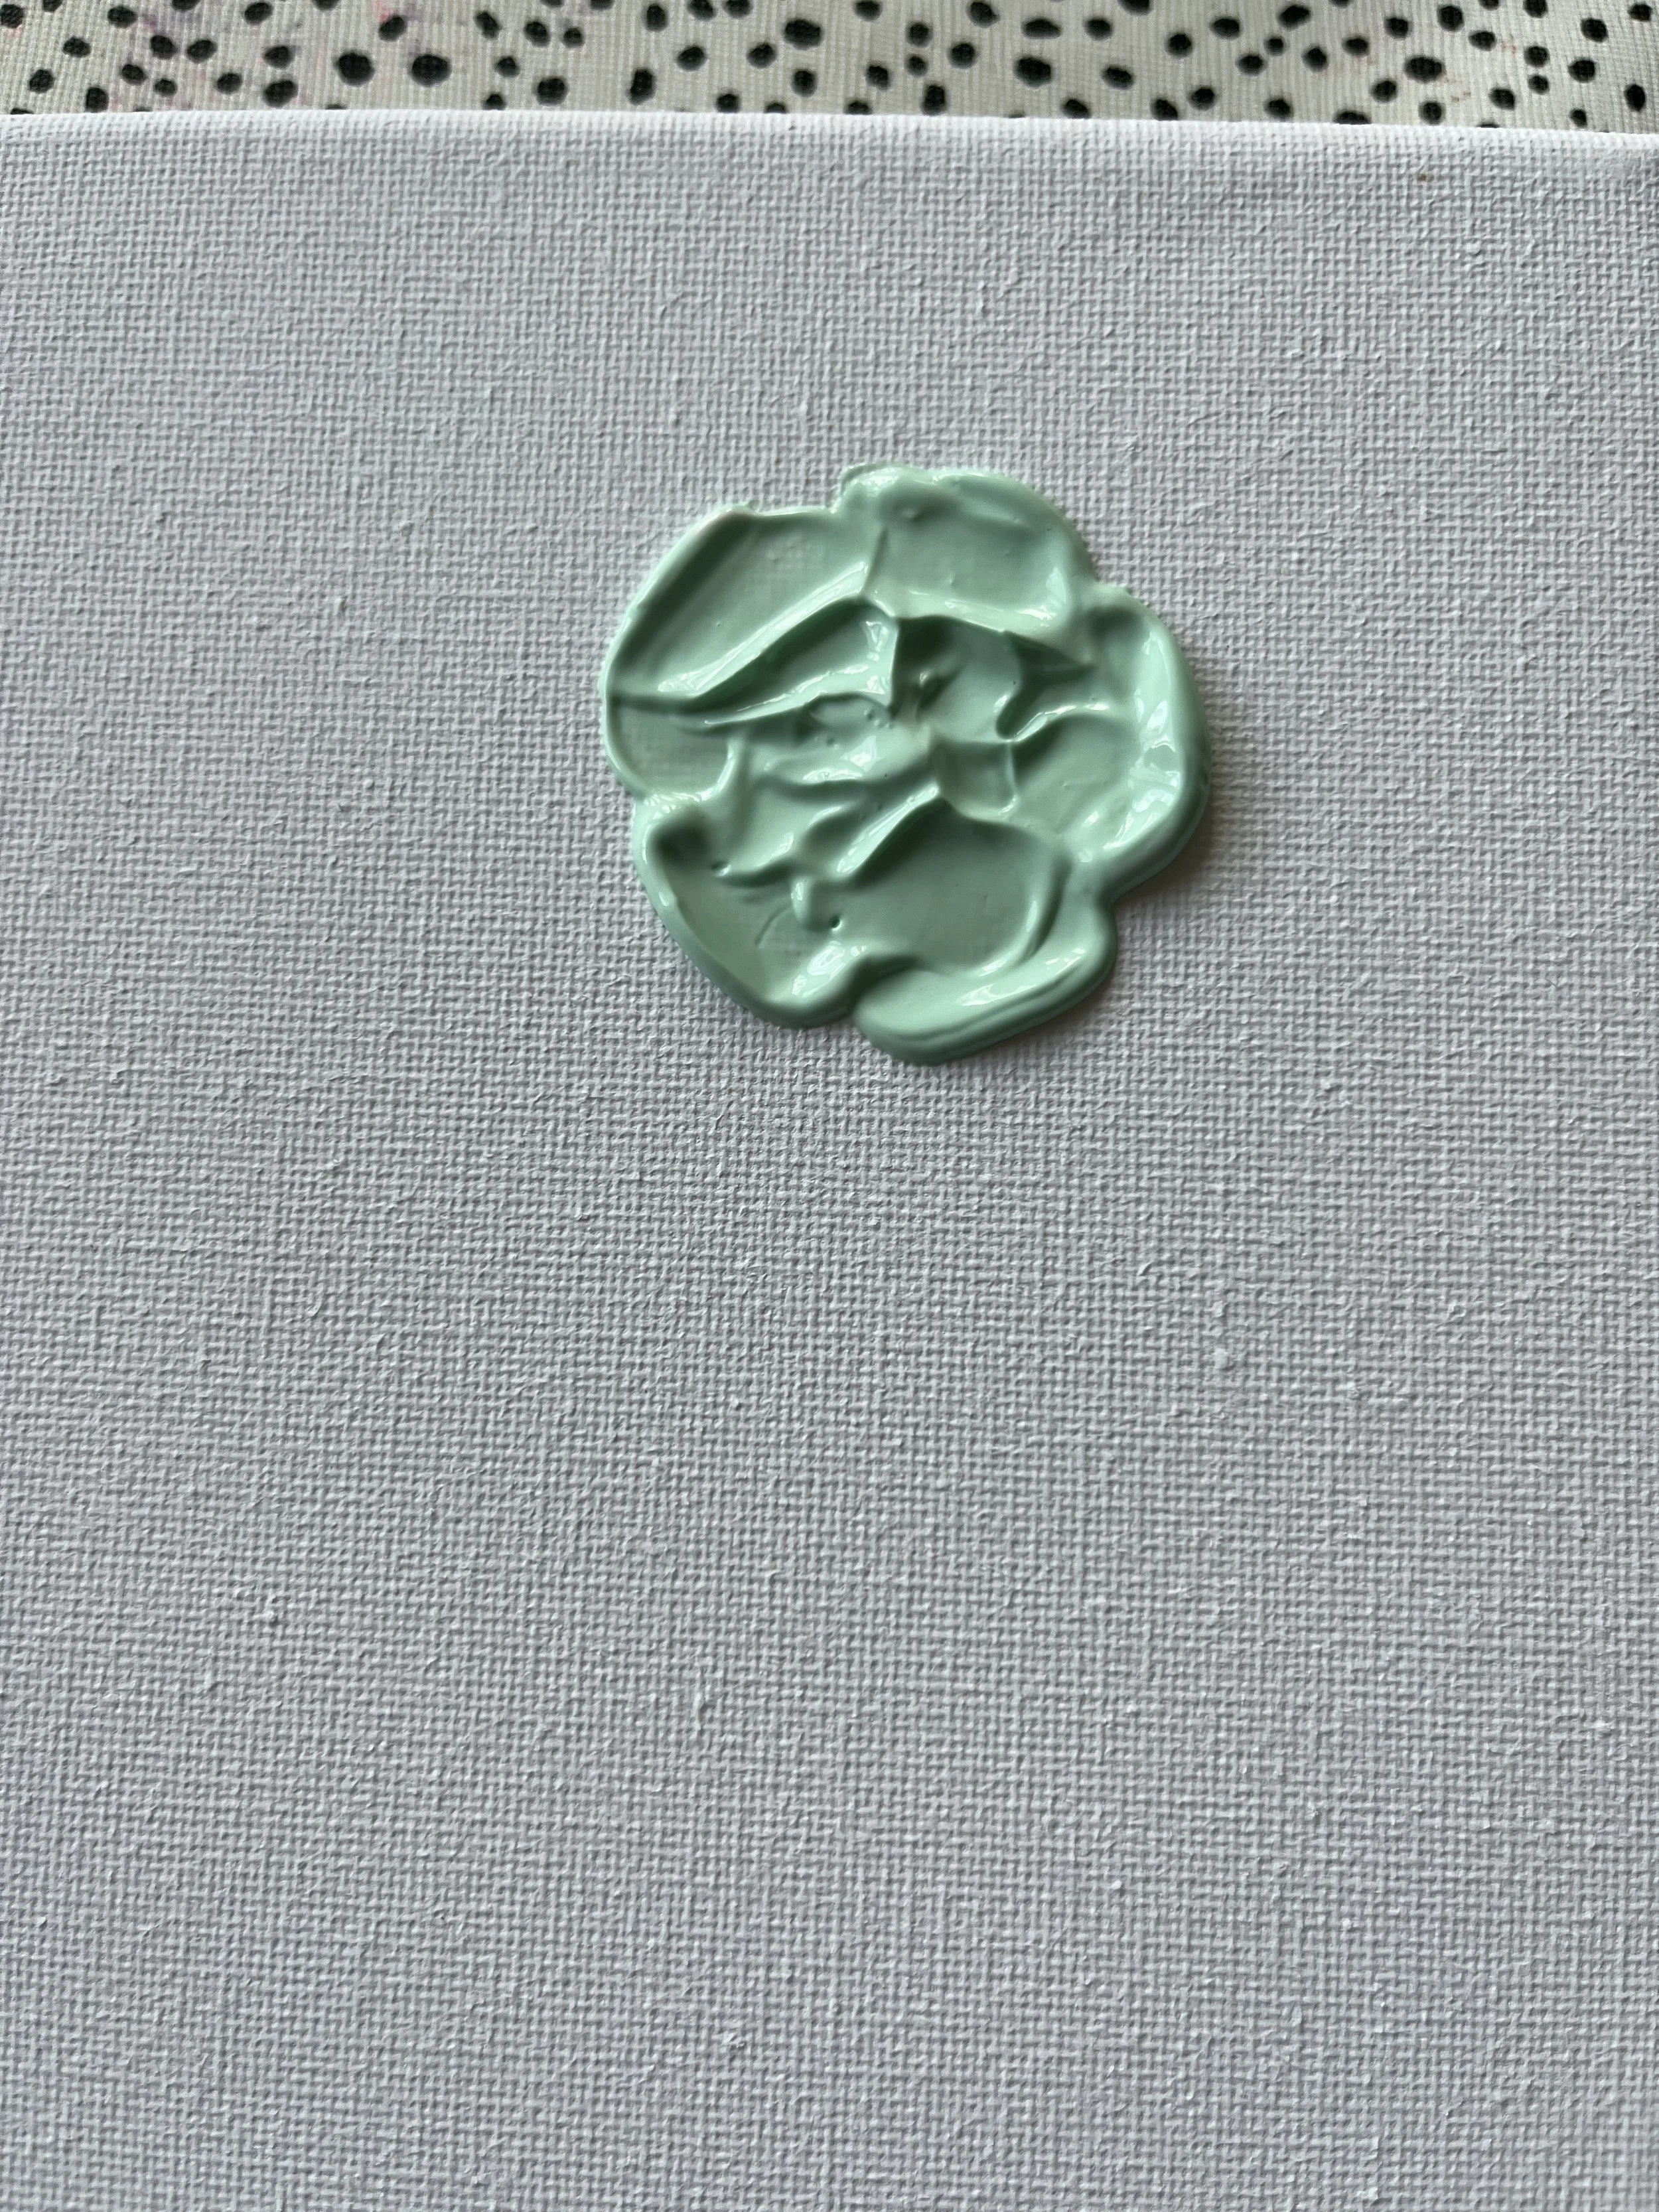
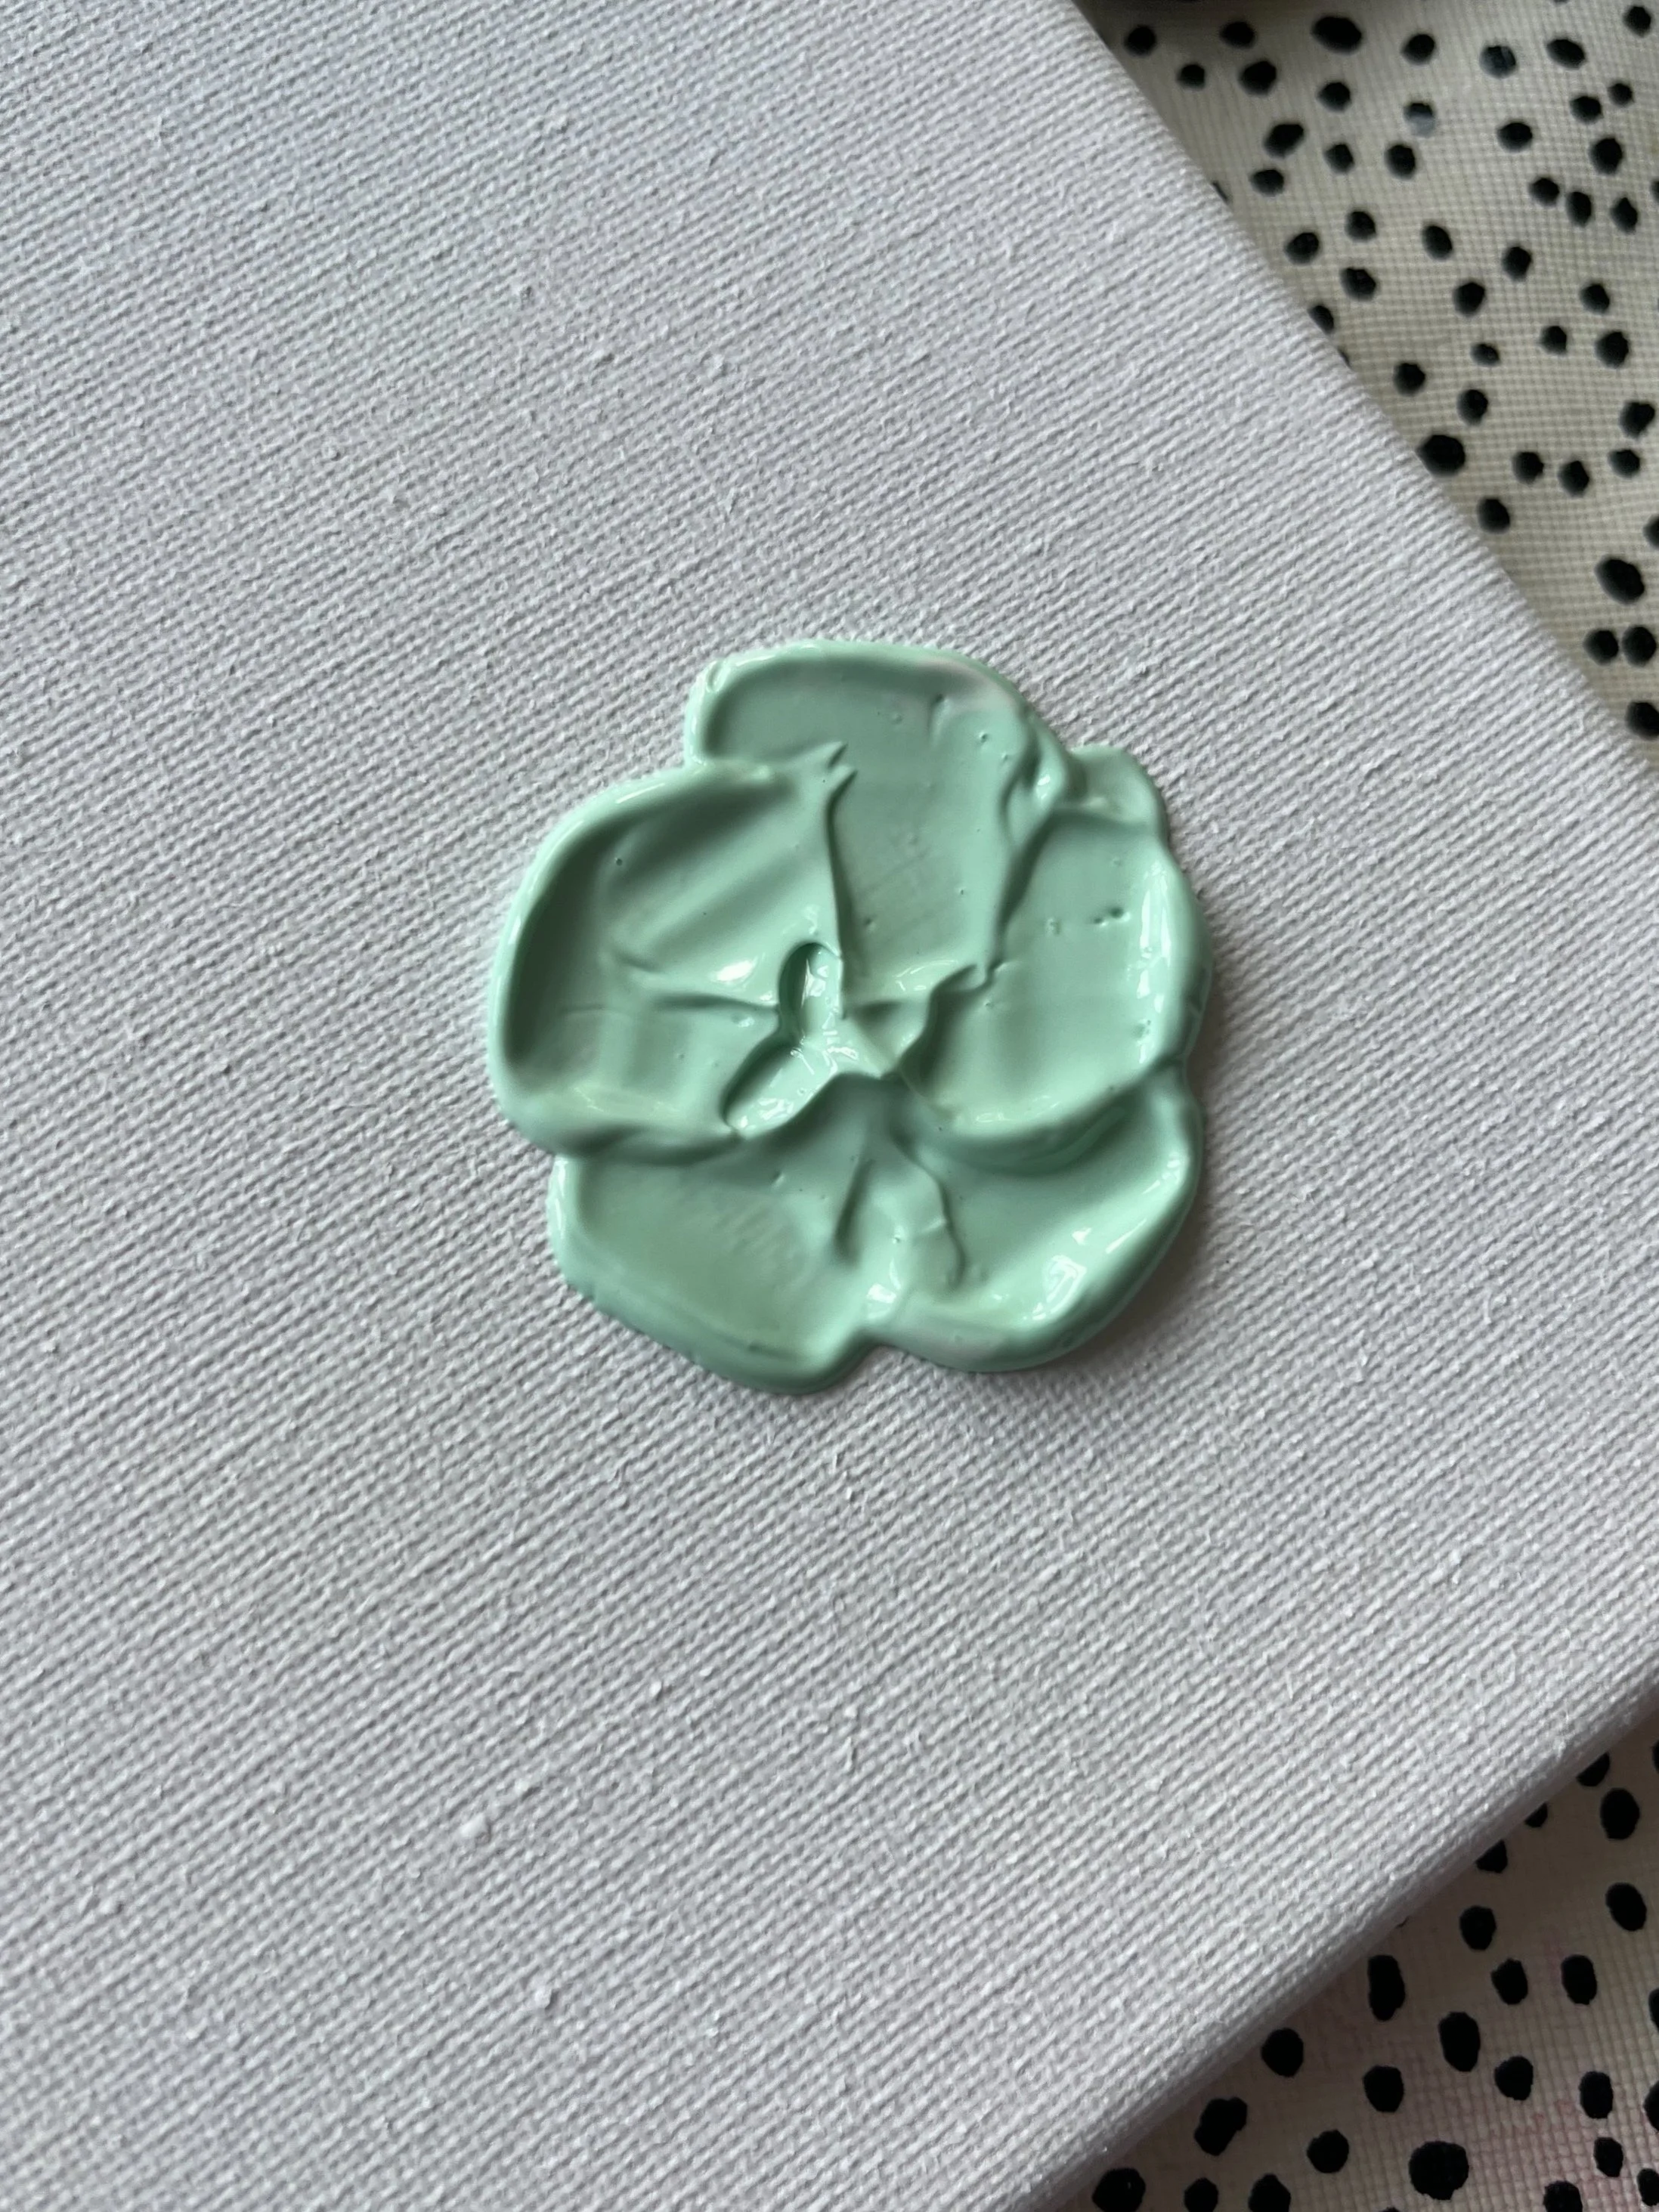
14. Much neater and looks more like a rose with the added texture in the middle.
15. You can use one of the smaller, thinner knives to help you add more paste to your larger knife if you need to. They can be cleaned with the wipe easily.
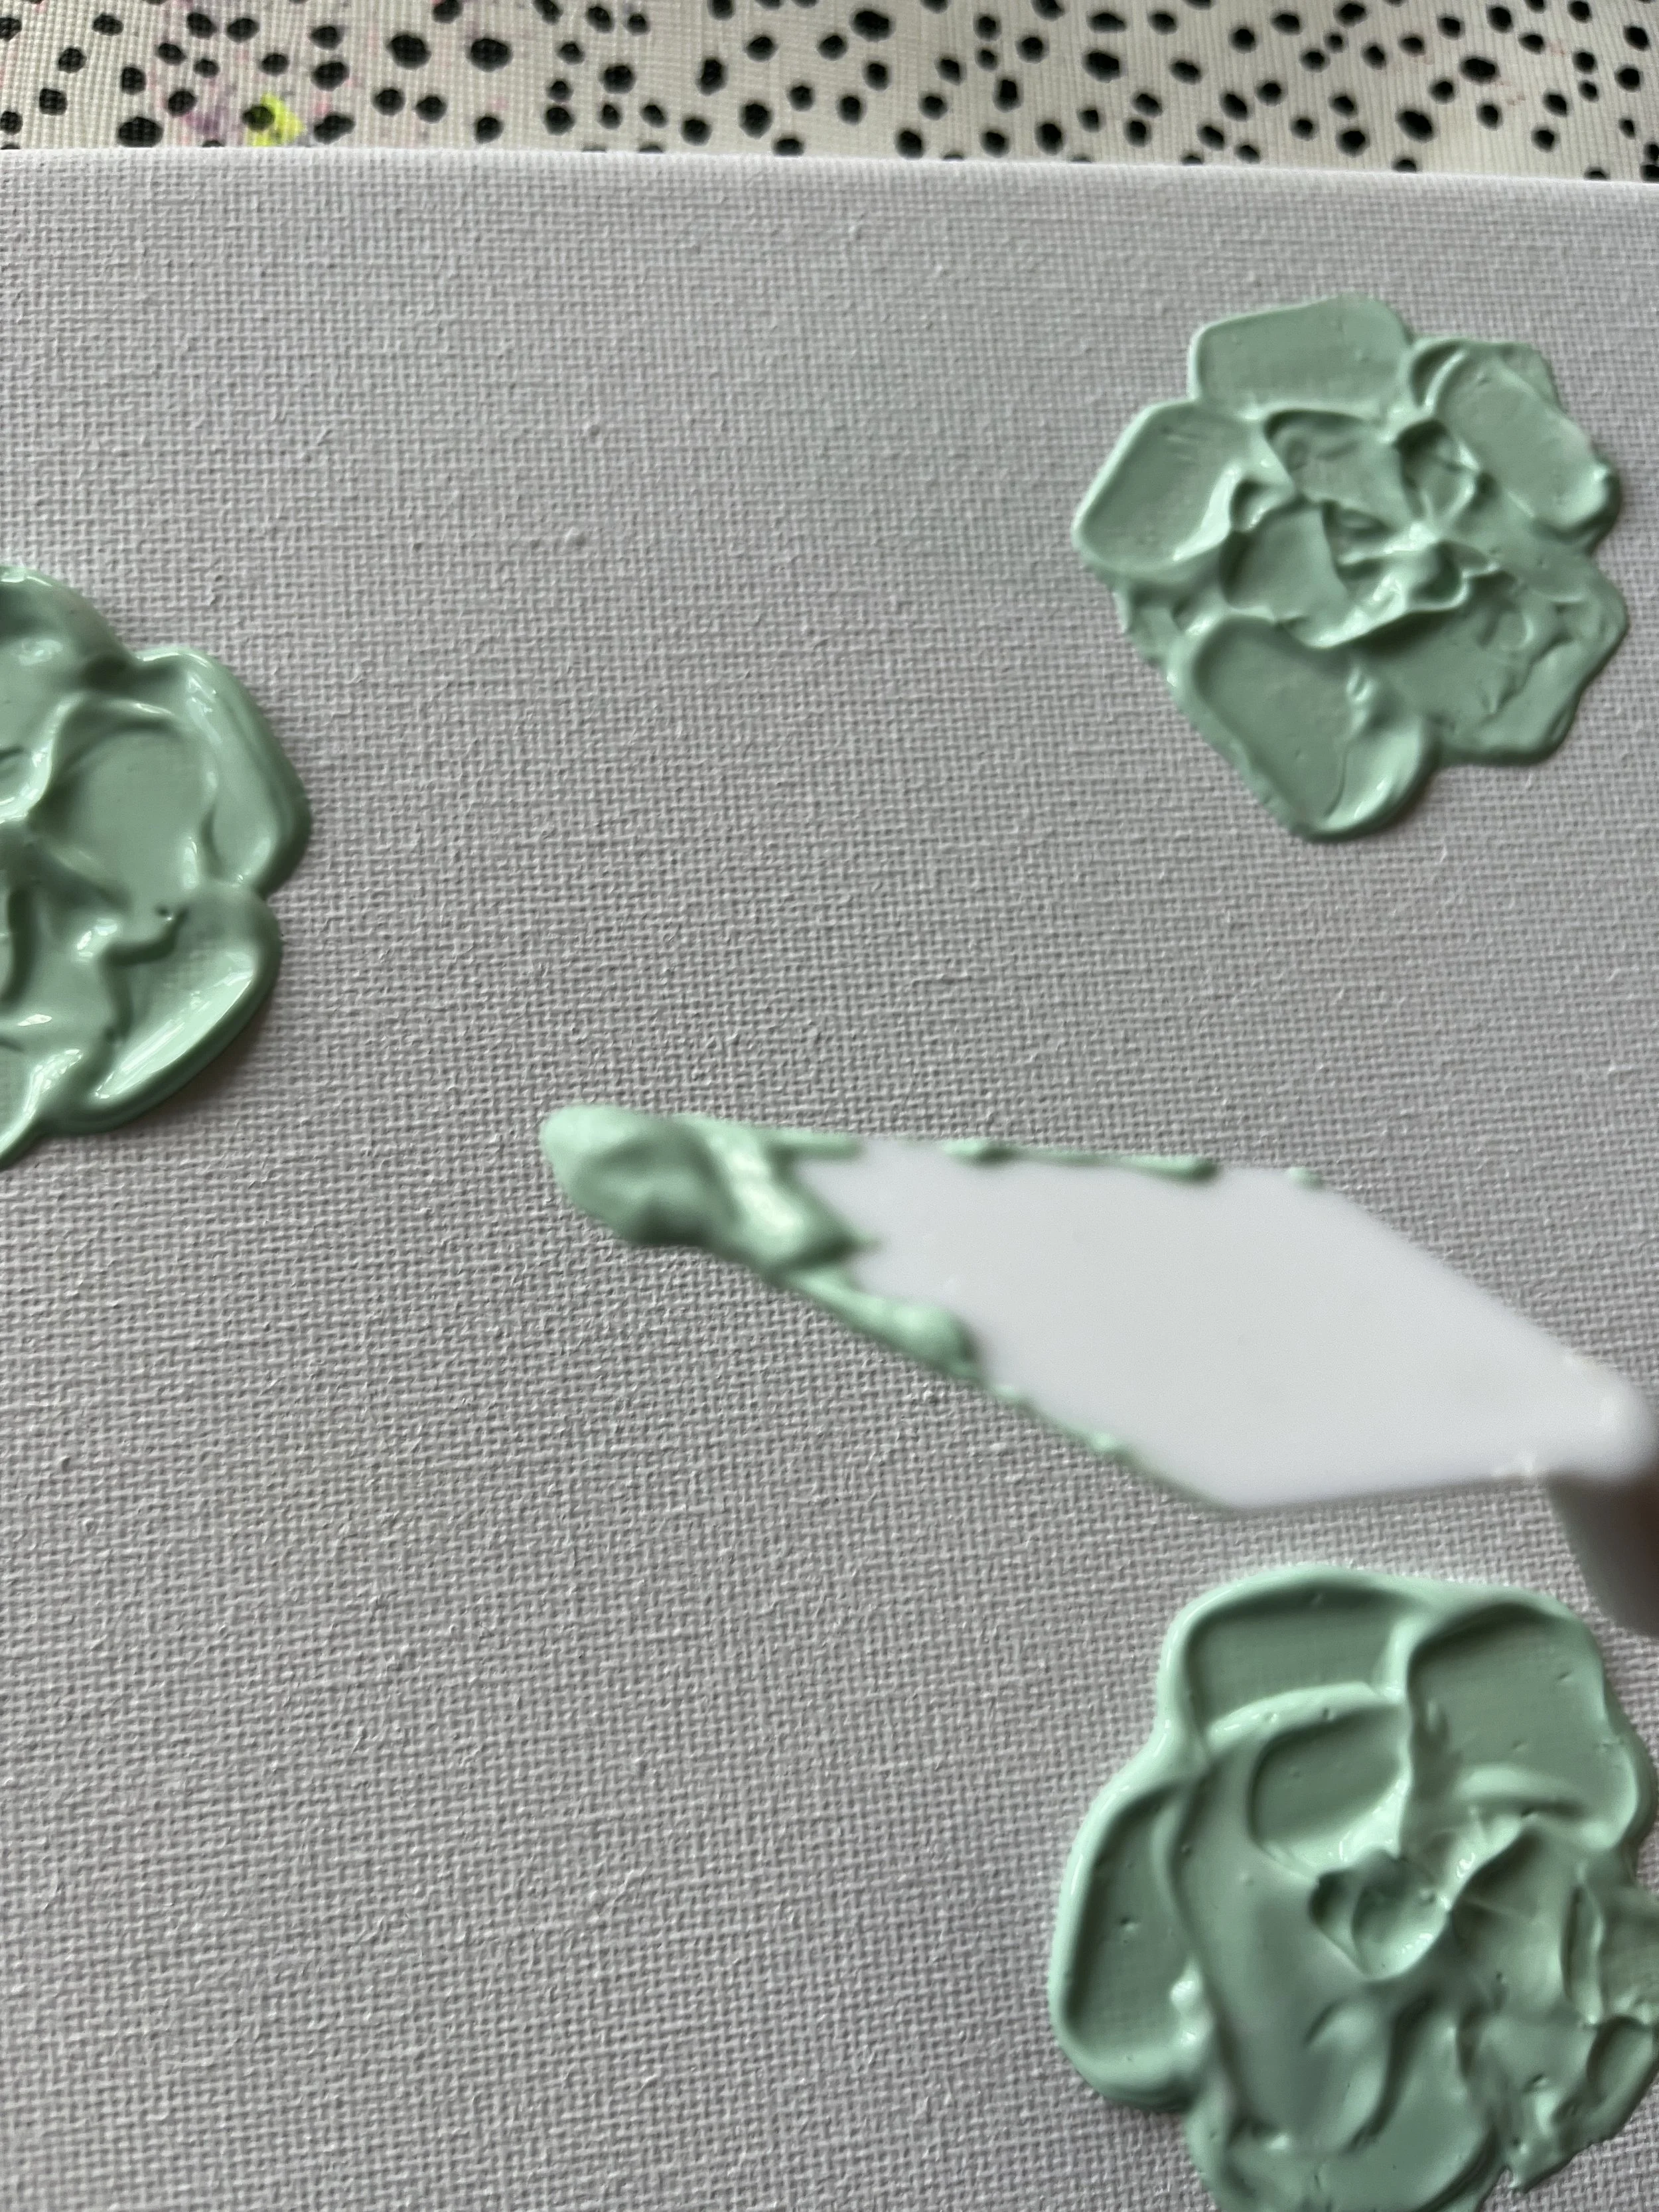
16. Add as many 'rose' style flowers in that colour as you wish. Use one of the 'pointy' knives to create leaf shapes and nice textured 'splashes' to break up the florals.
17. Pop a bit of the paste on the end of the knife and push down.
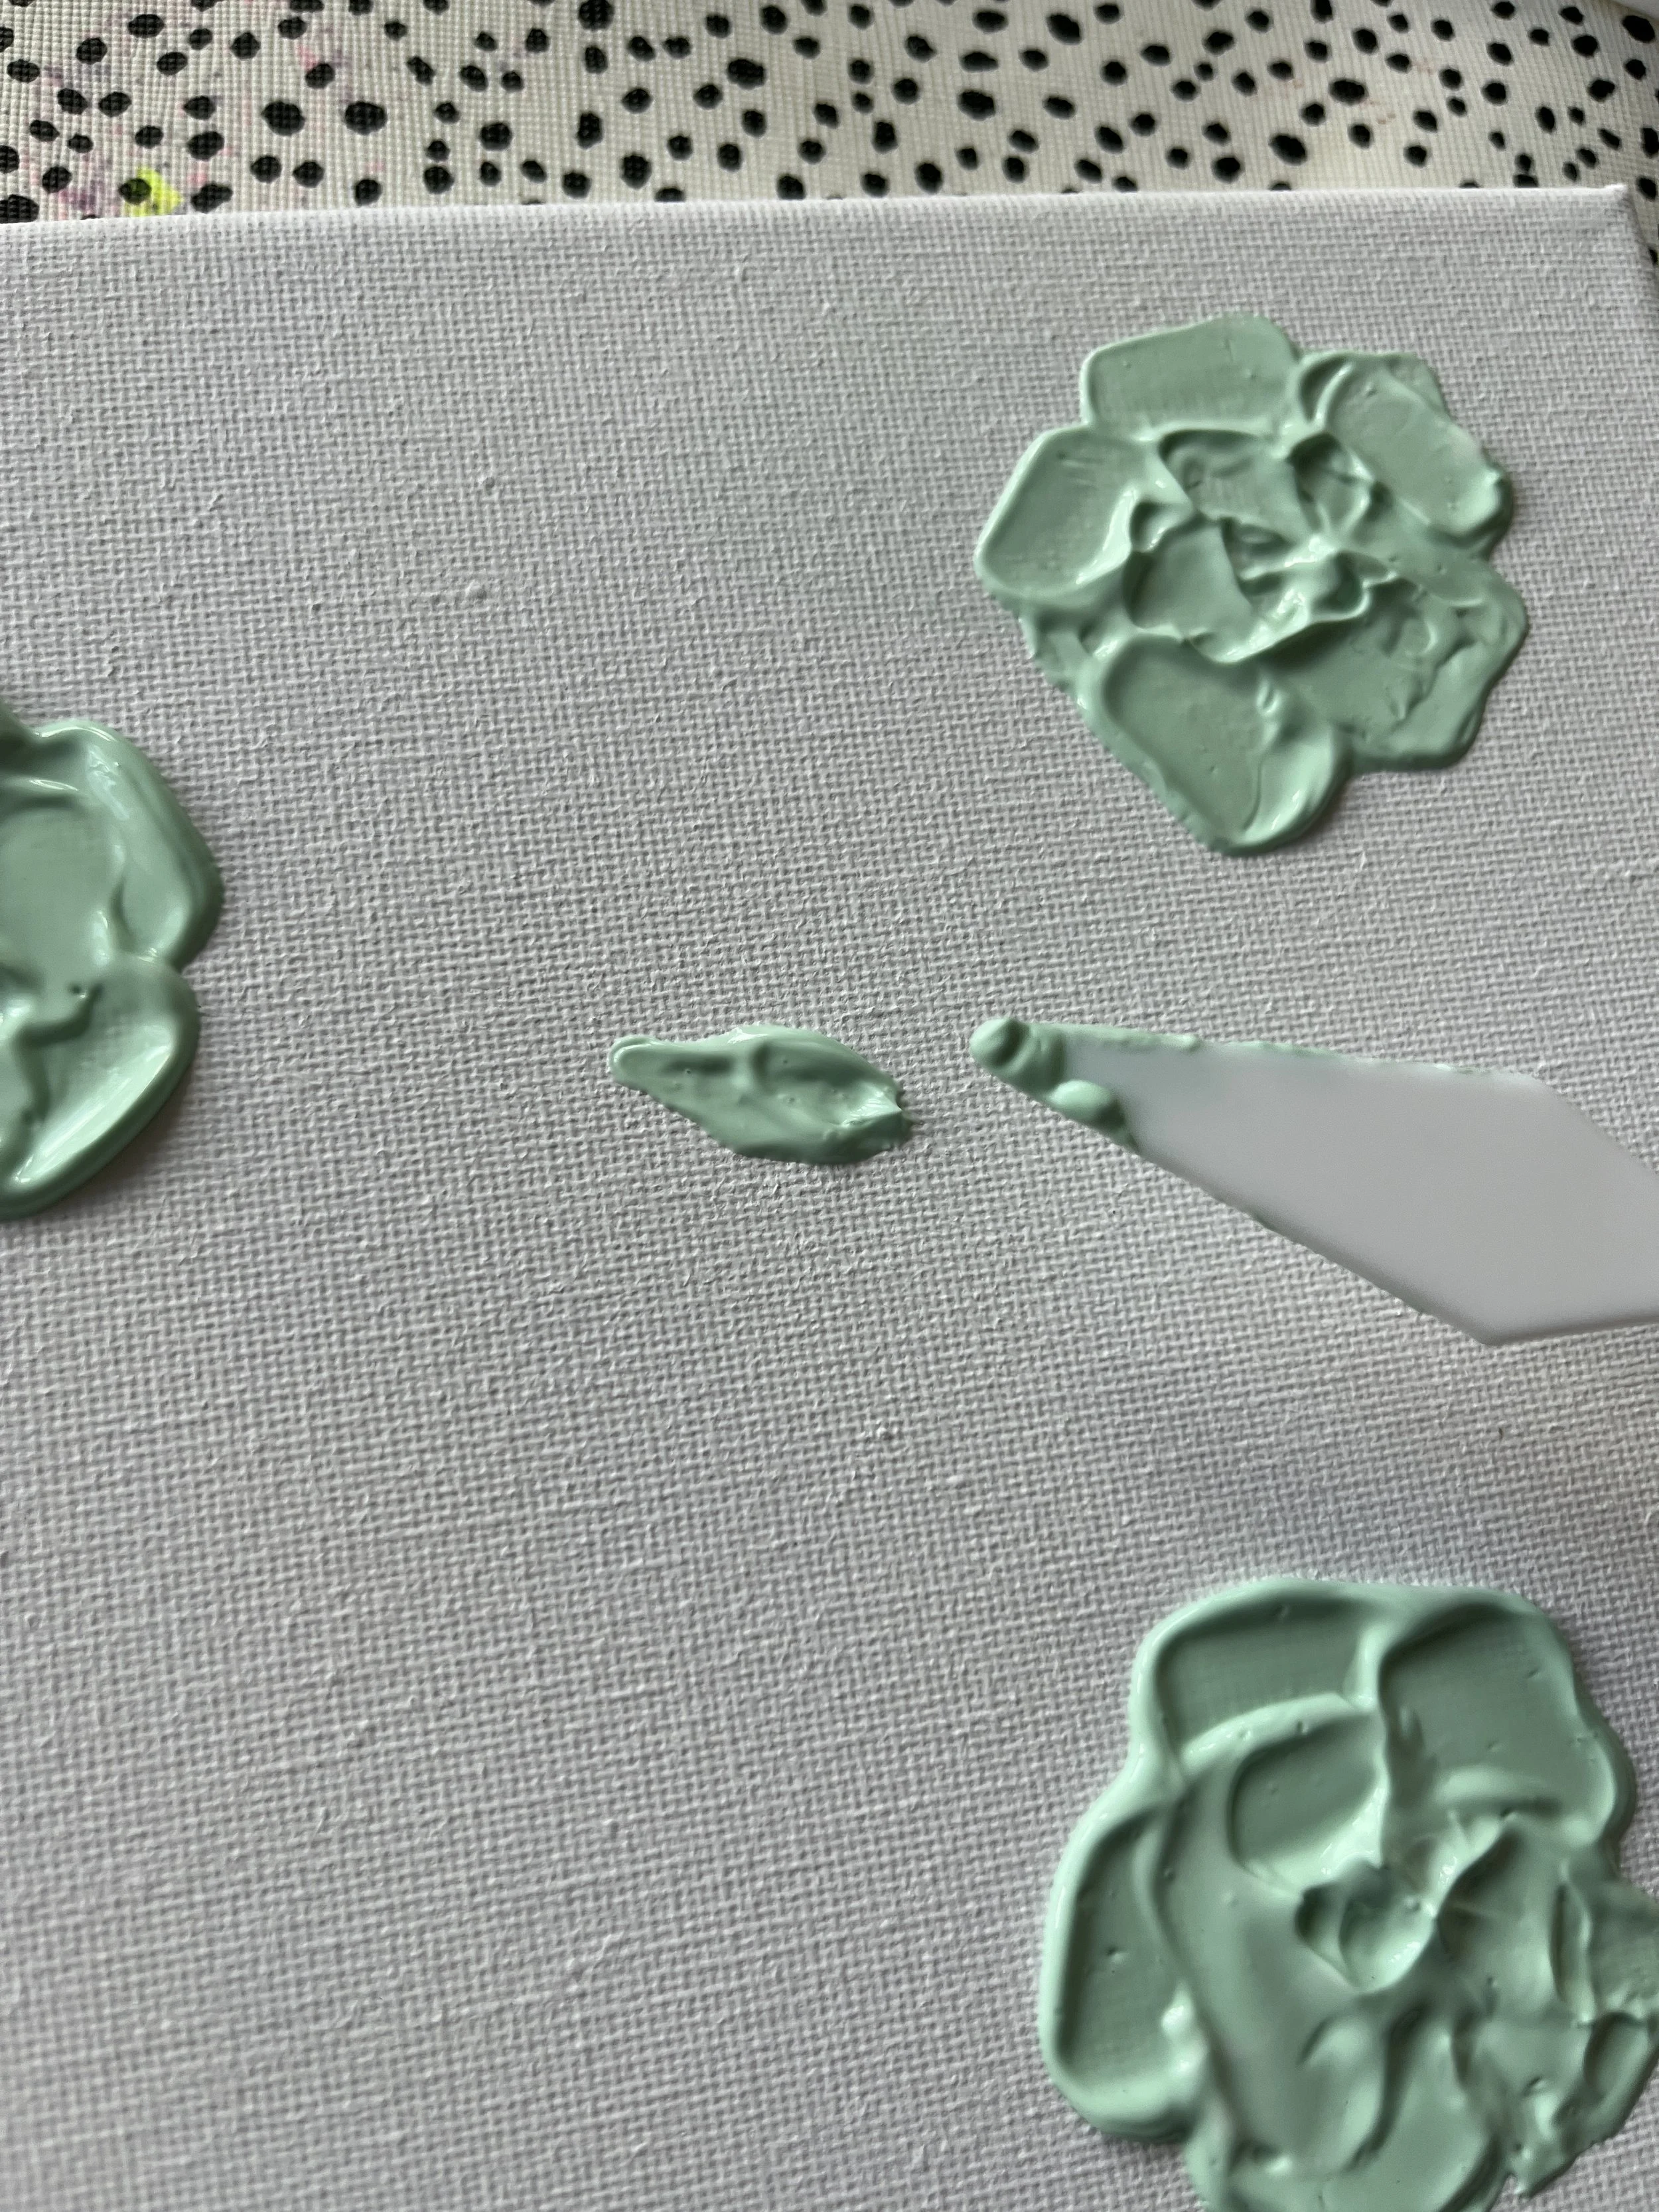
18. Draw towards you and lift up to leave a nice, textured leaf shape. You may want to turn the canvas to change the direction of these and to make it easier to draw towards you and lift up.
19. Use the long, rounded knife to create daisy/ dahlia style florals, you can even have some coming off the canvas like here.
20. You can use your other tools to scrape the remaining paste from the palette onto the tool you want to use. You may want to do a few flowers and leaves dotted across the canvas before adding a new colour.
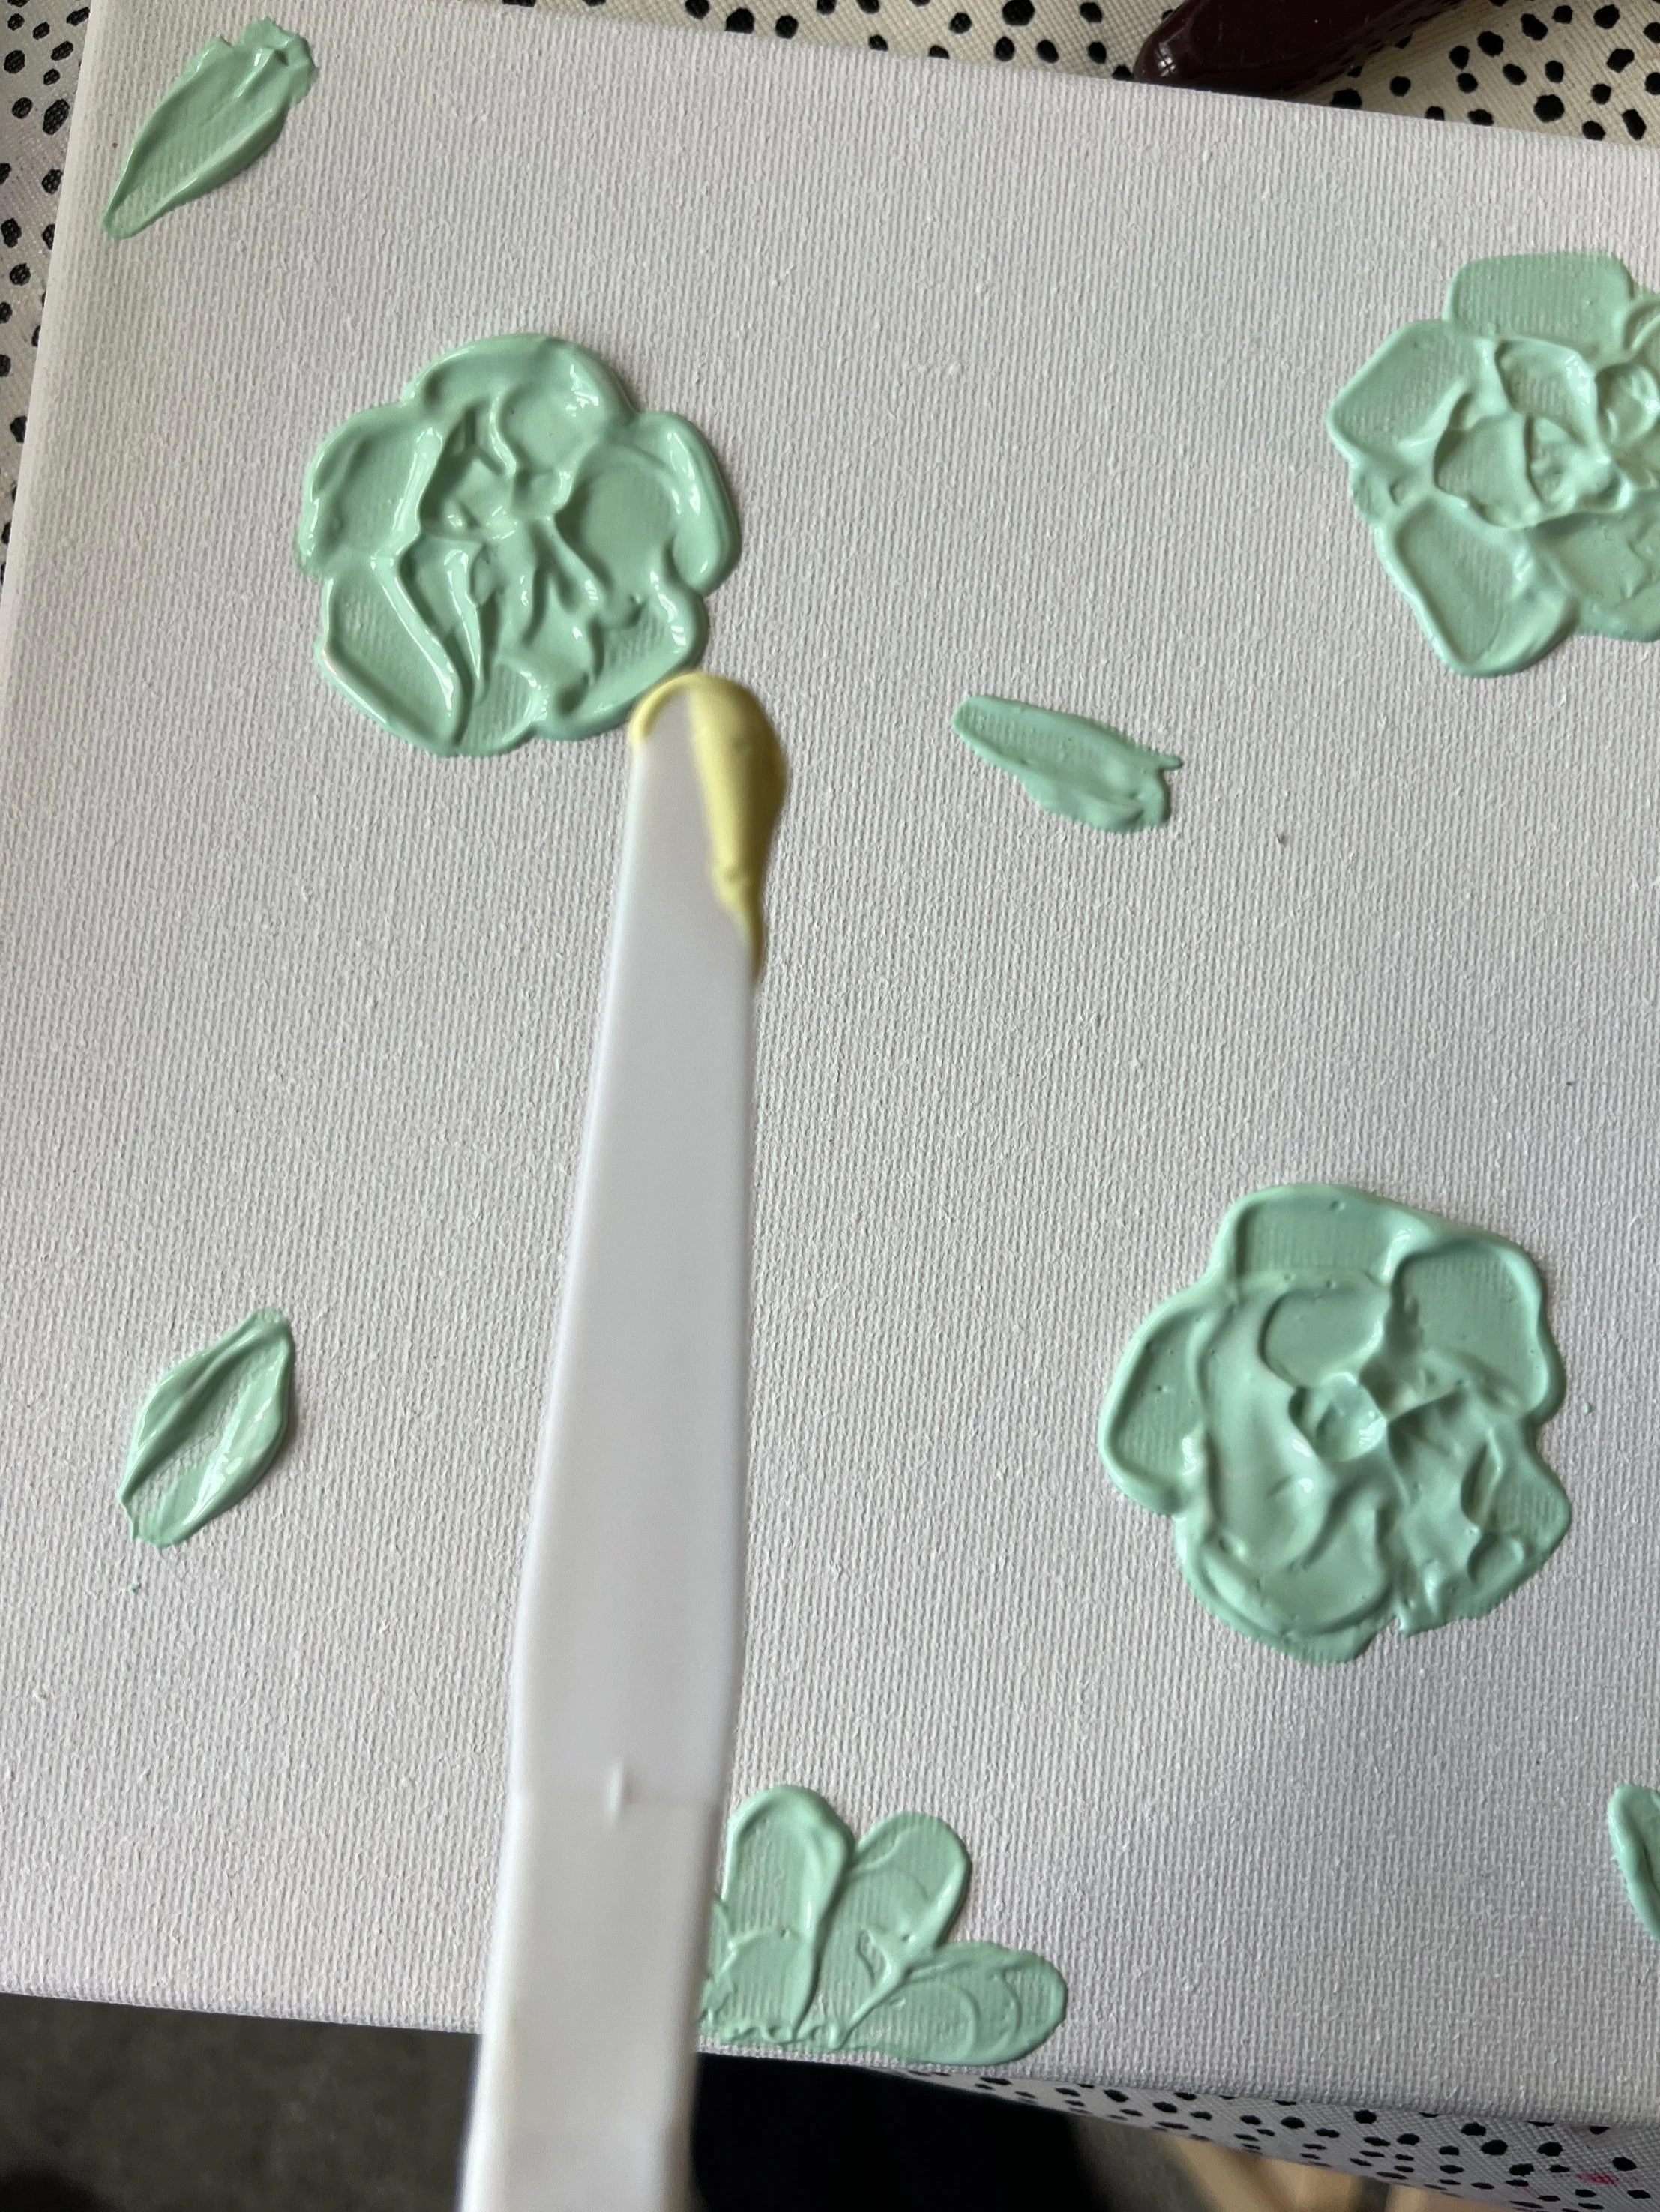
21. Here I have mixed a new colour, pale yellow, to create some 'daisies' using the long, rounded knife.
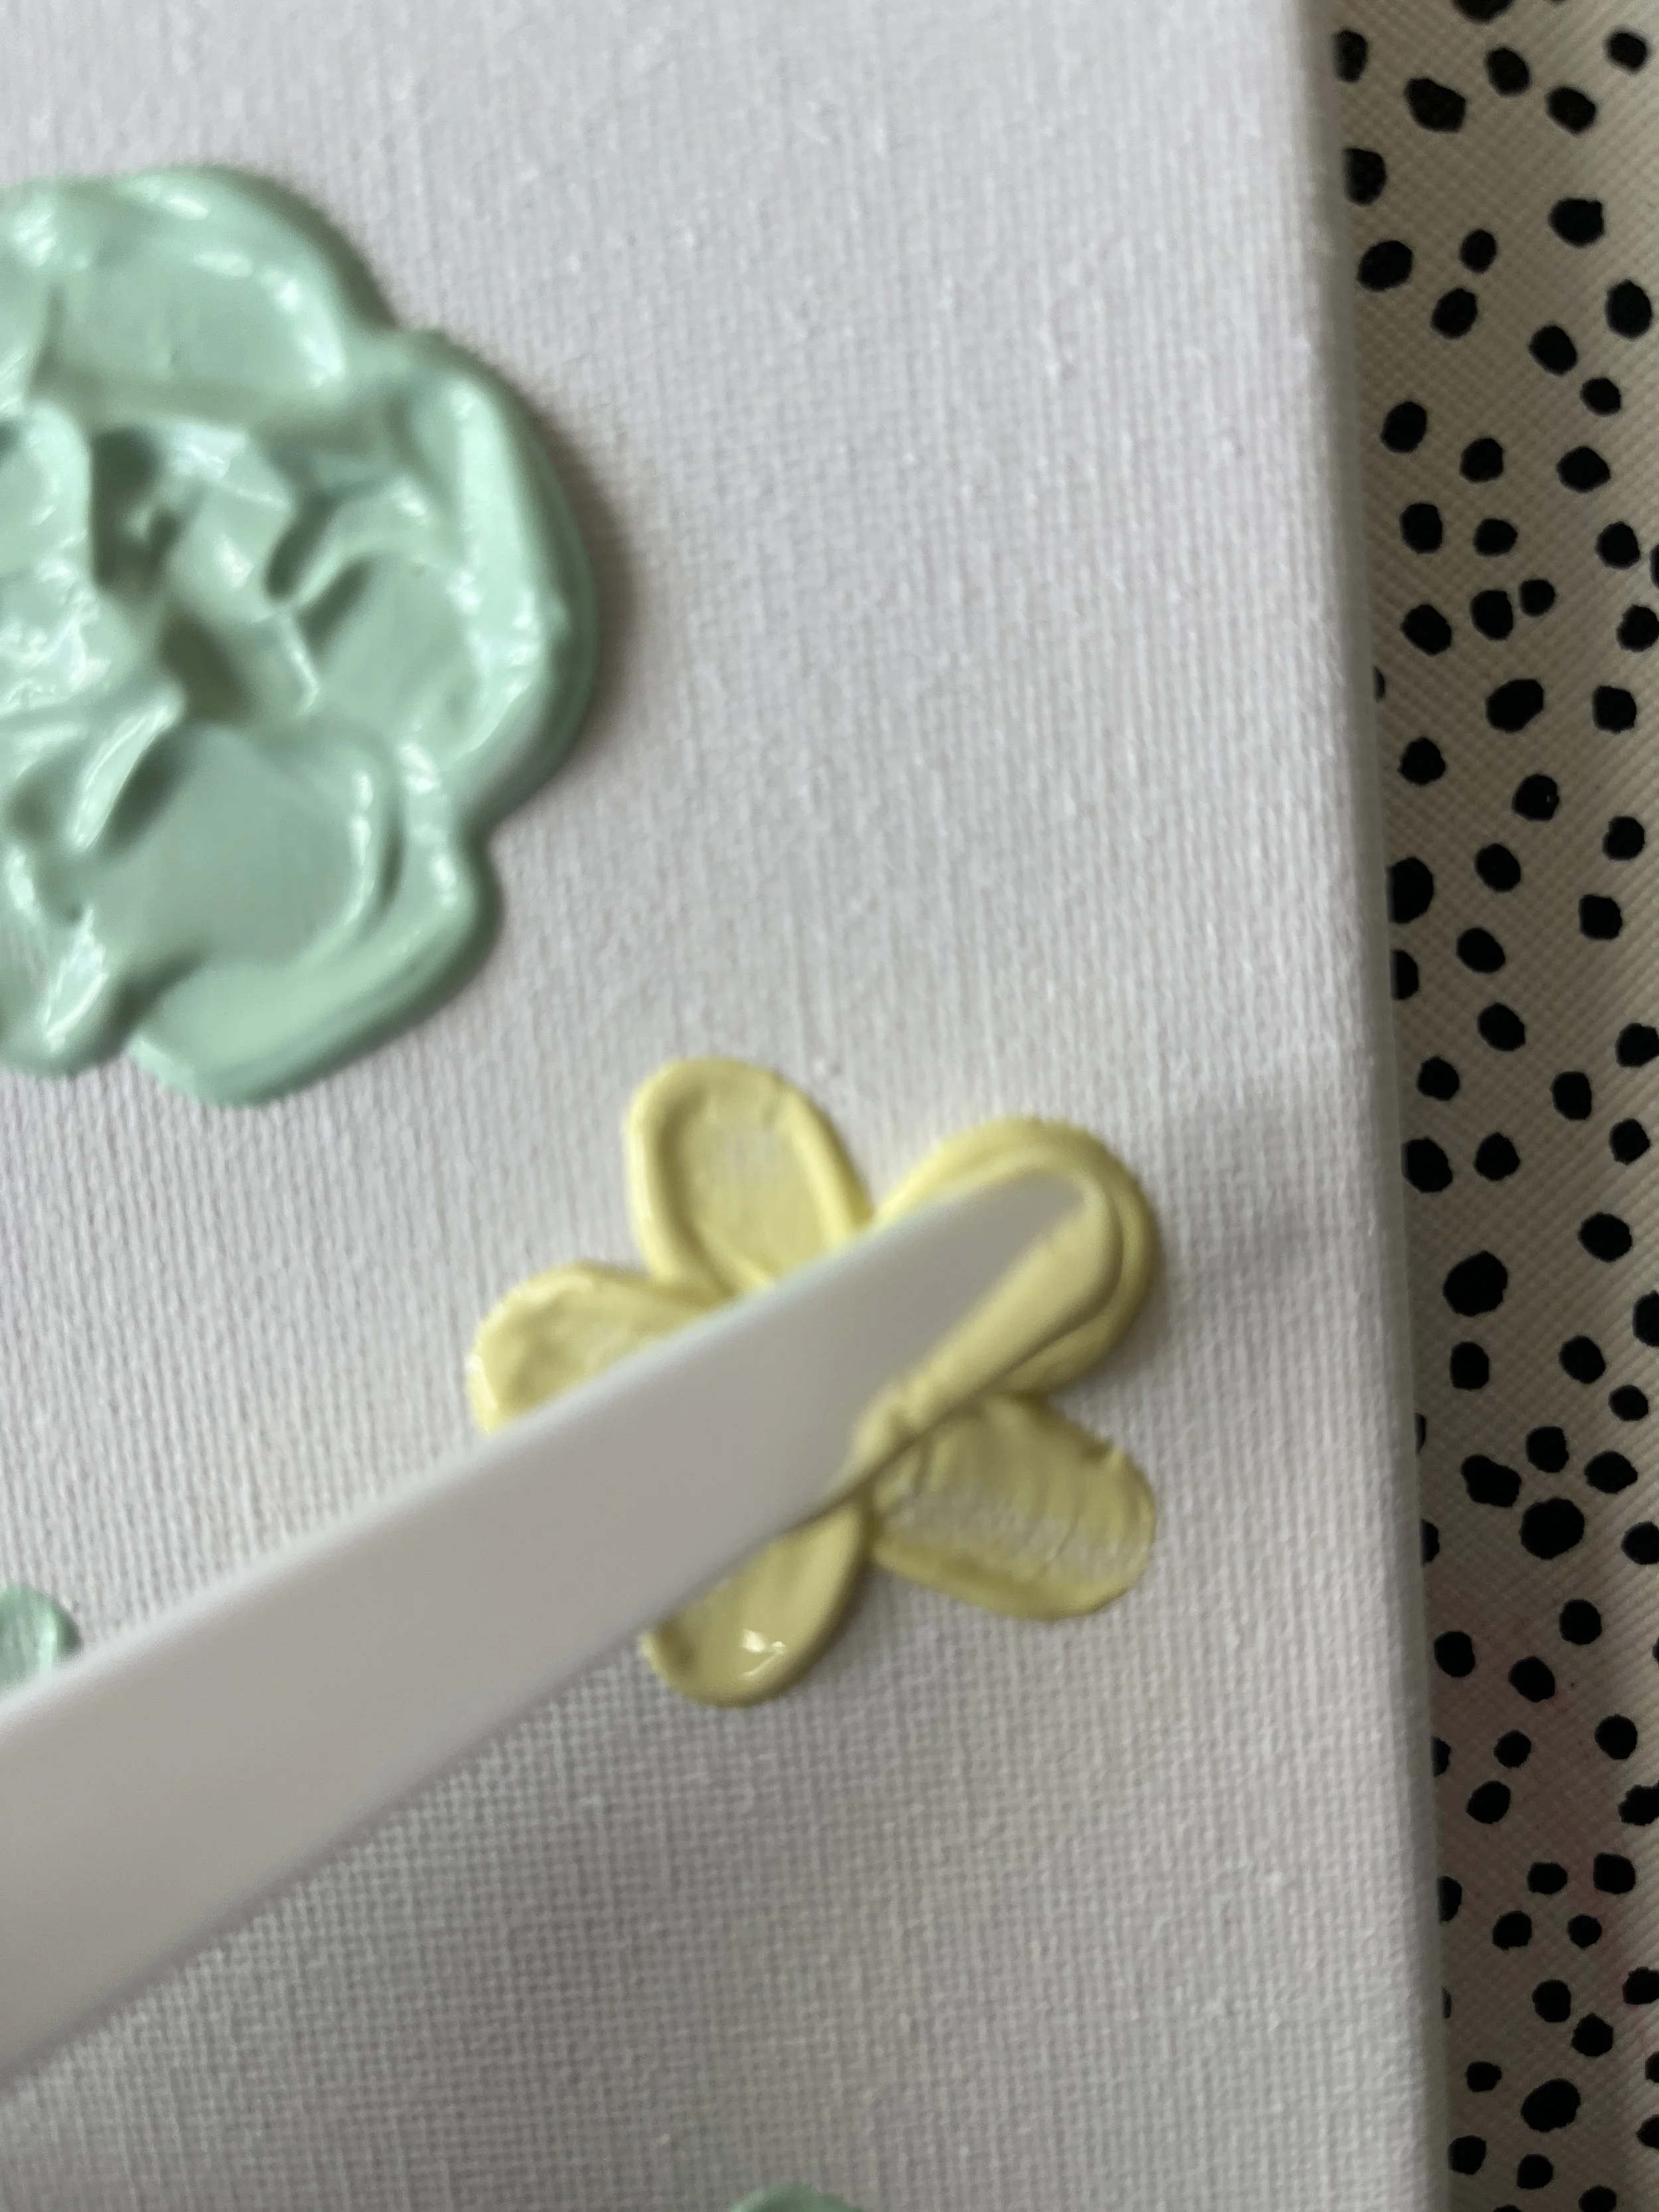
22. Pop some of the new paste on the end of the knife and push down as before.
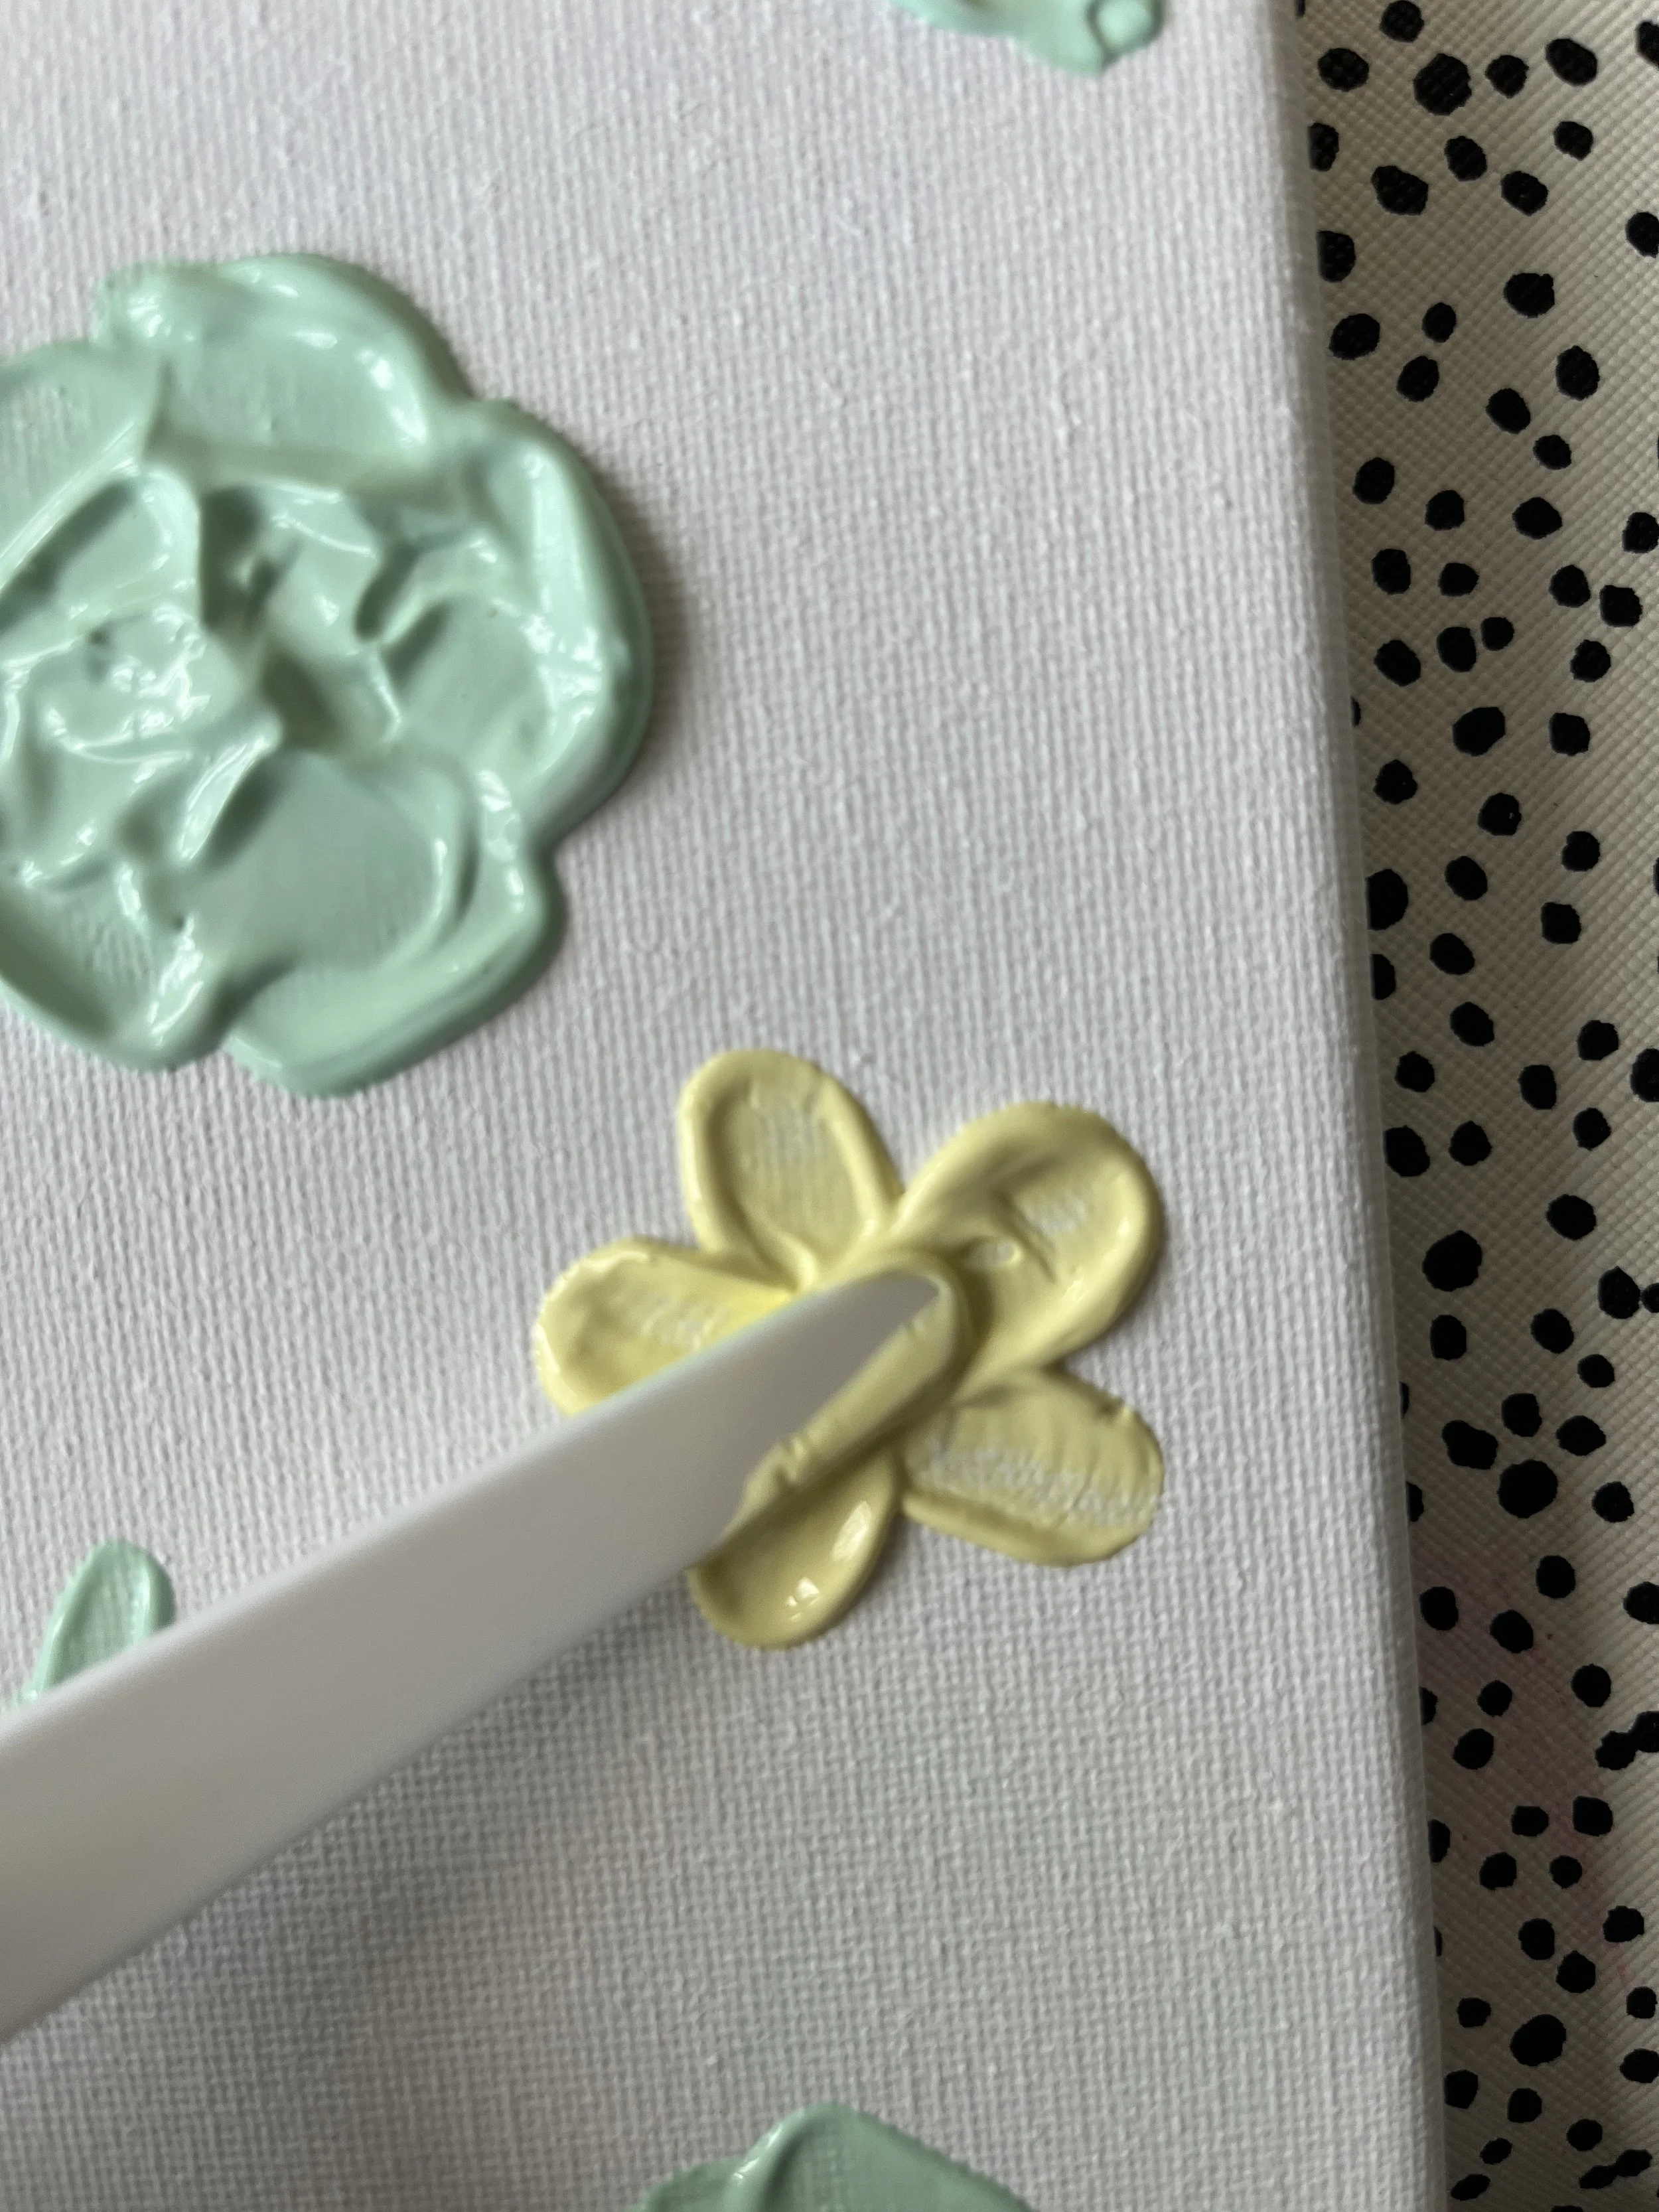
23. Draw towards the middle and turn the canvas so you can repeat all the way round to create the petals. Make sure you add enough paste so that you can't see the canvas through the paste, I would add more paste to the bottom right petal here or it you will see the canvas underneath when it dries.
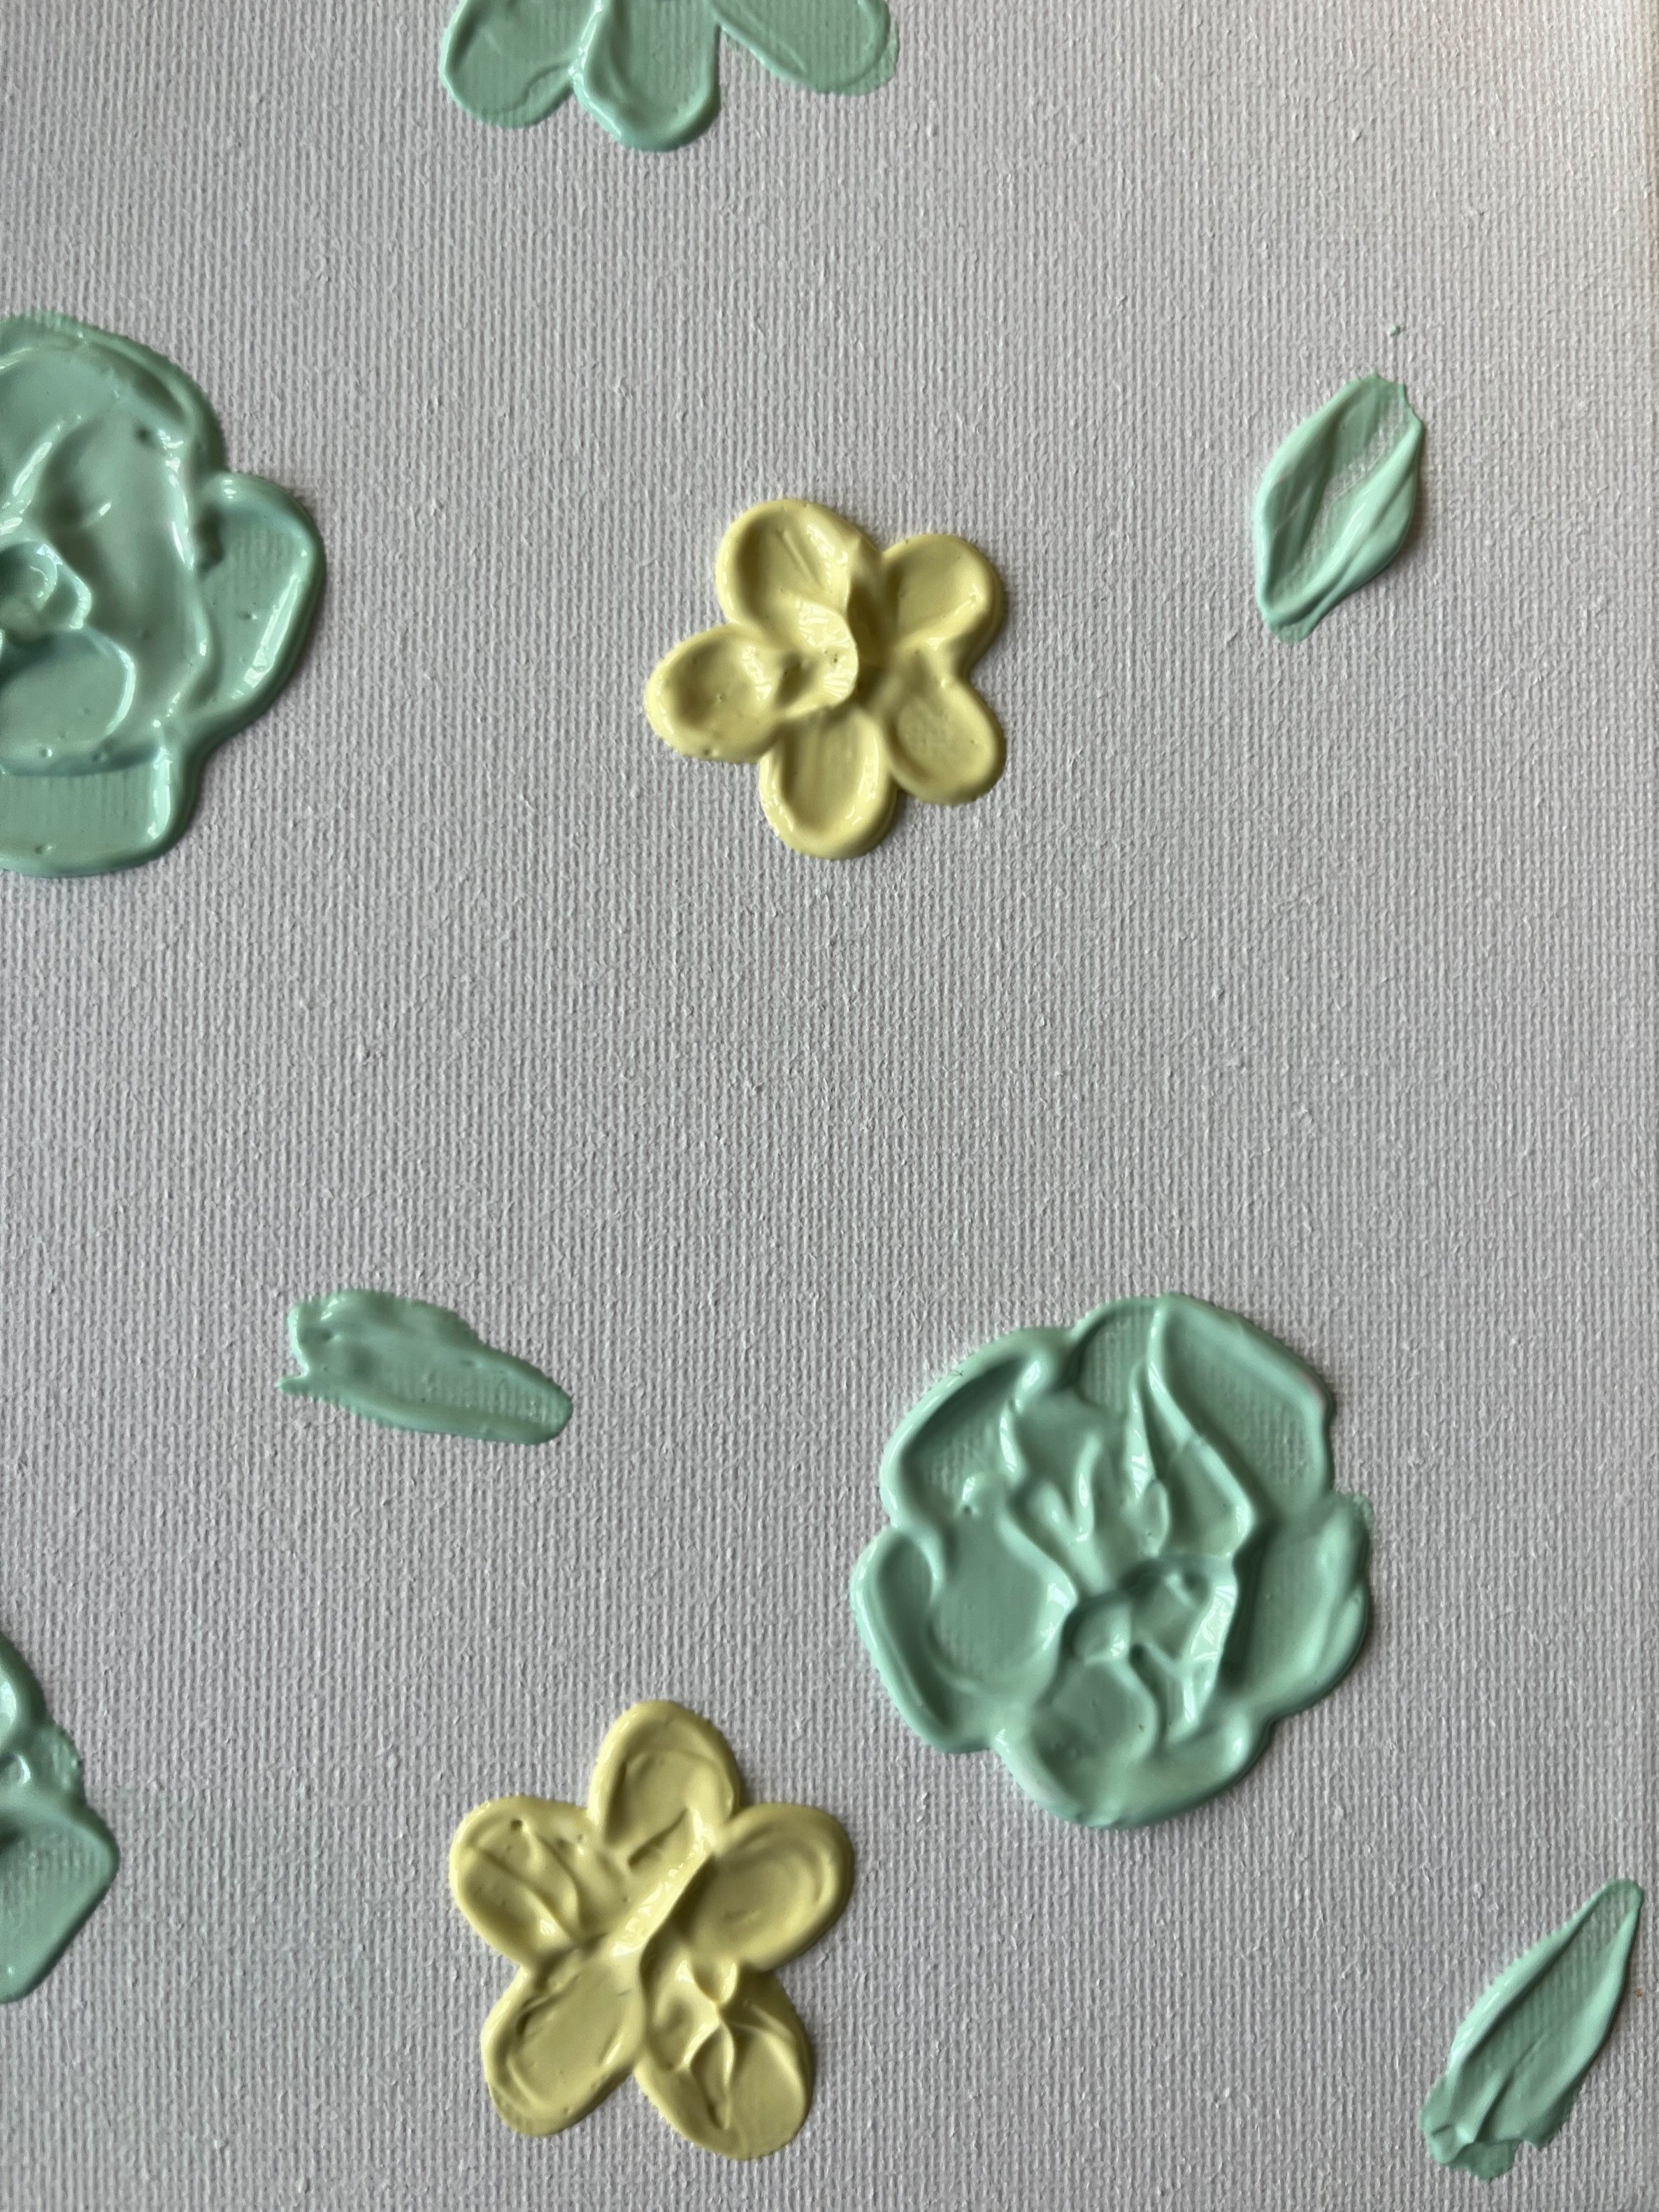
24. Repeat your 'daisy; designs across the canvas.

25. To create a 'dahlia' style flower, use the same knife to create longer 'stroke' petals.

26. Build up the 'dahlia' by adding more paste closer to the middle and turning the canvas as you do each petal.
27. Keep building up towards the middle until you are happy with the texture and shape of the flower.
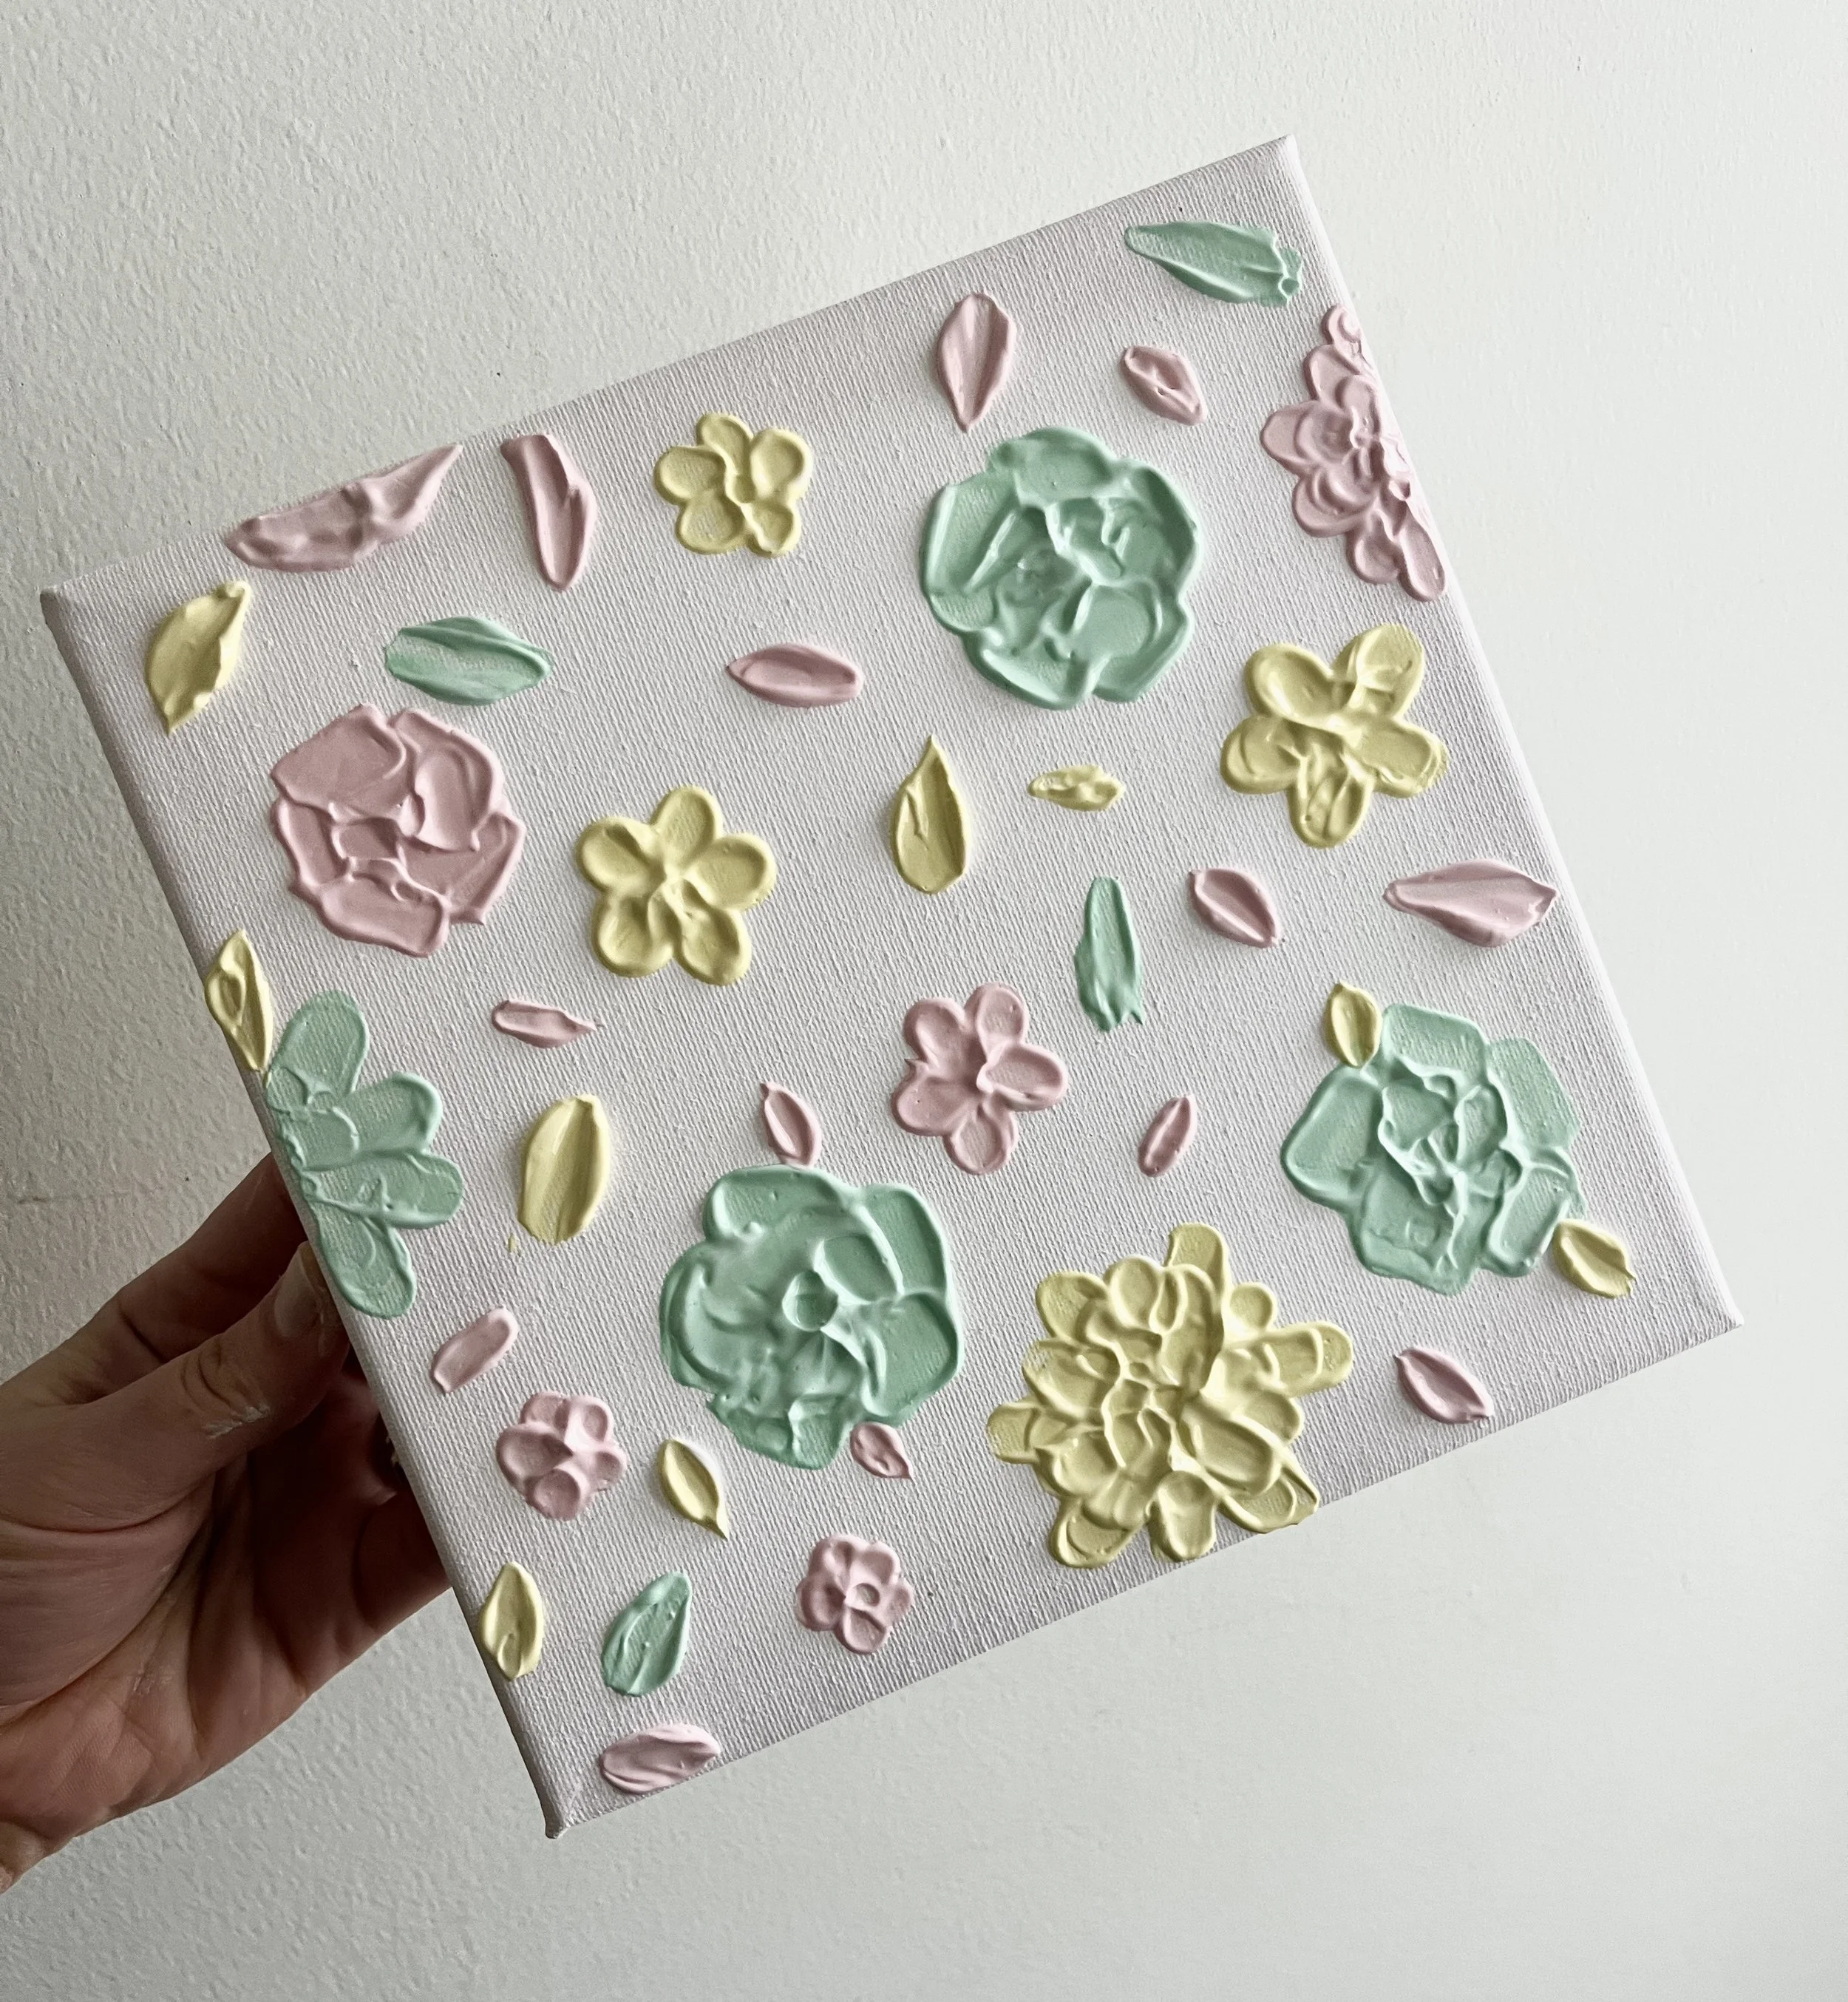
28. Add another colour into the mix if you like and use the different techniques you have learnt to build up different flowers and leaves in the different colours to finish your canvas!