
Dried Flower Candle Craft Kit Instructions
I hope you enjoy creating your dried flower candle, it’s such a simple and effective craft and I find it very therapeutic to do!
Optional things you might need:
Tweezers
A tray or something to work on you don’t mind getting wax on.
You will also need a candle lighter or matches.
Have fun and any questions, please just pop me an email!
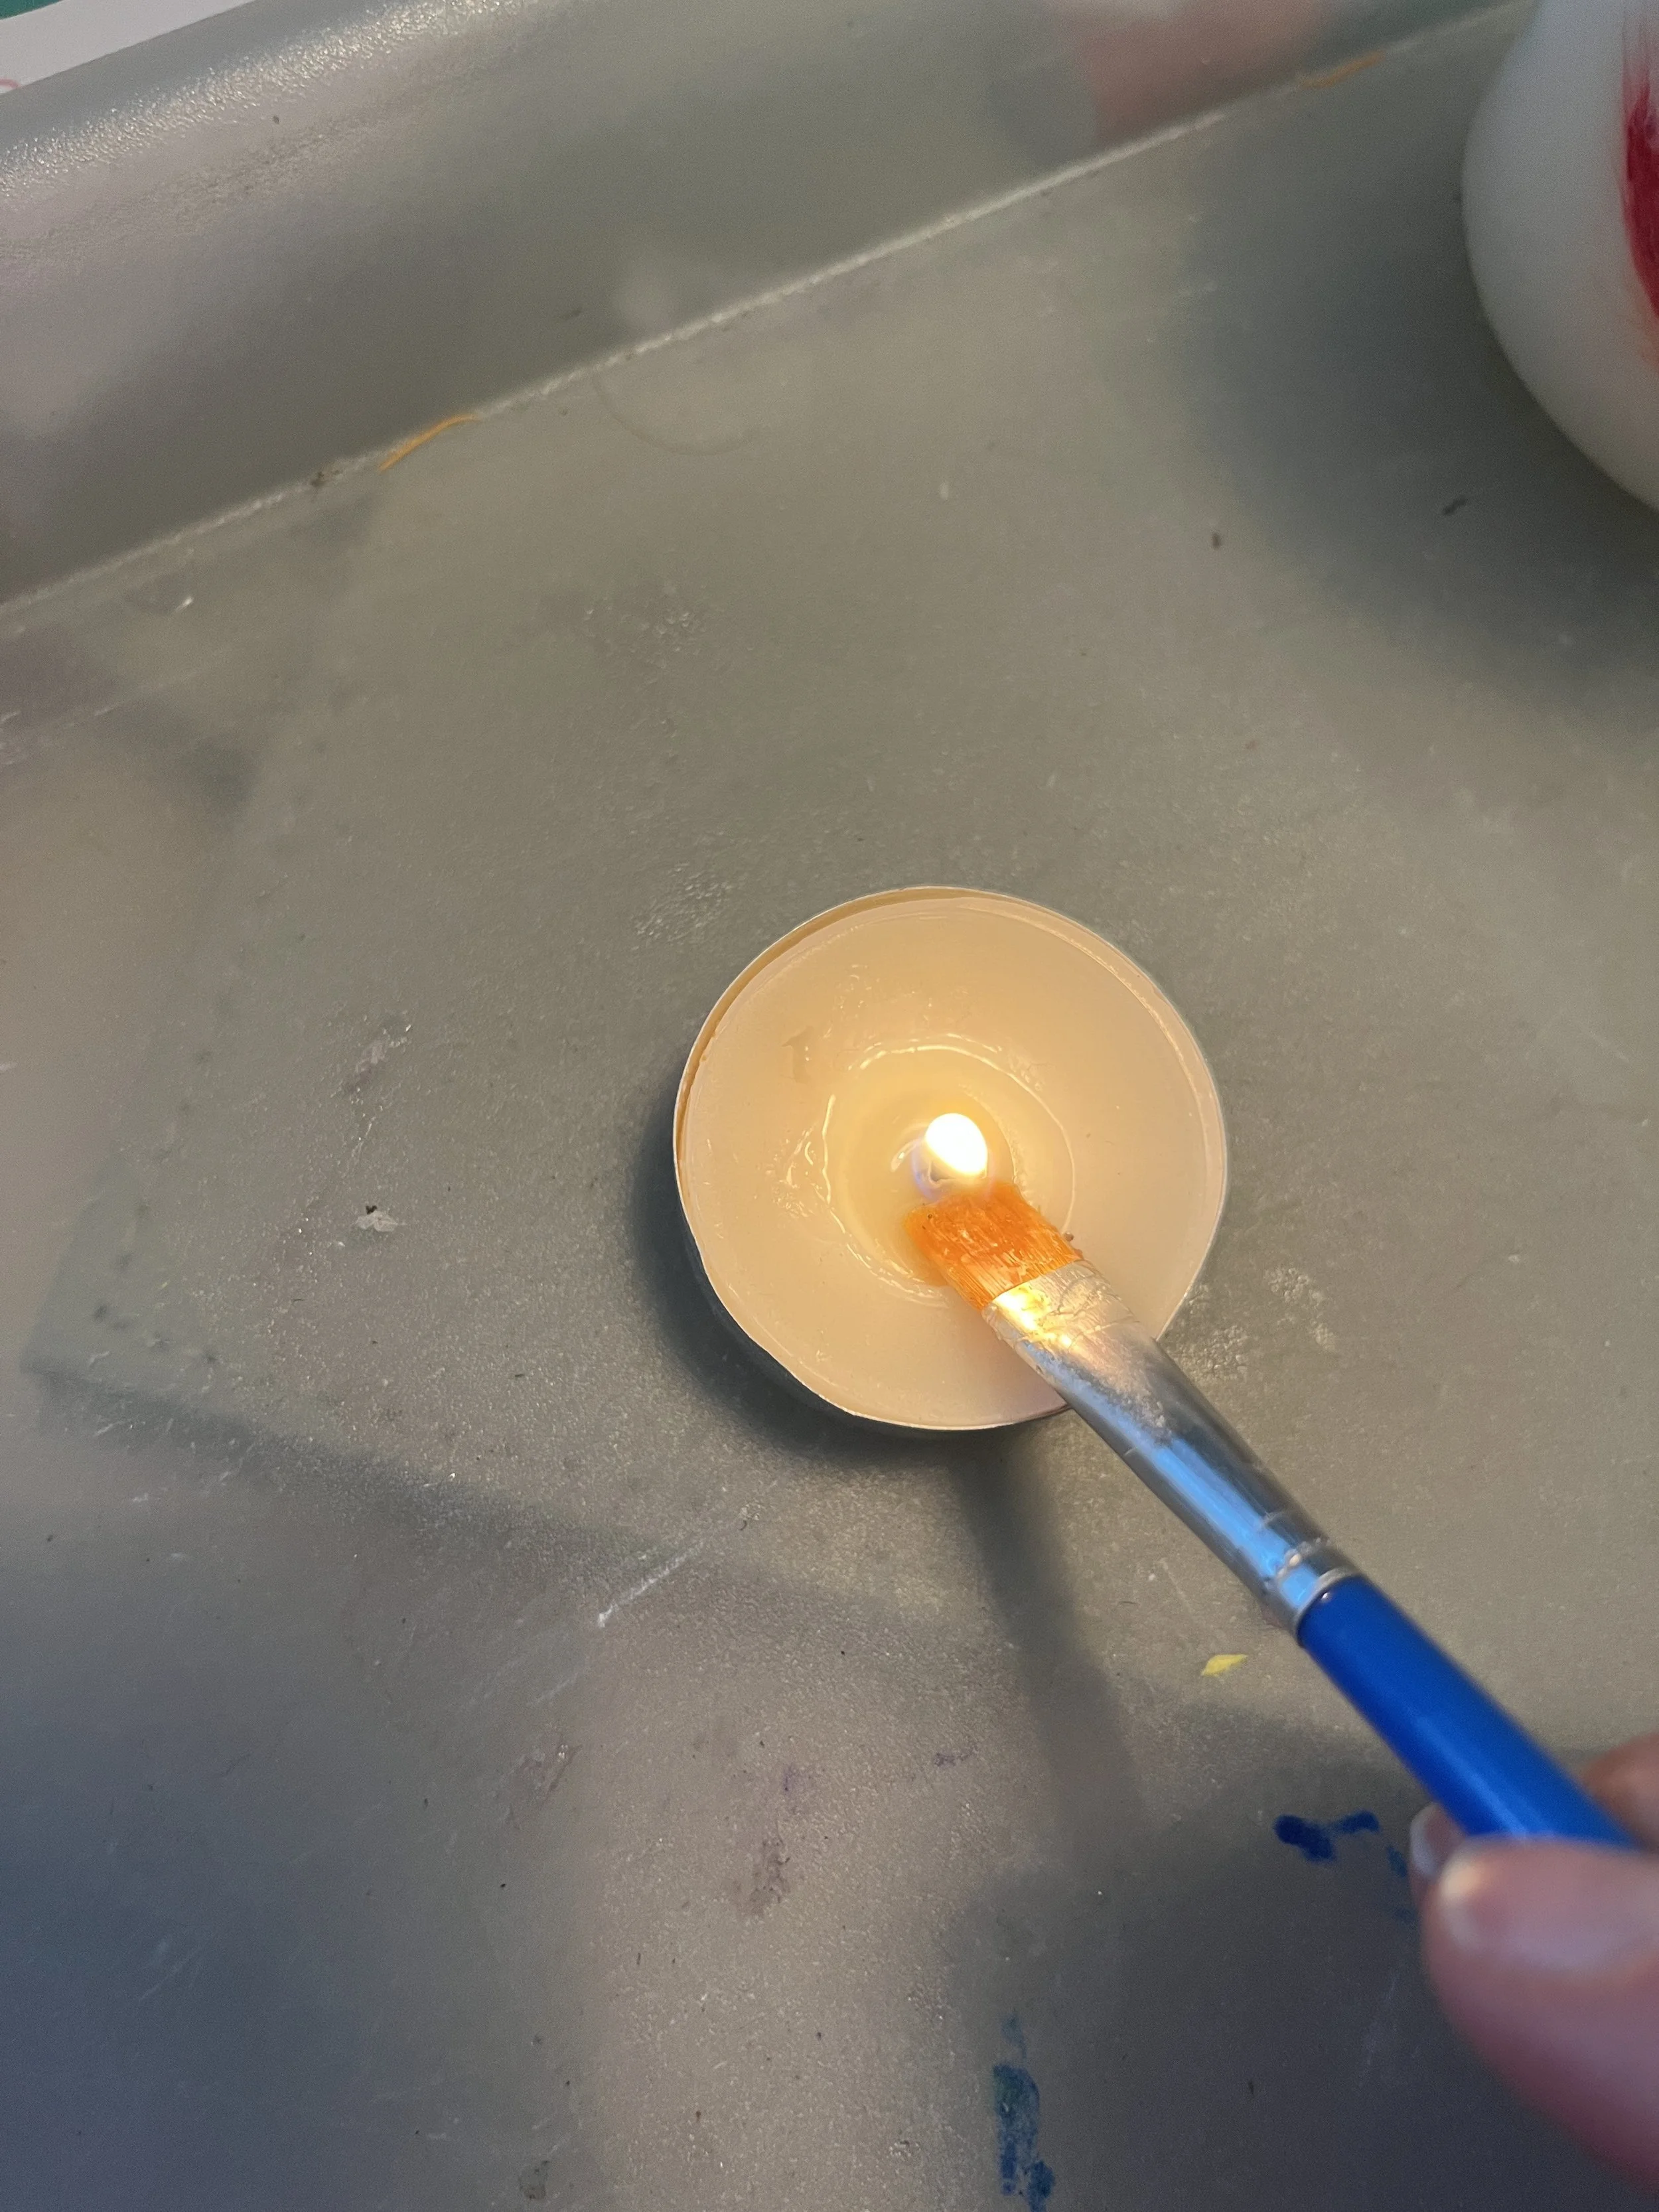
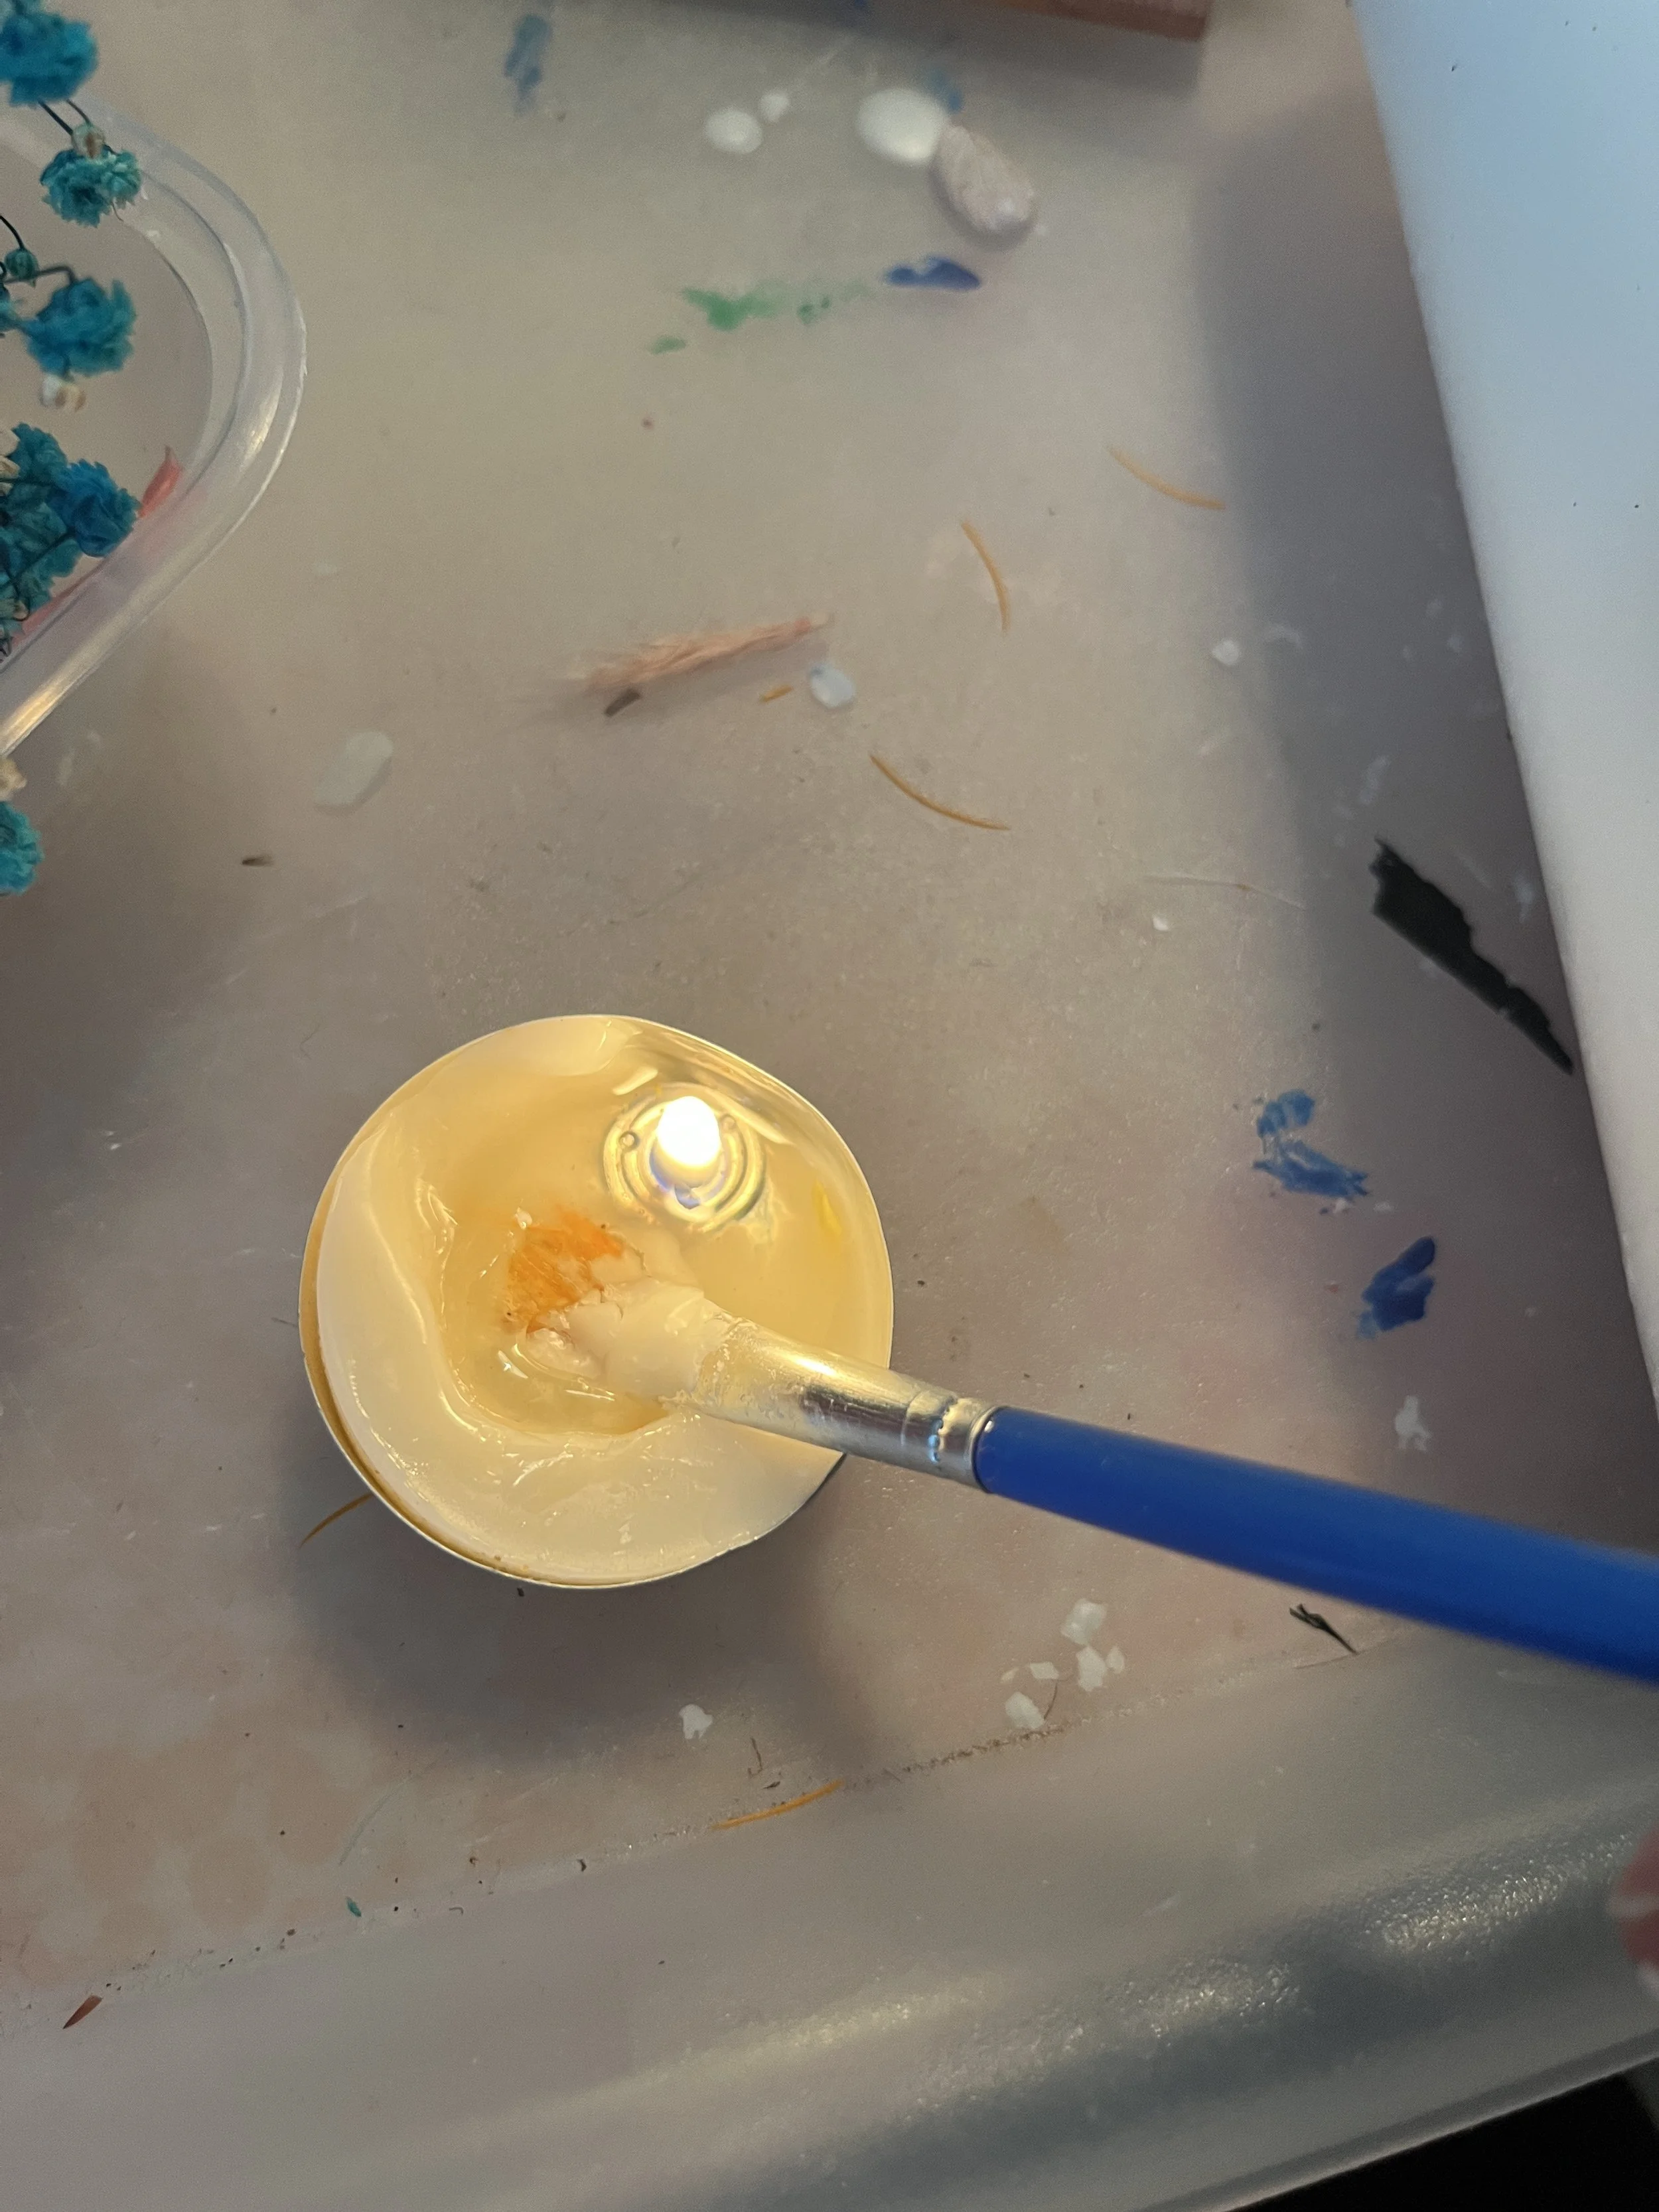
1. Gather all your materials and start by lighting one of your tealights using a lighter or match. Wait until the wax has started to melt before starting.
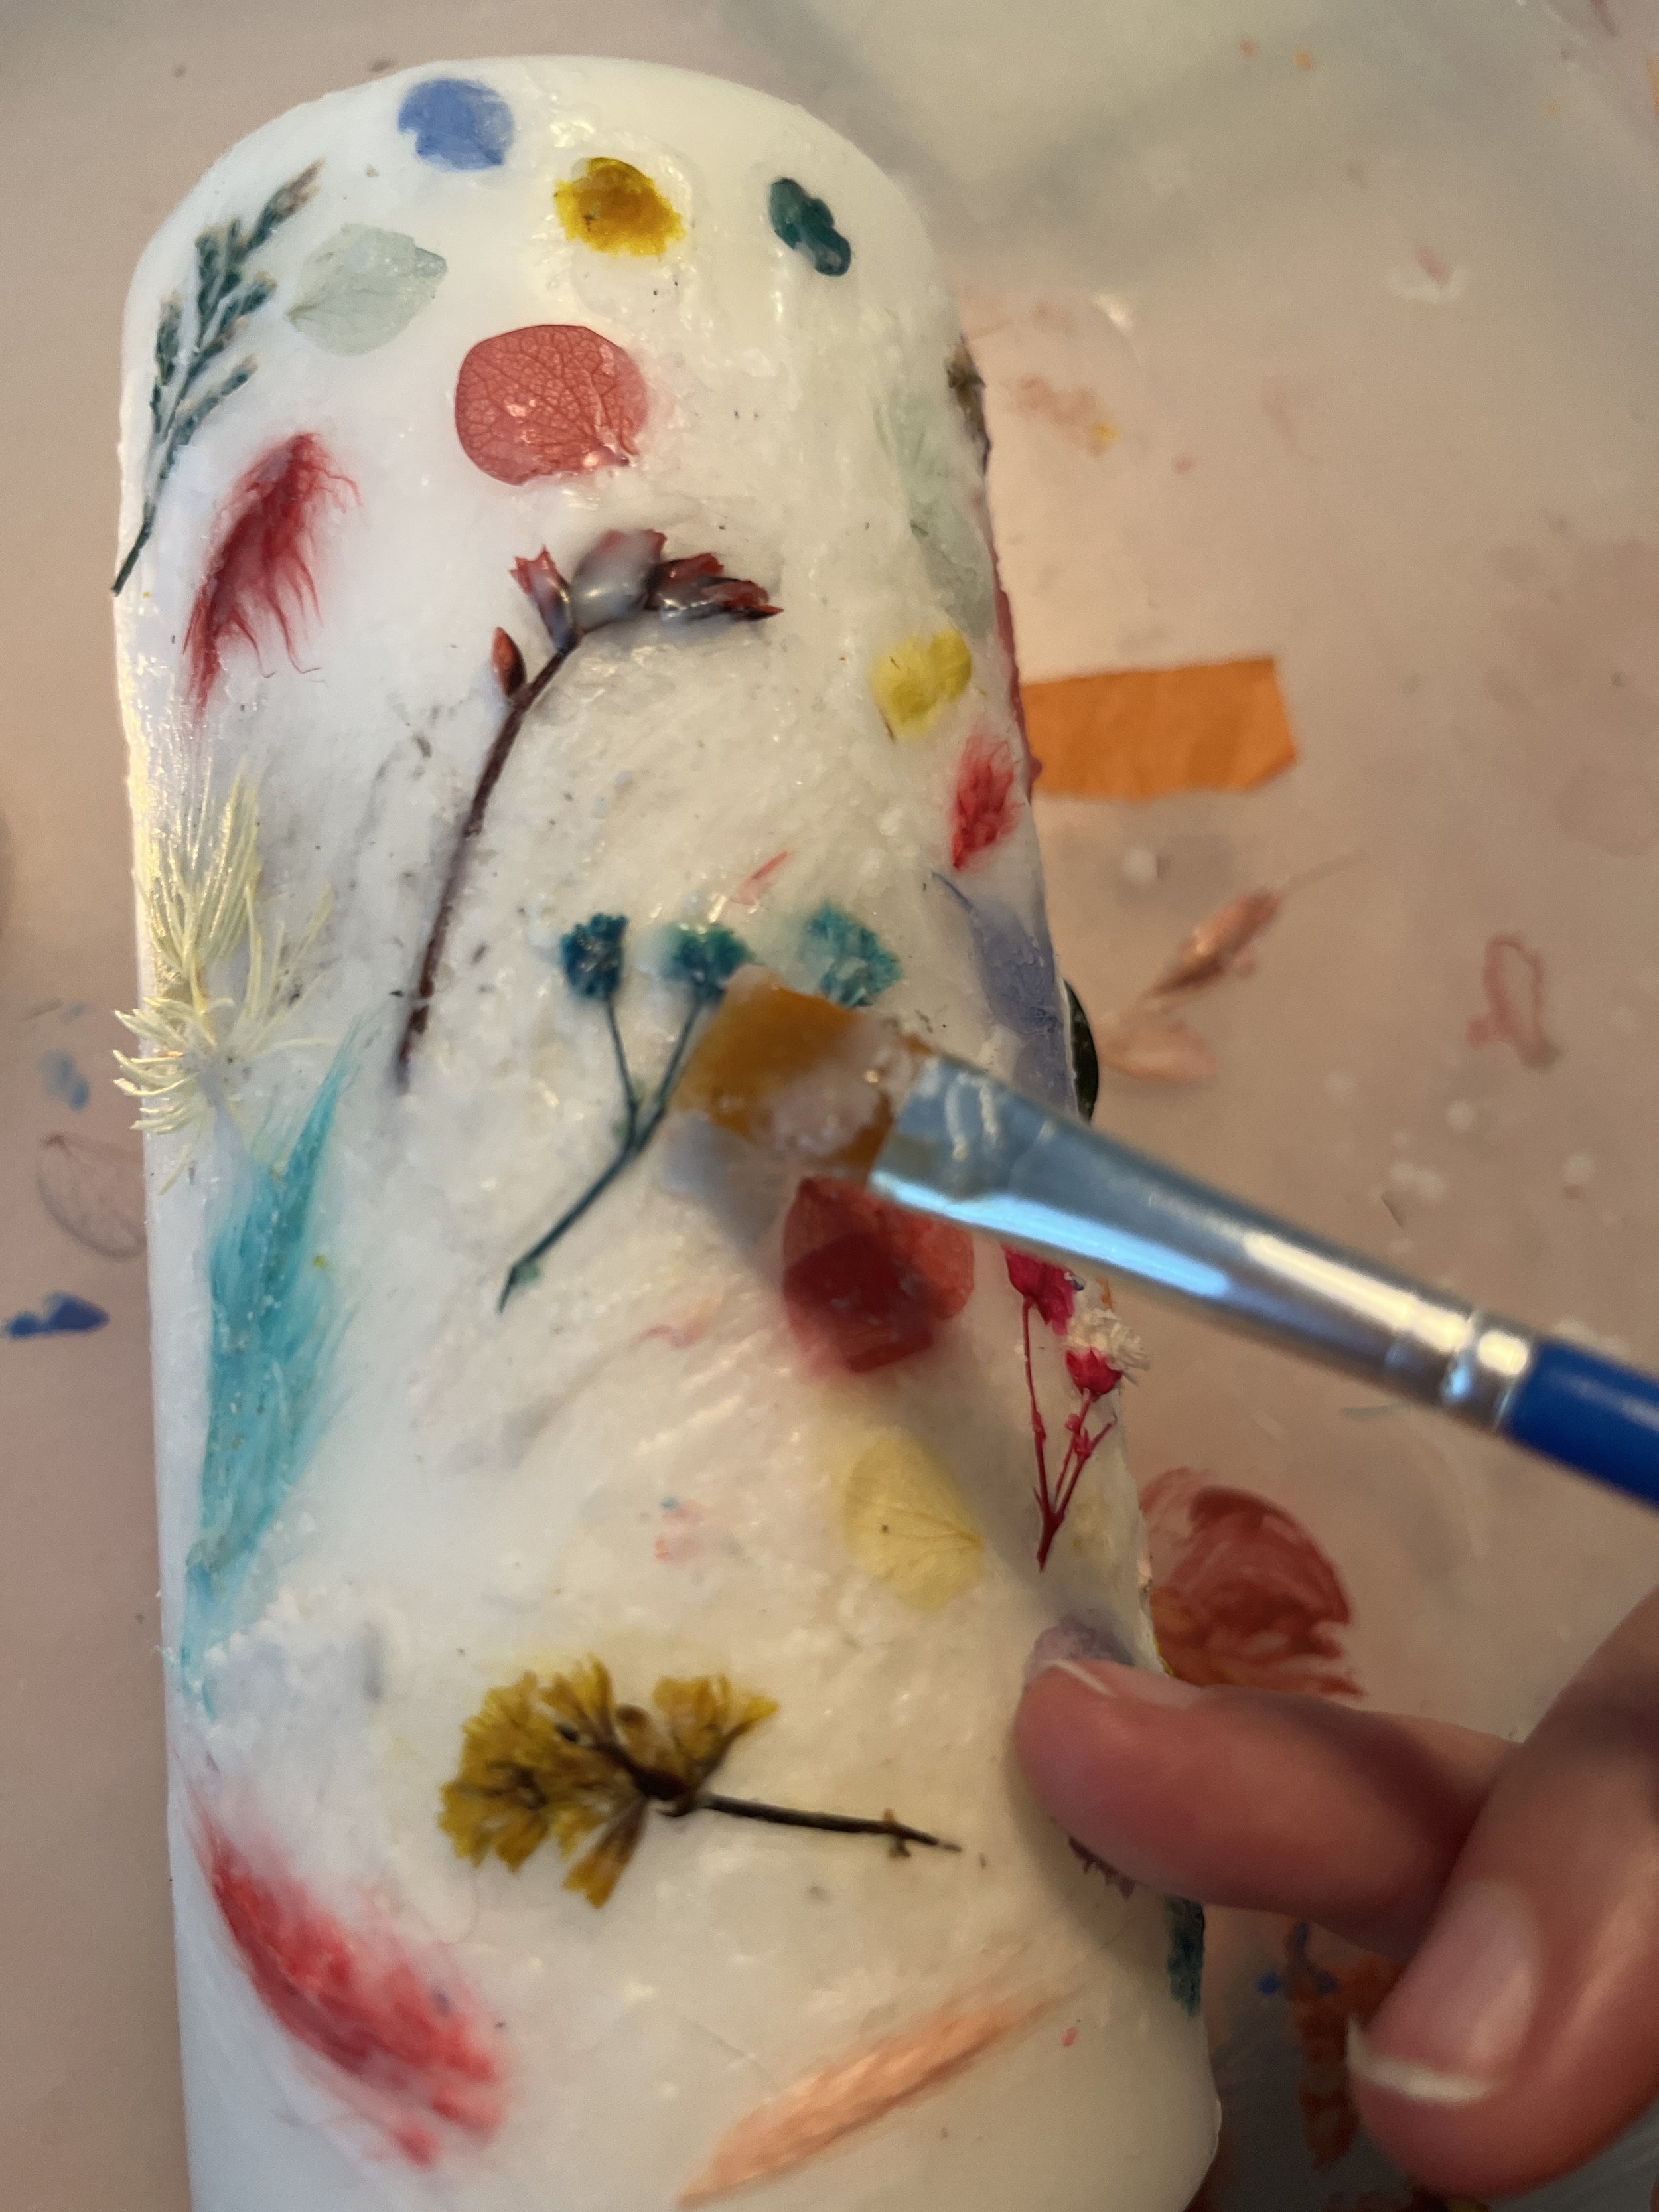
2. Once you have a 'pool' of wax in the tea light, you can use the wax to 'press' your dried flowers into the pillar candle. You may want to break up some of the larger flowers. It also helps to pop a little wax on the candle first to allow the flowers to 'stick' before adding a little wax over the top to hold in place.
3. You need to work quickly with the wax as it dries solid again quite quickly. You can press down the flowers with your fingers...
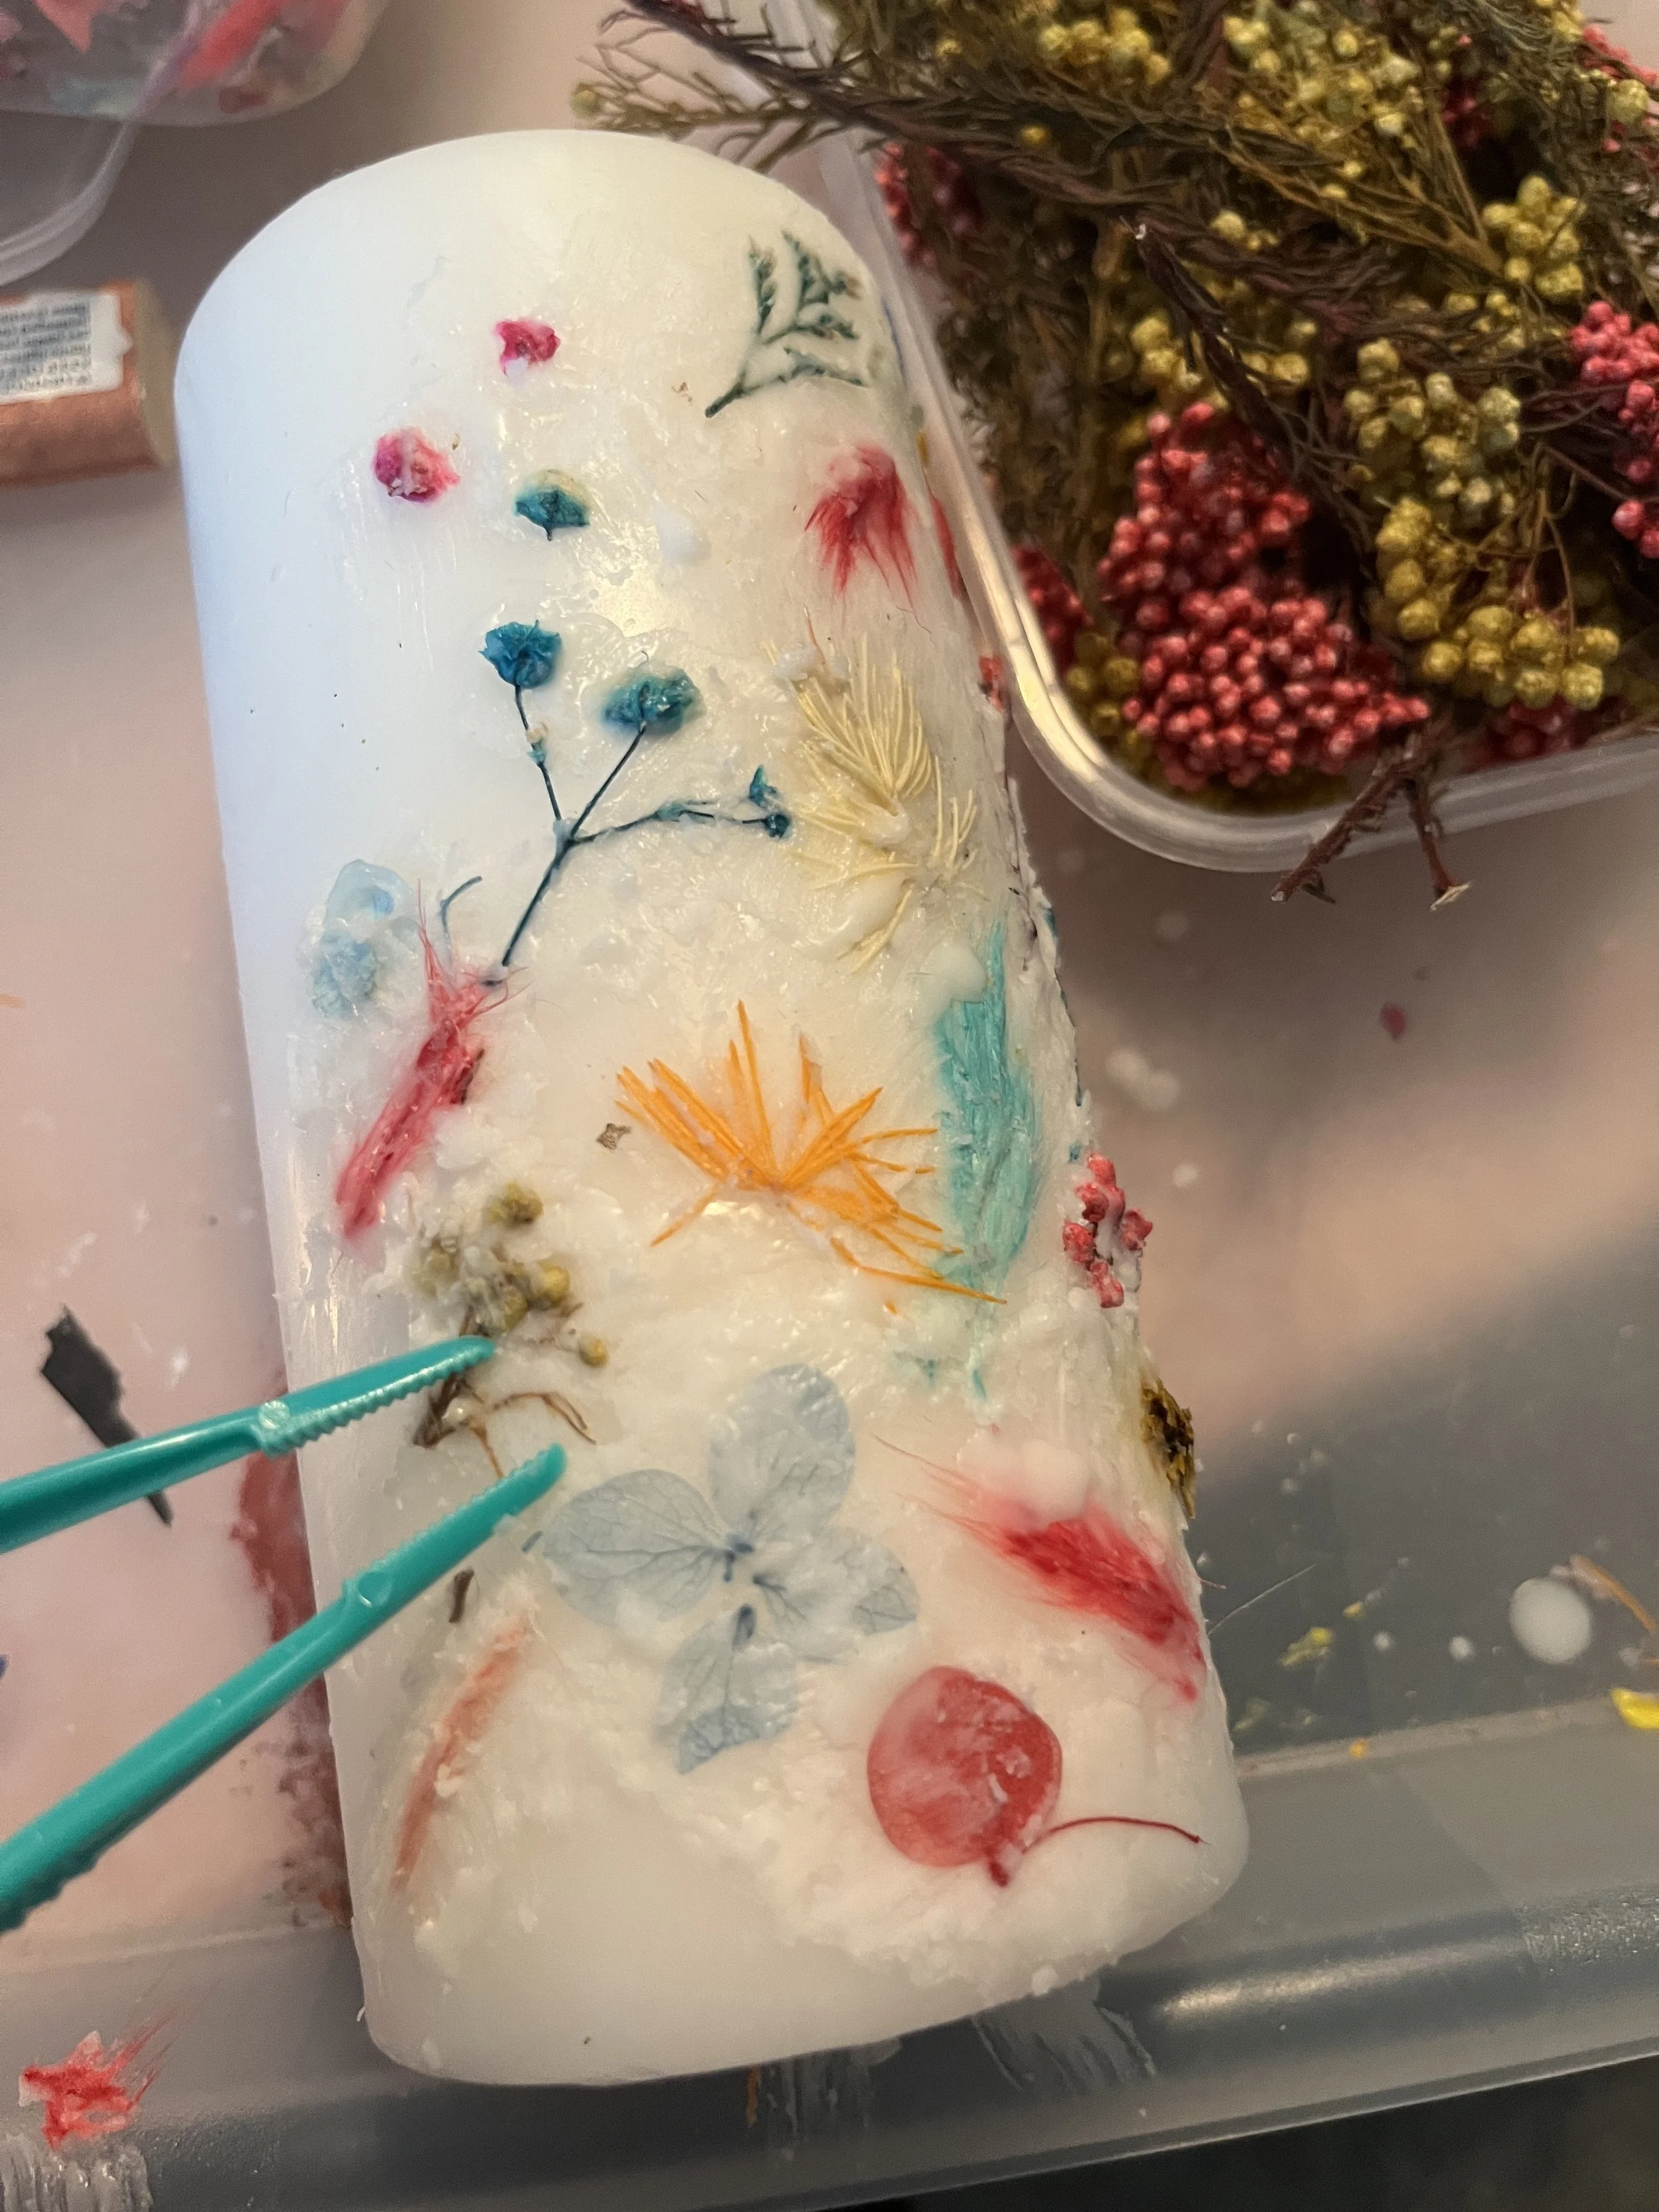
4....or you can use tweezers if you have them to hold them in place if you need to add more wax.
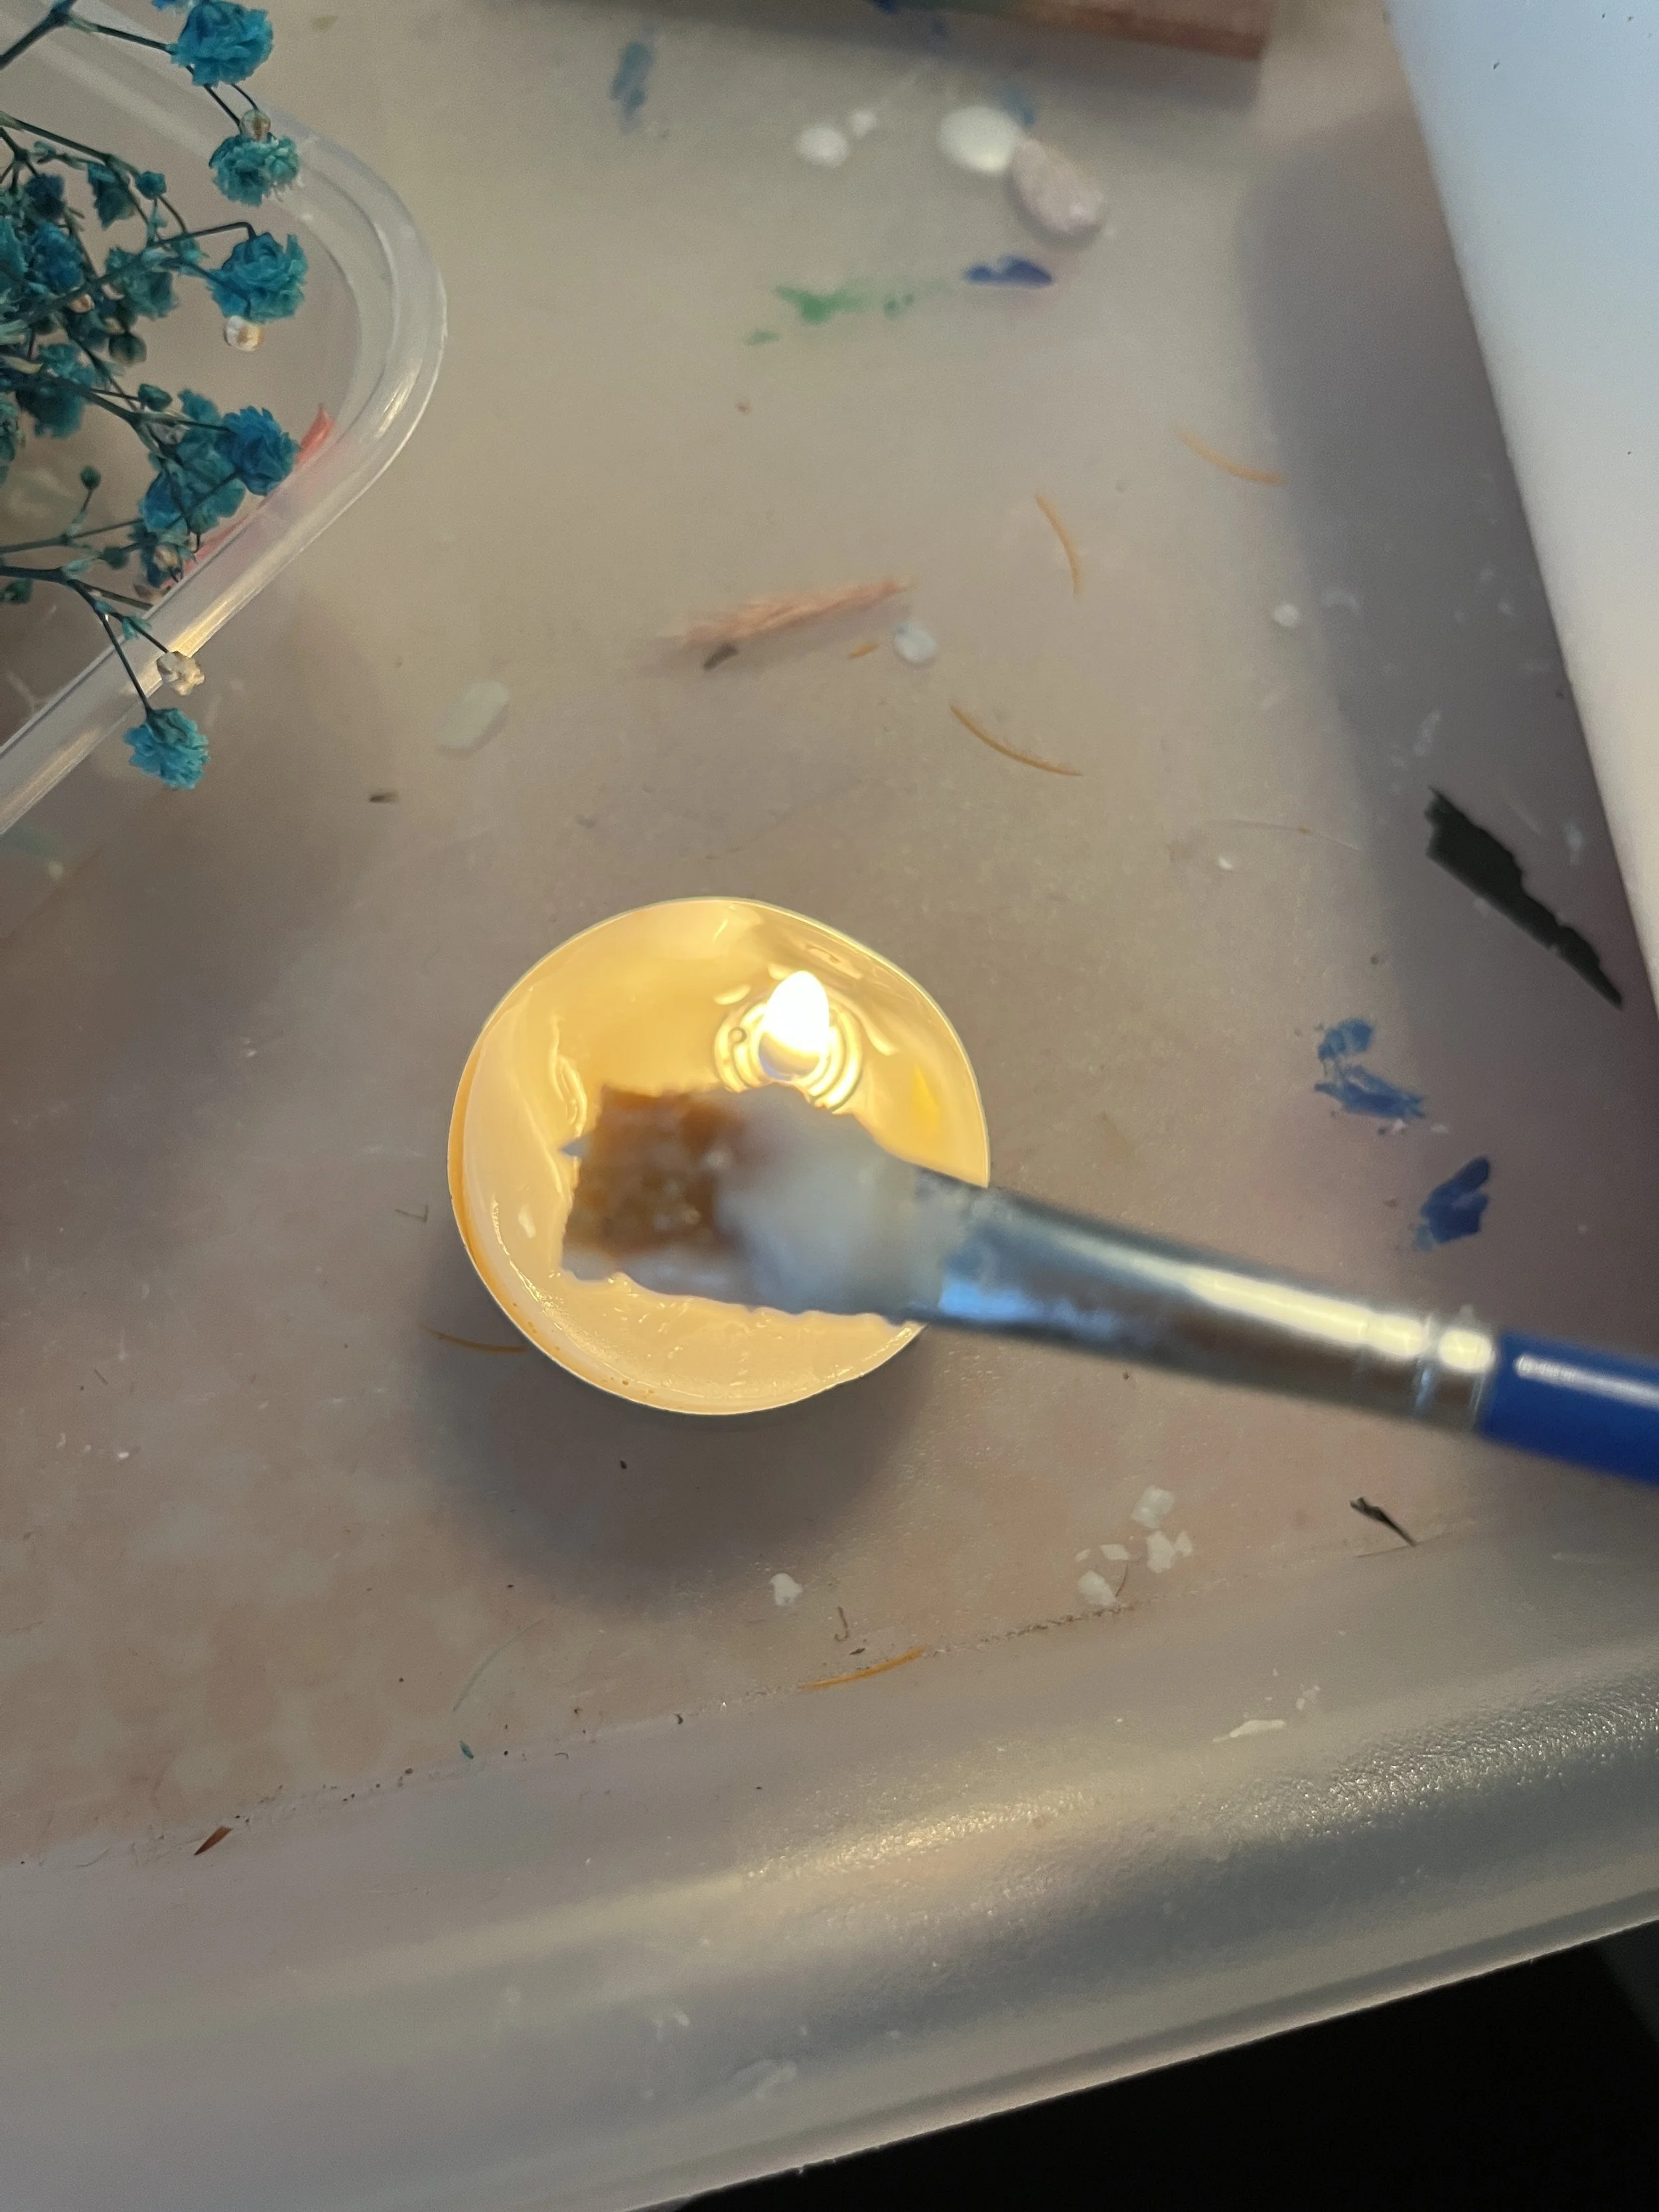
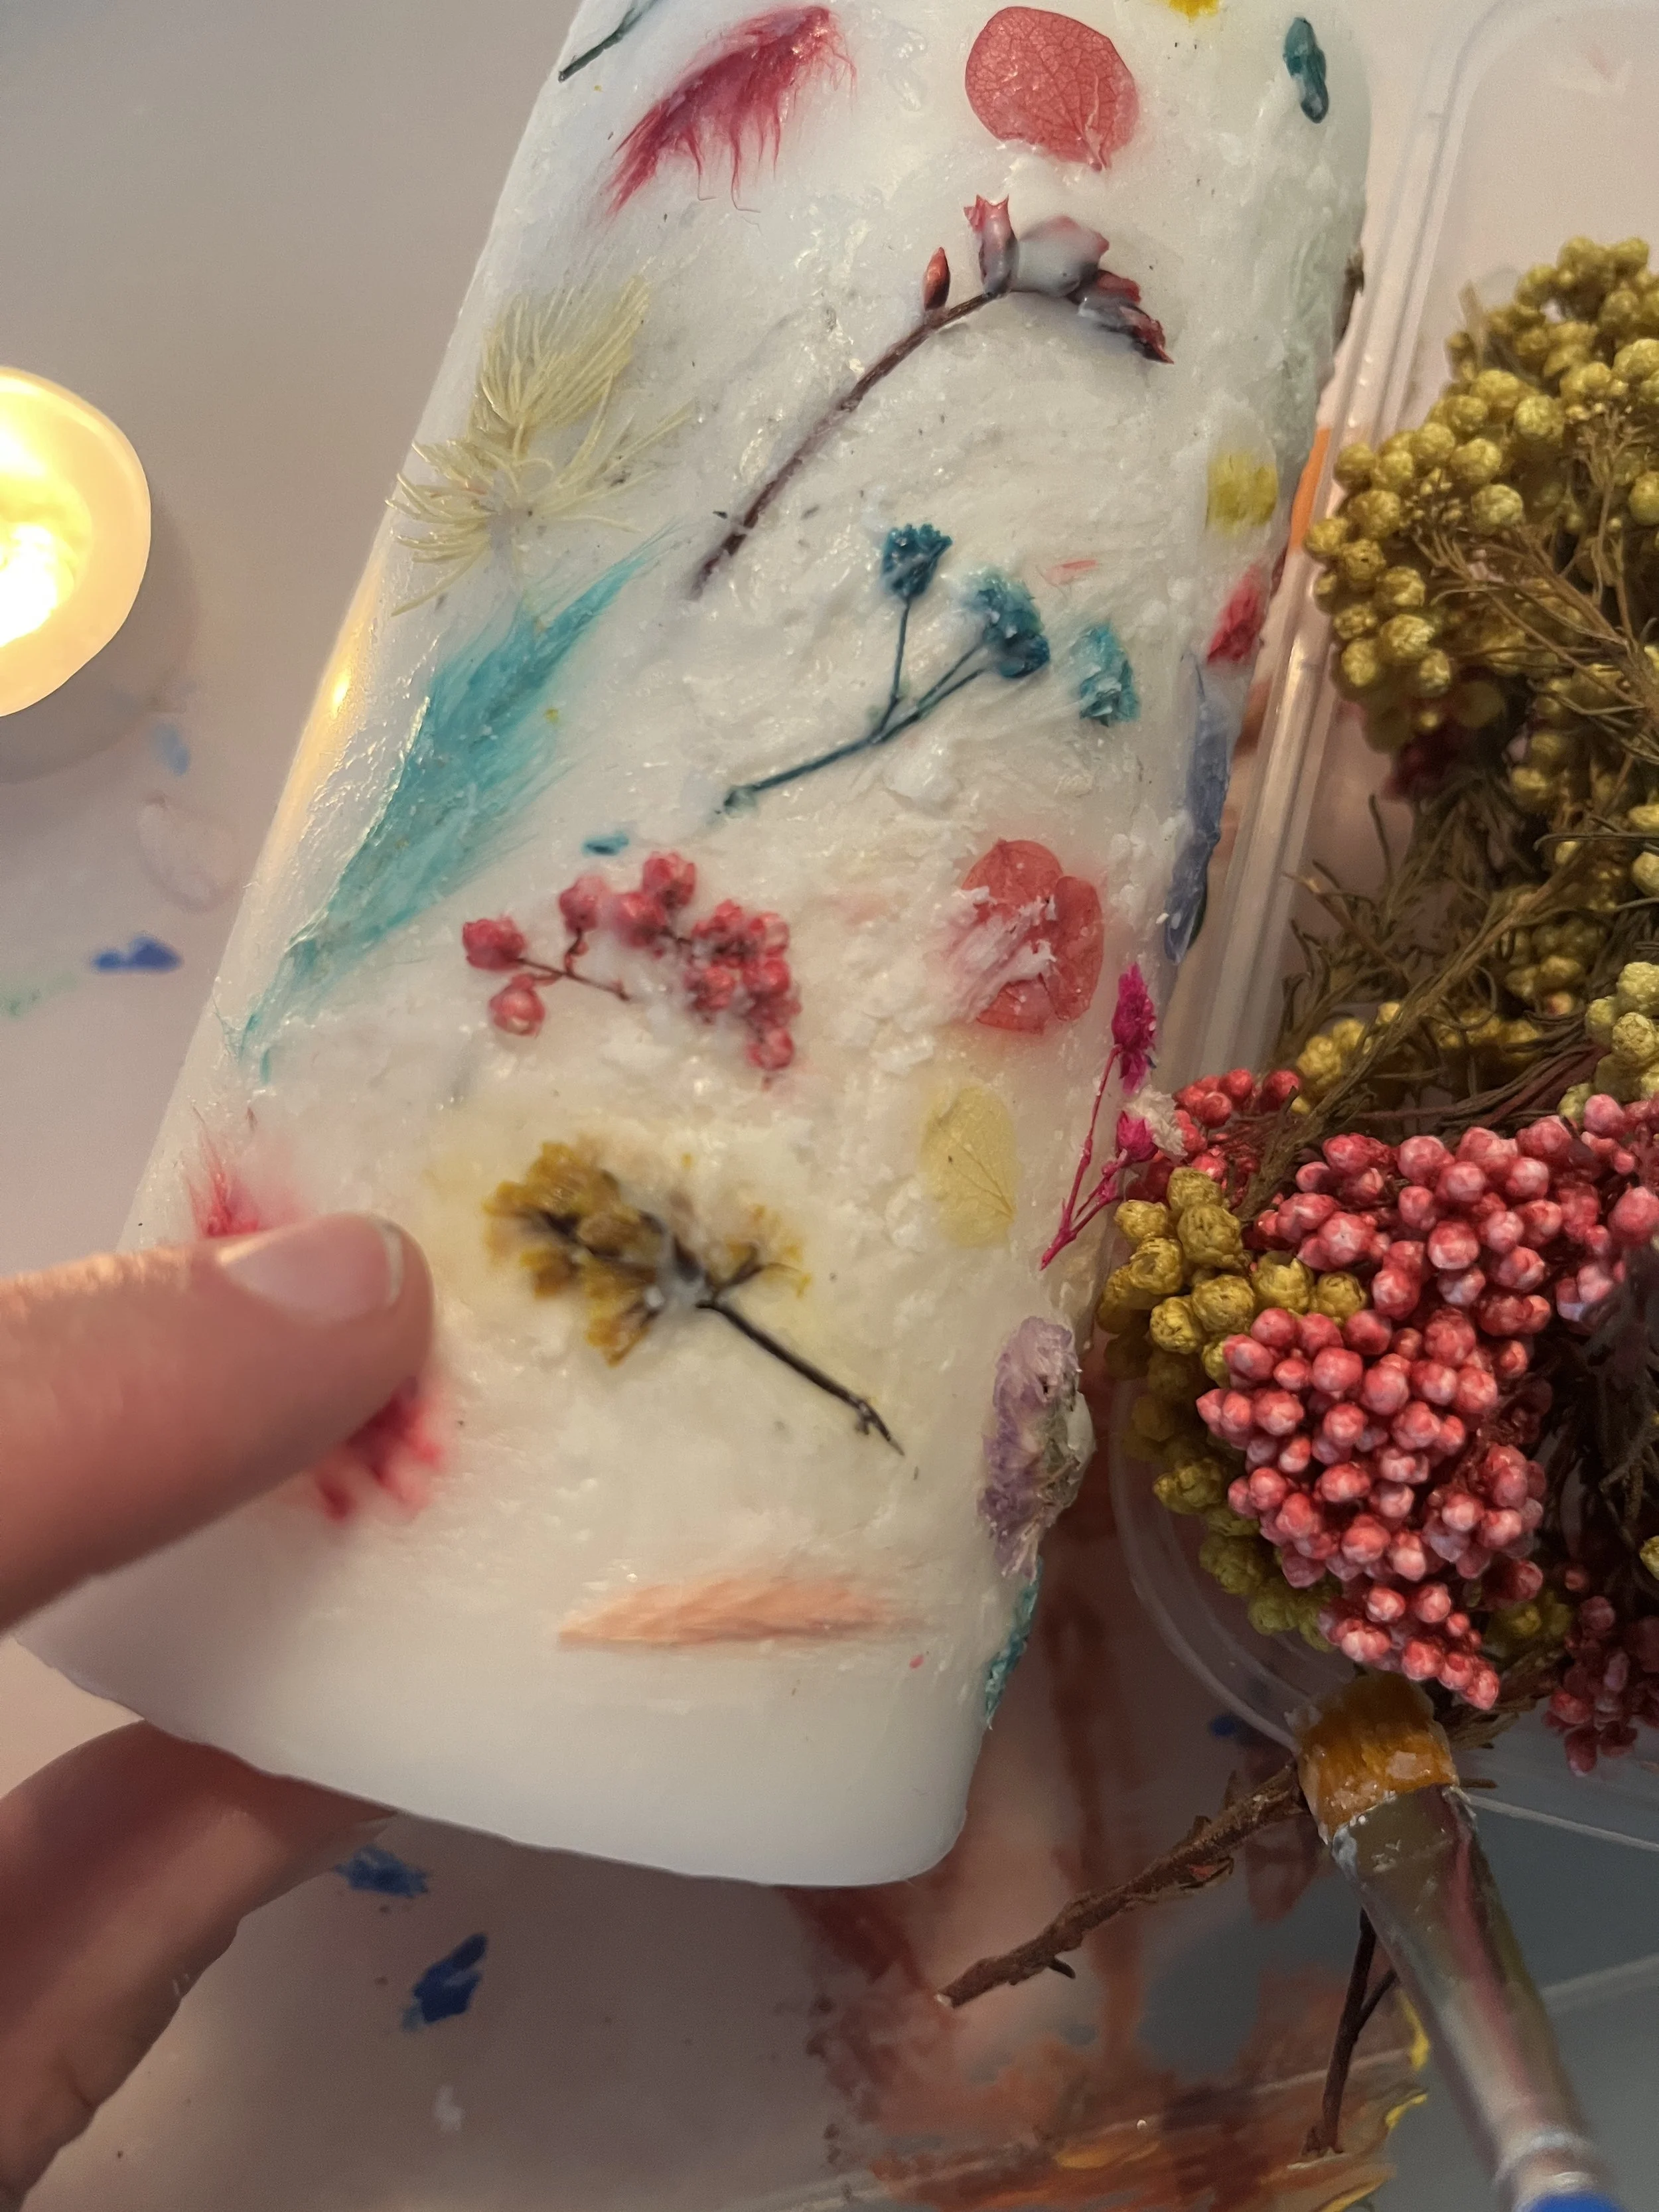
5. If you have a wax 'build up' on your paintbrush, you can simply dip it back into the melted wax to dissolve it again.
6. Repeat these processes until you have covered your candle all the way around with the dried flowers, using the second tea light for more wax if necessary.